Our Condo Renovation
In December of 2017, we bought our 2 bedrooms, 1 bath condo in Marin. We quickly remodeled it and moved in a couple of months later. We actually sold the condo in 2020 and I’ve waited to share mostly out of laziness and having two kiddos, but also out of privacy. Redfin and Zillow have made people’s homes an open book, which is quite scary.
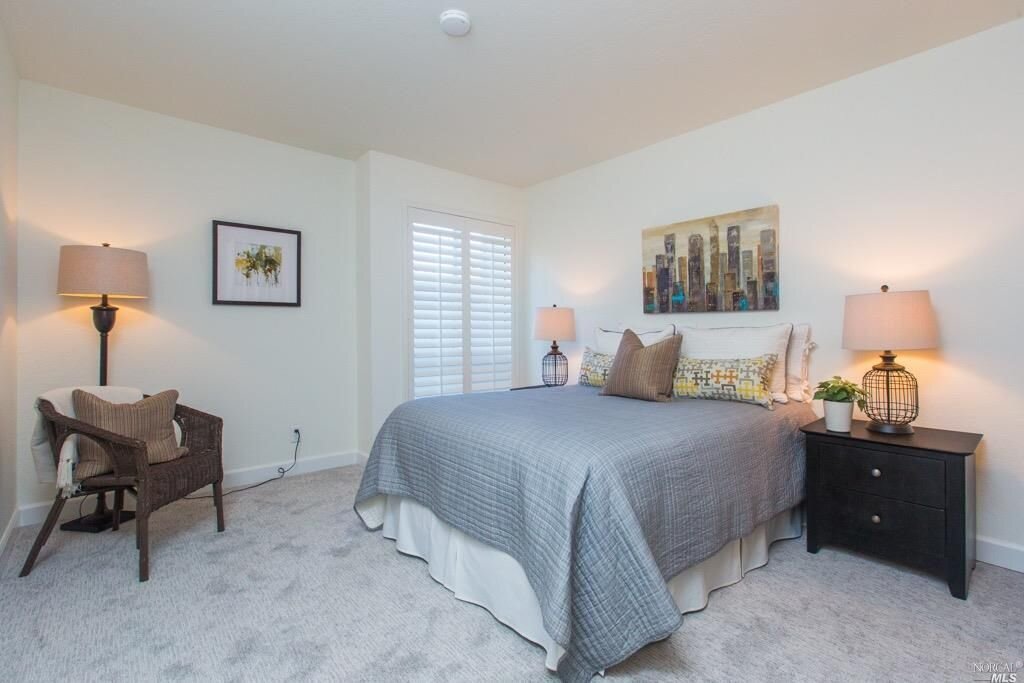
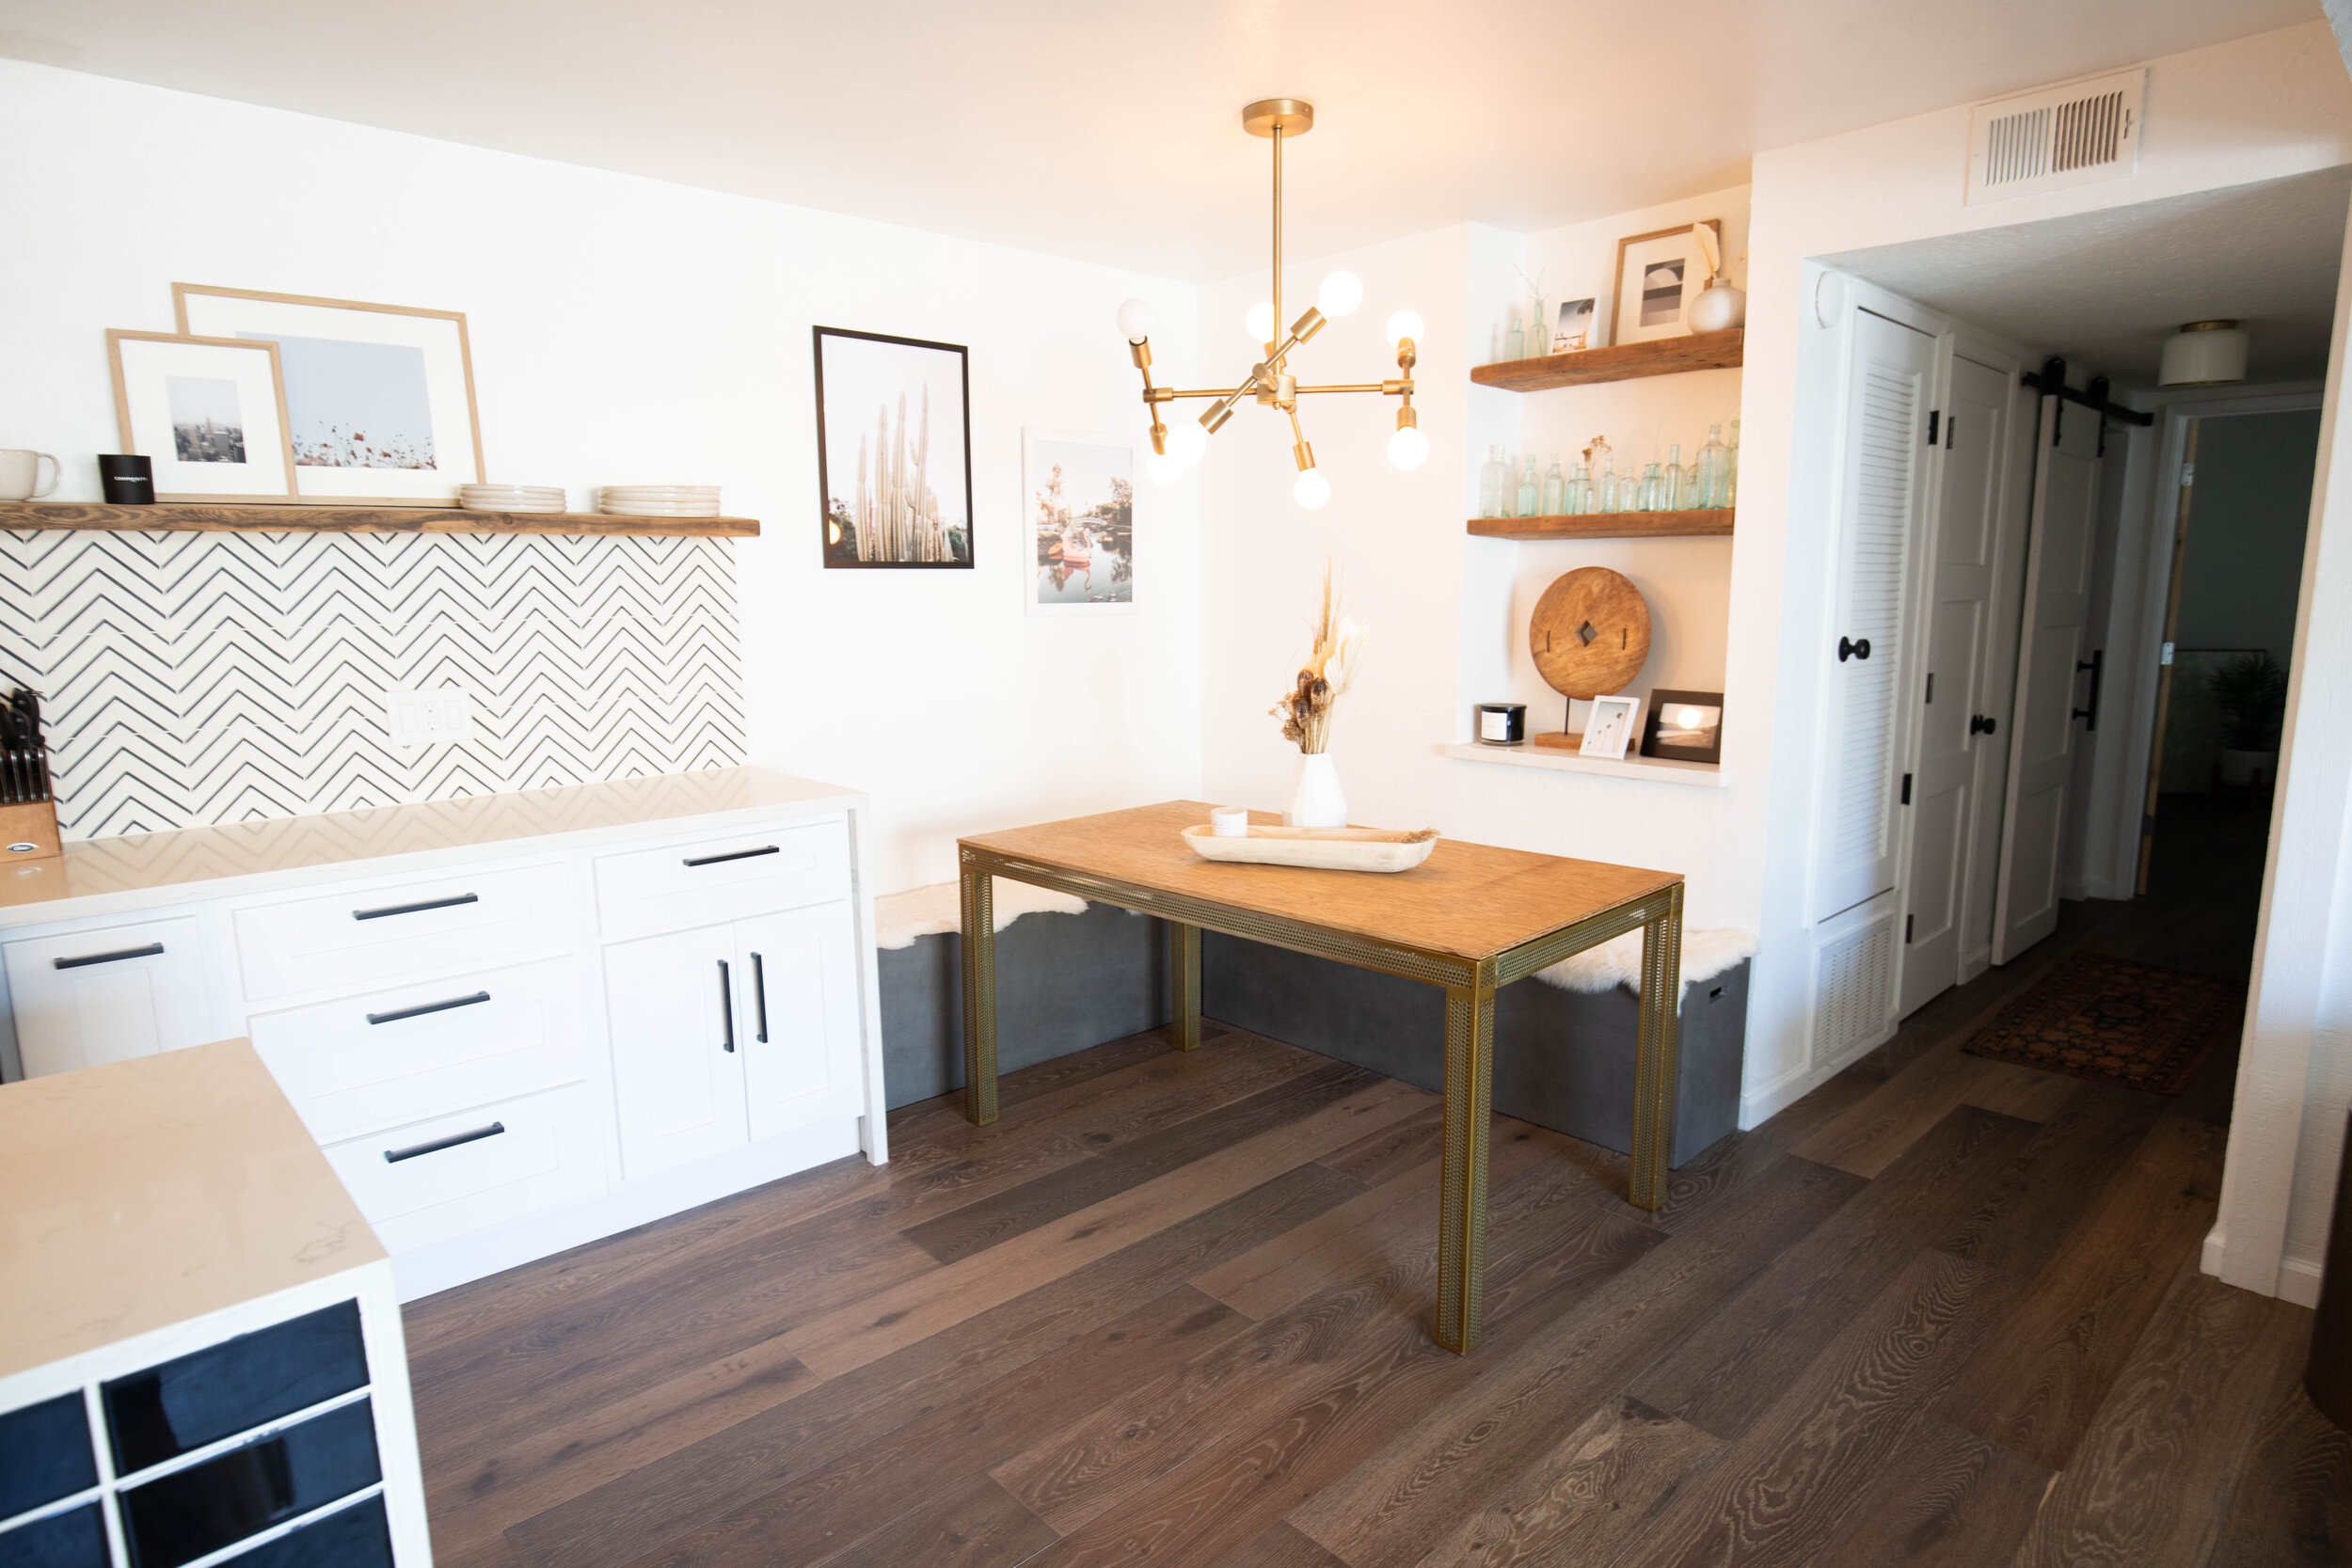
SV Demolition, Inc., my brother's company, did our demo. Construct-One, our family friend, remodeled our bathroom and kitchen, Sunshine Flooring, Andrew’s uncle and cousin’s company, did our floors, and Richard Hynes Construction built out Espen’s closet. Clearly, we have a lot of family and friends in this business, which is why we felt comfortable taking on this project. I hope you love what we did to the place (scroll to the bottom of this post for after photos)! It was a labor of love with lots of learning curves.
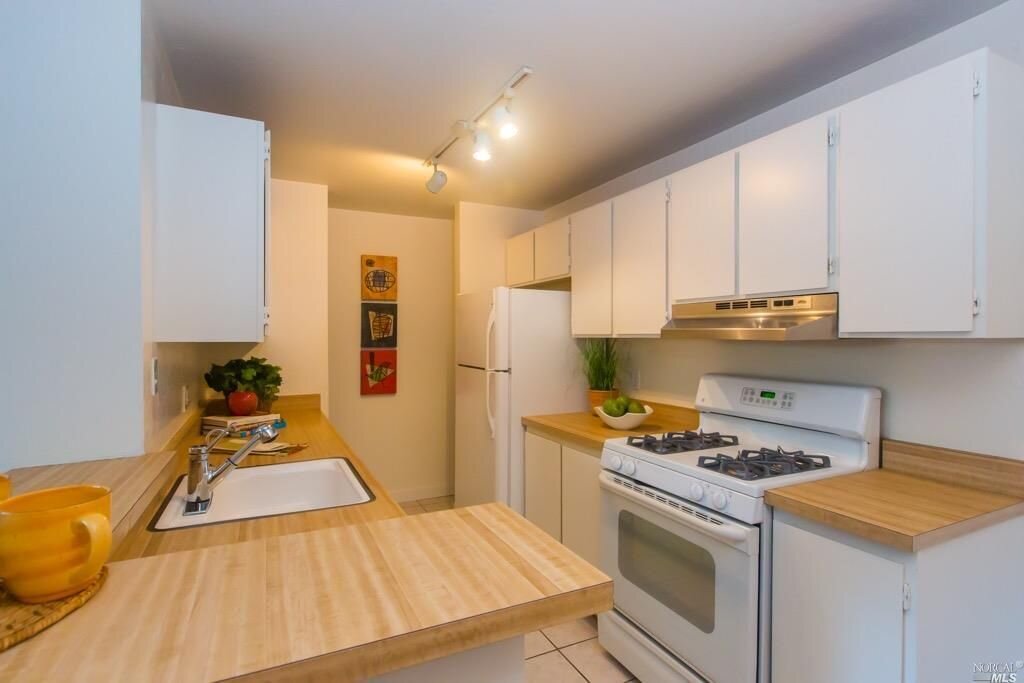
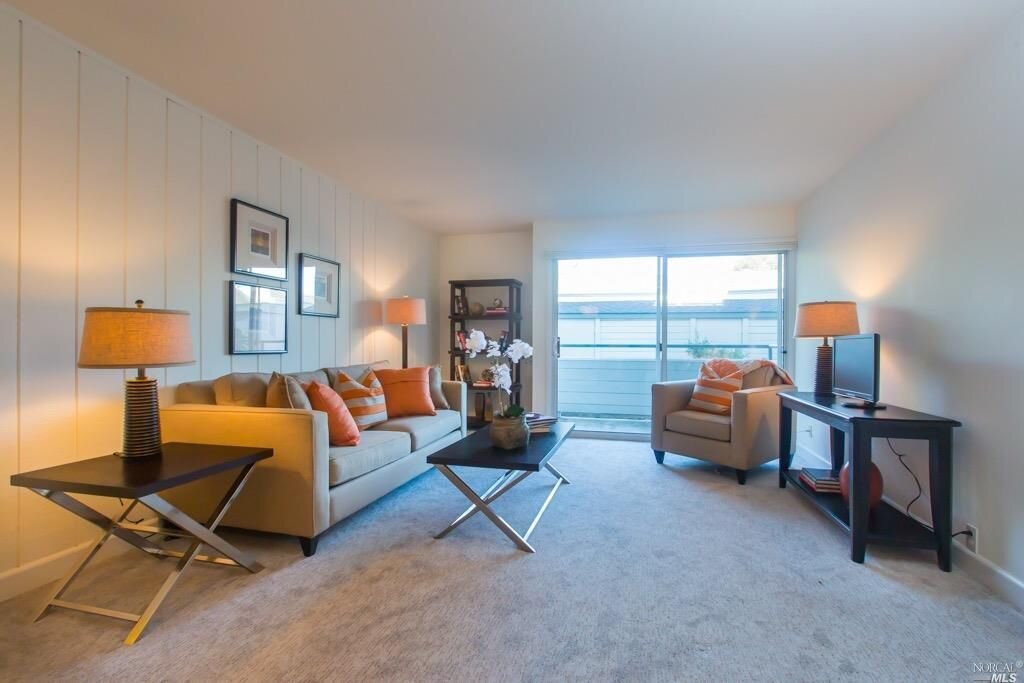
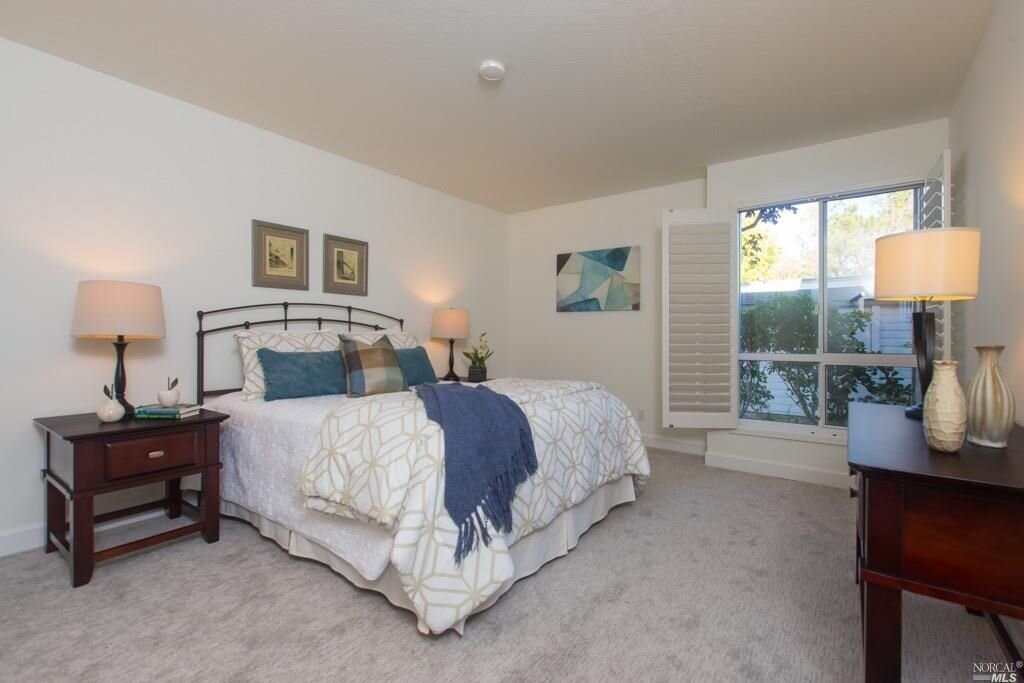
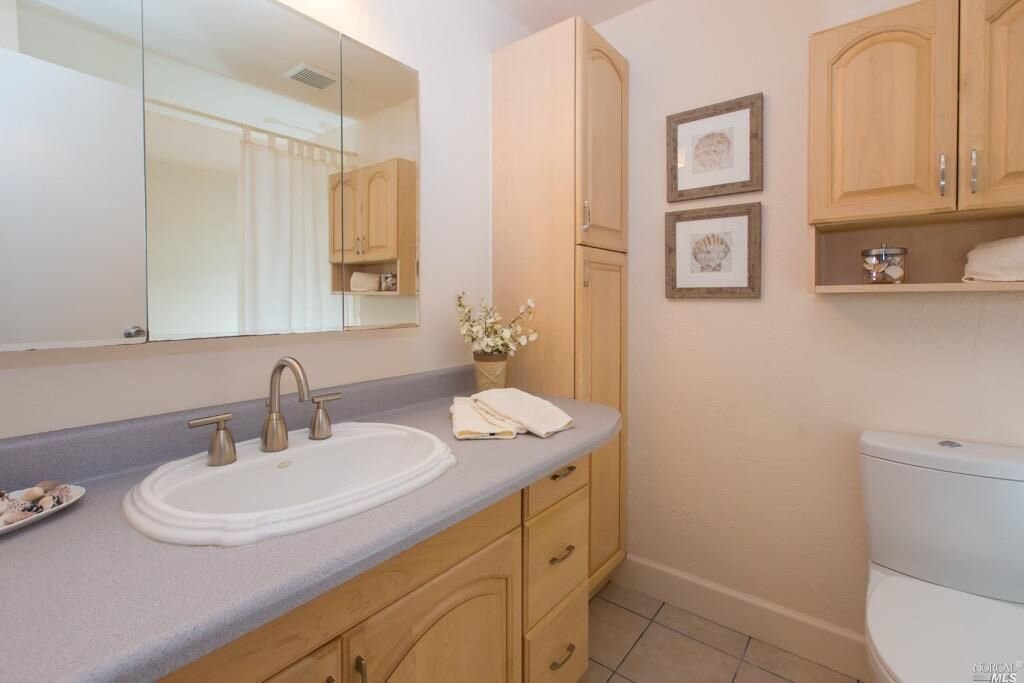
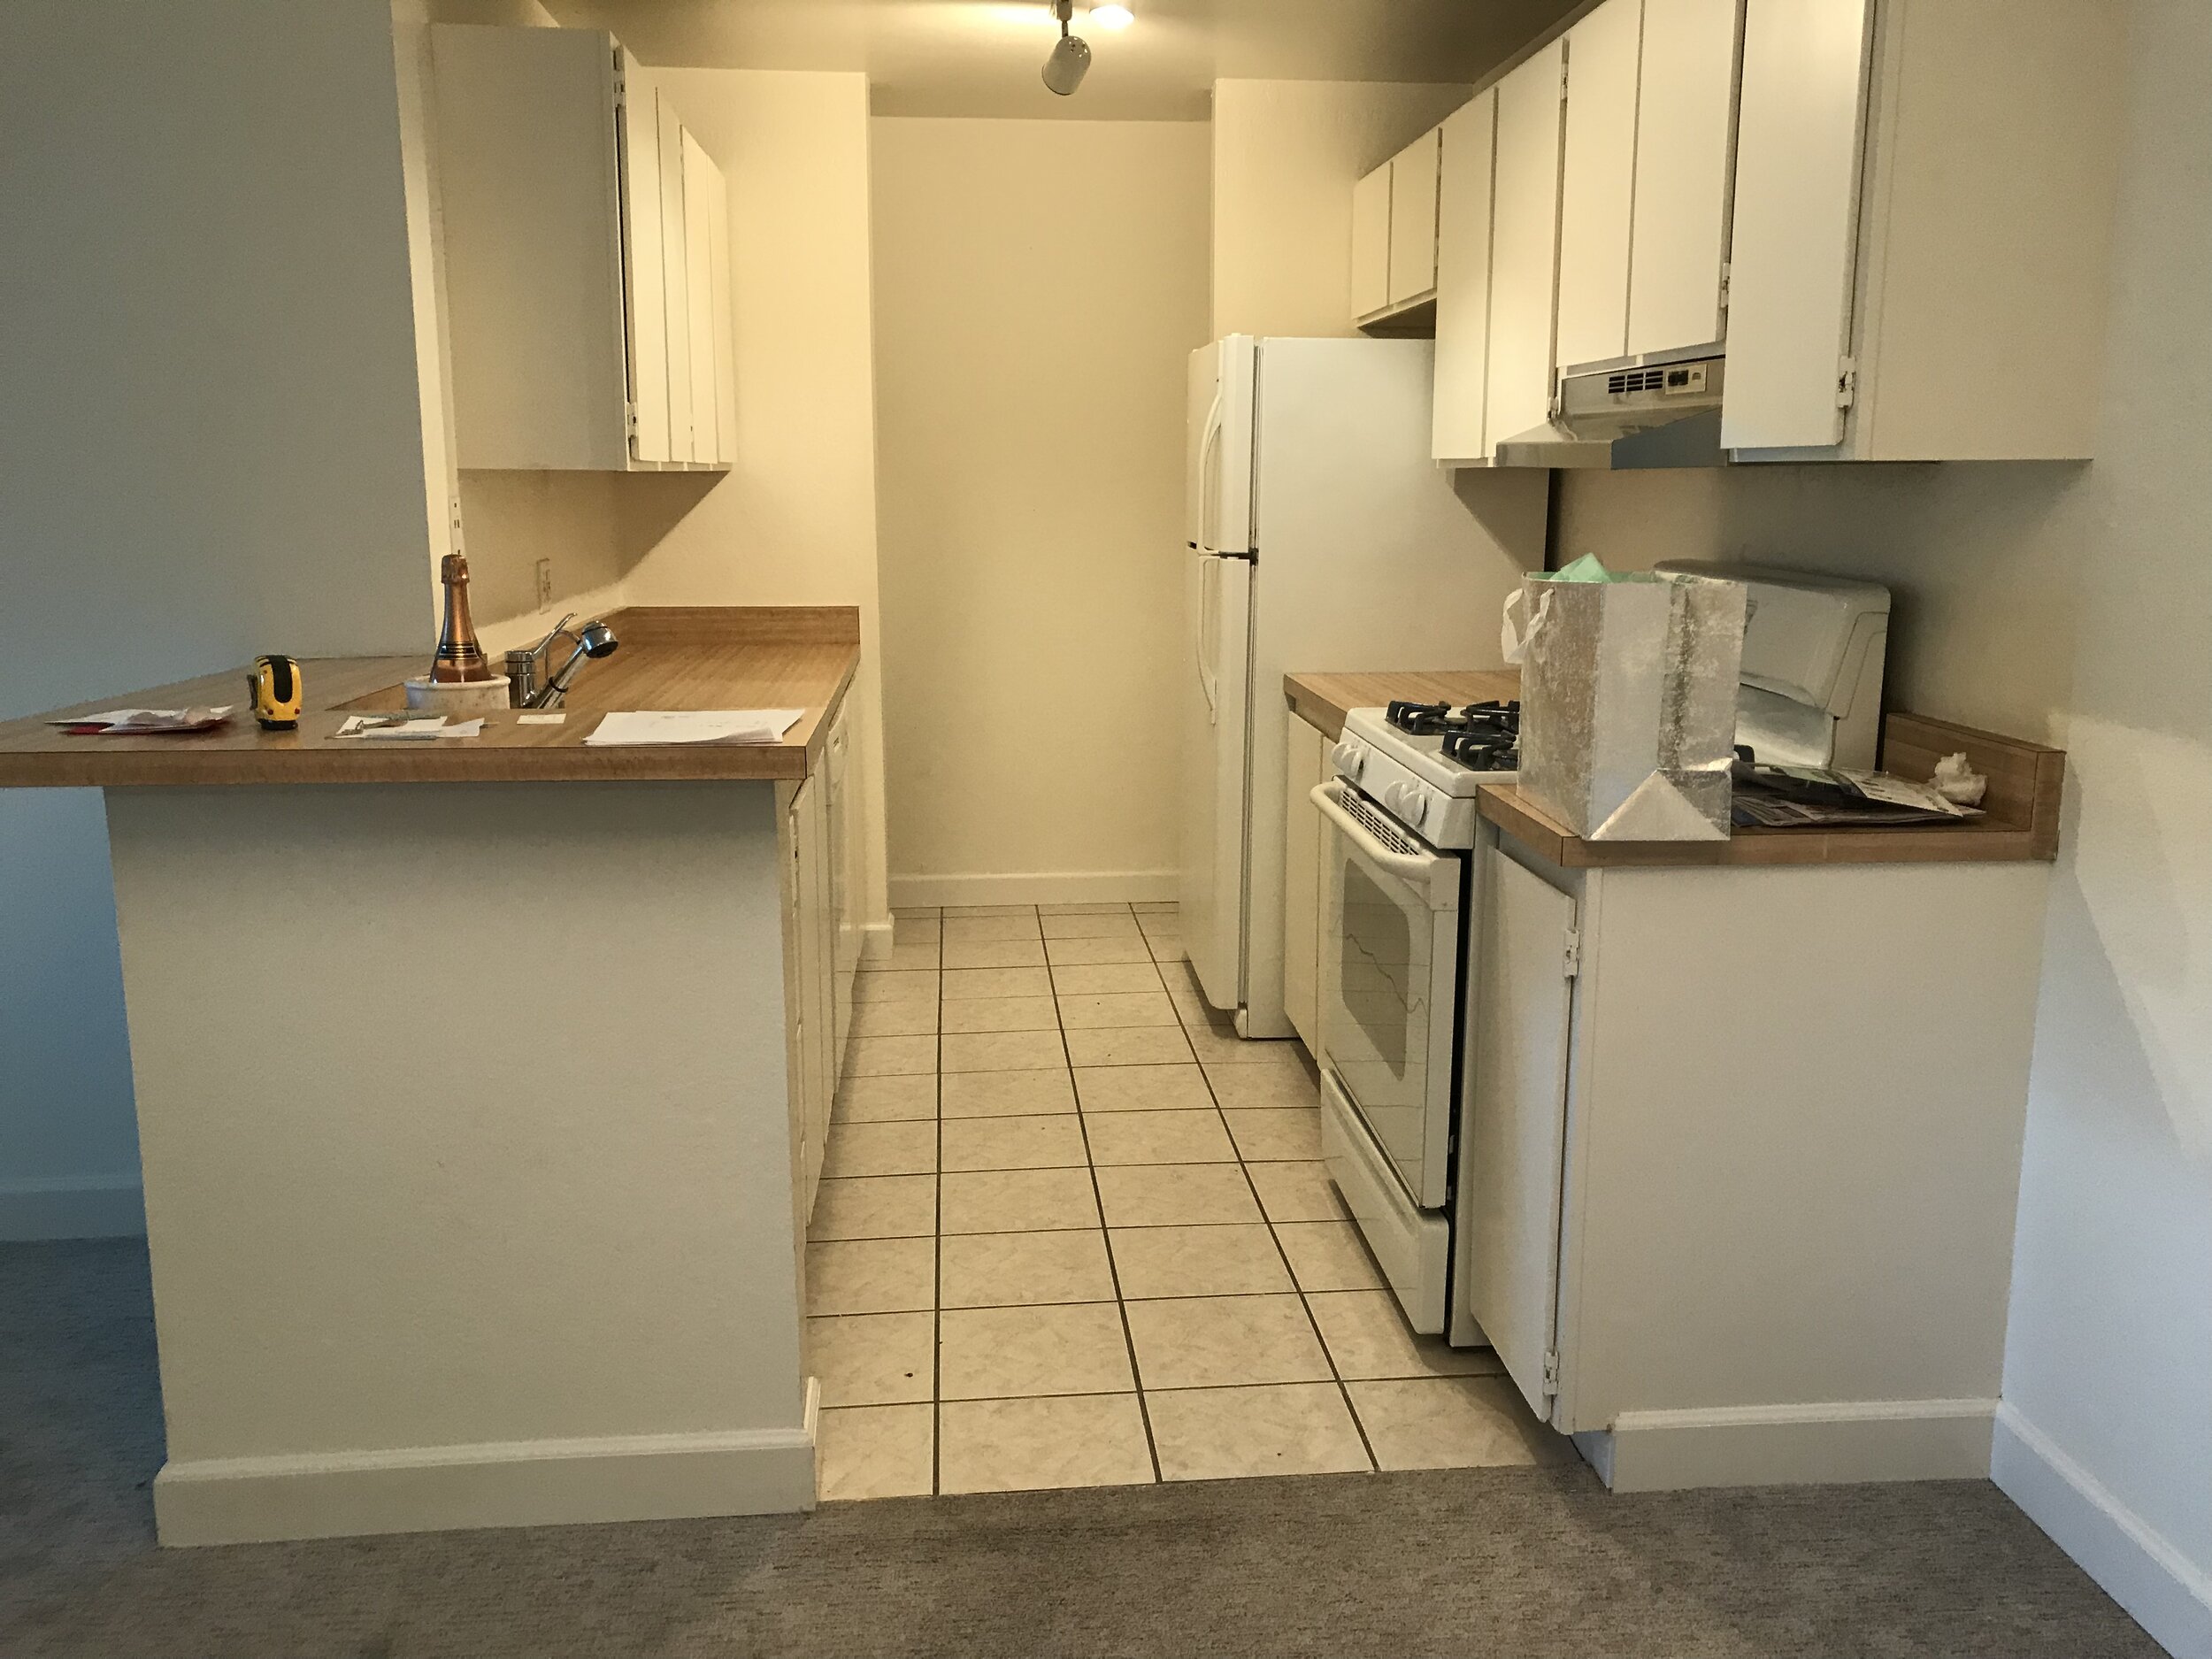
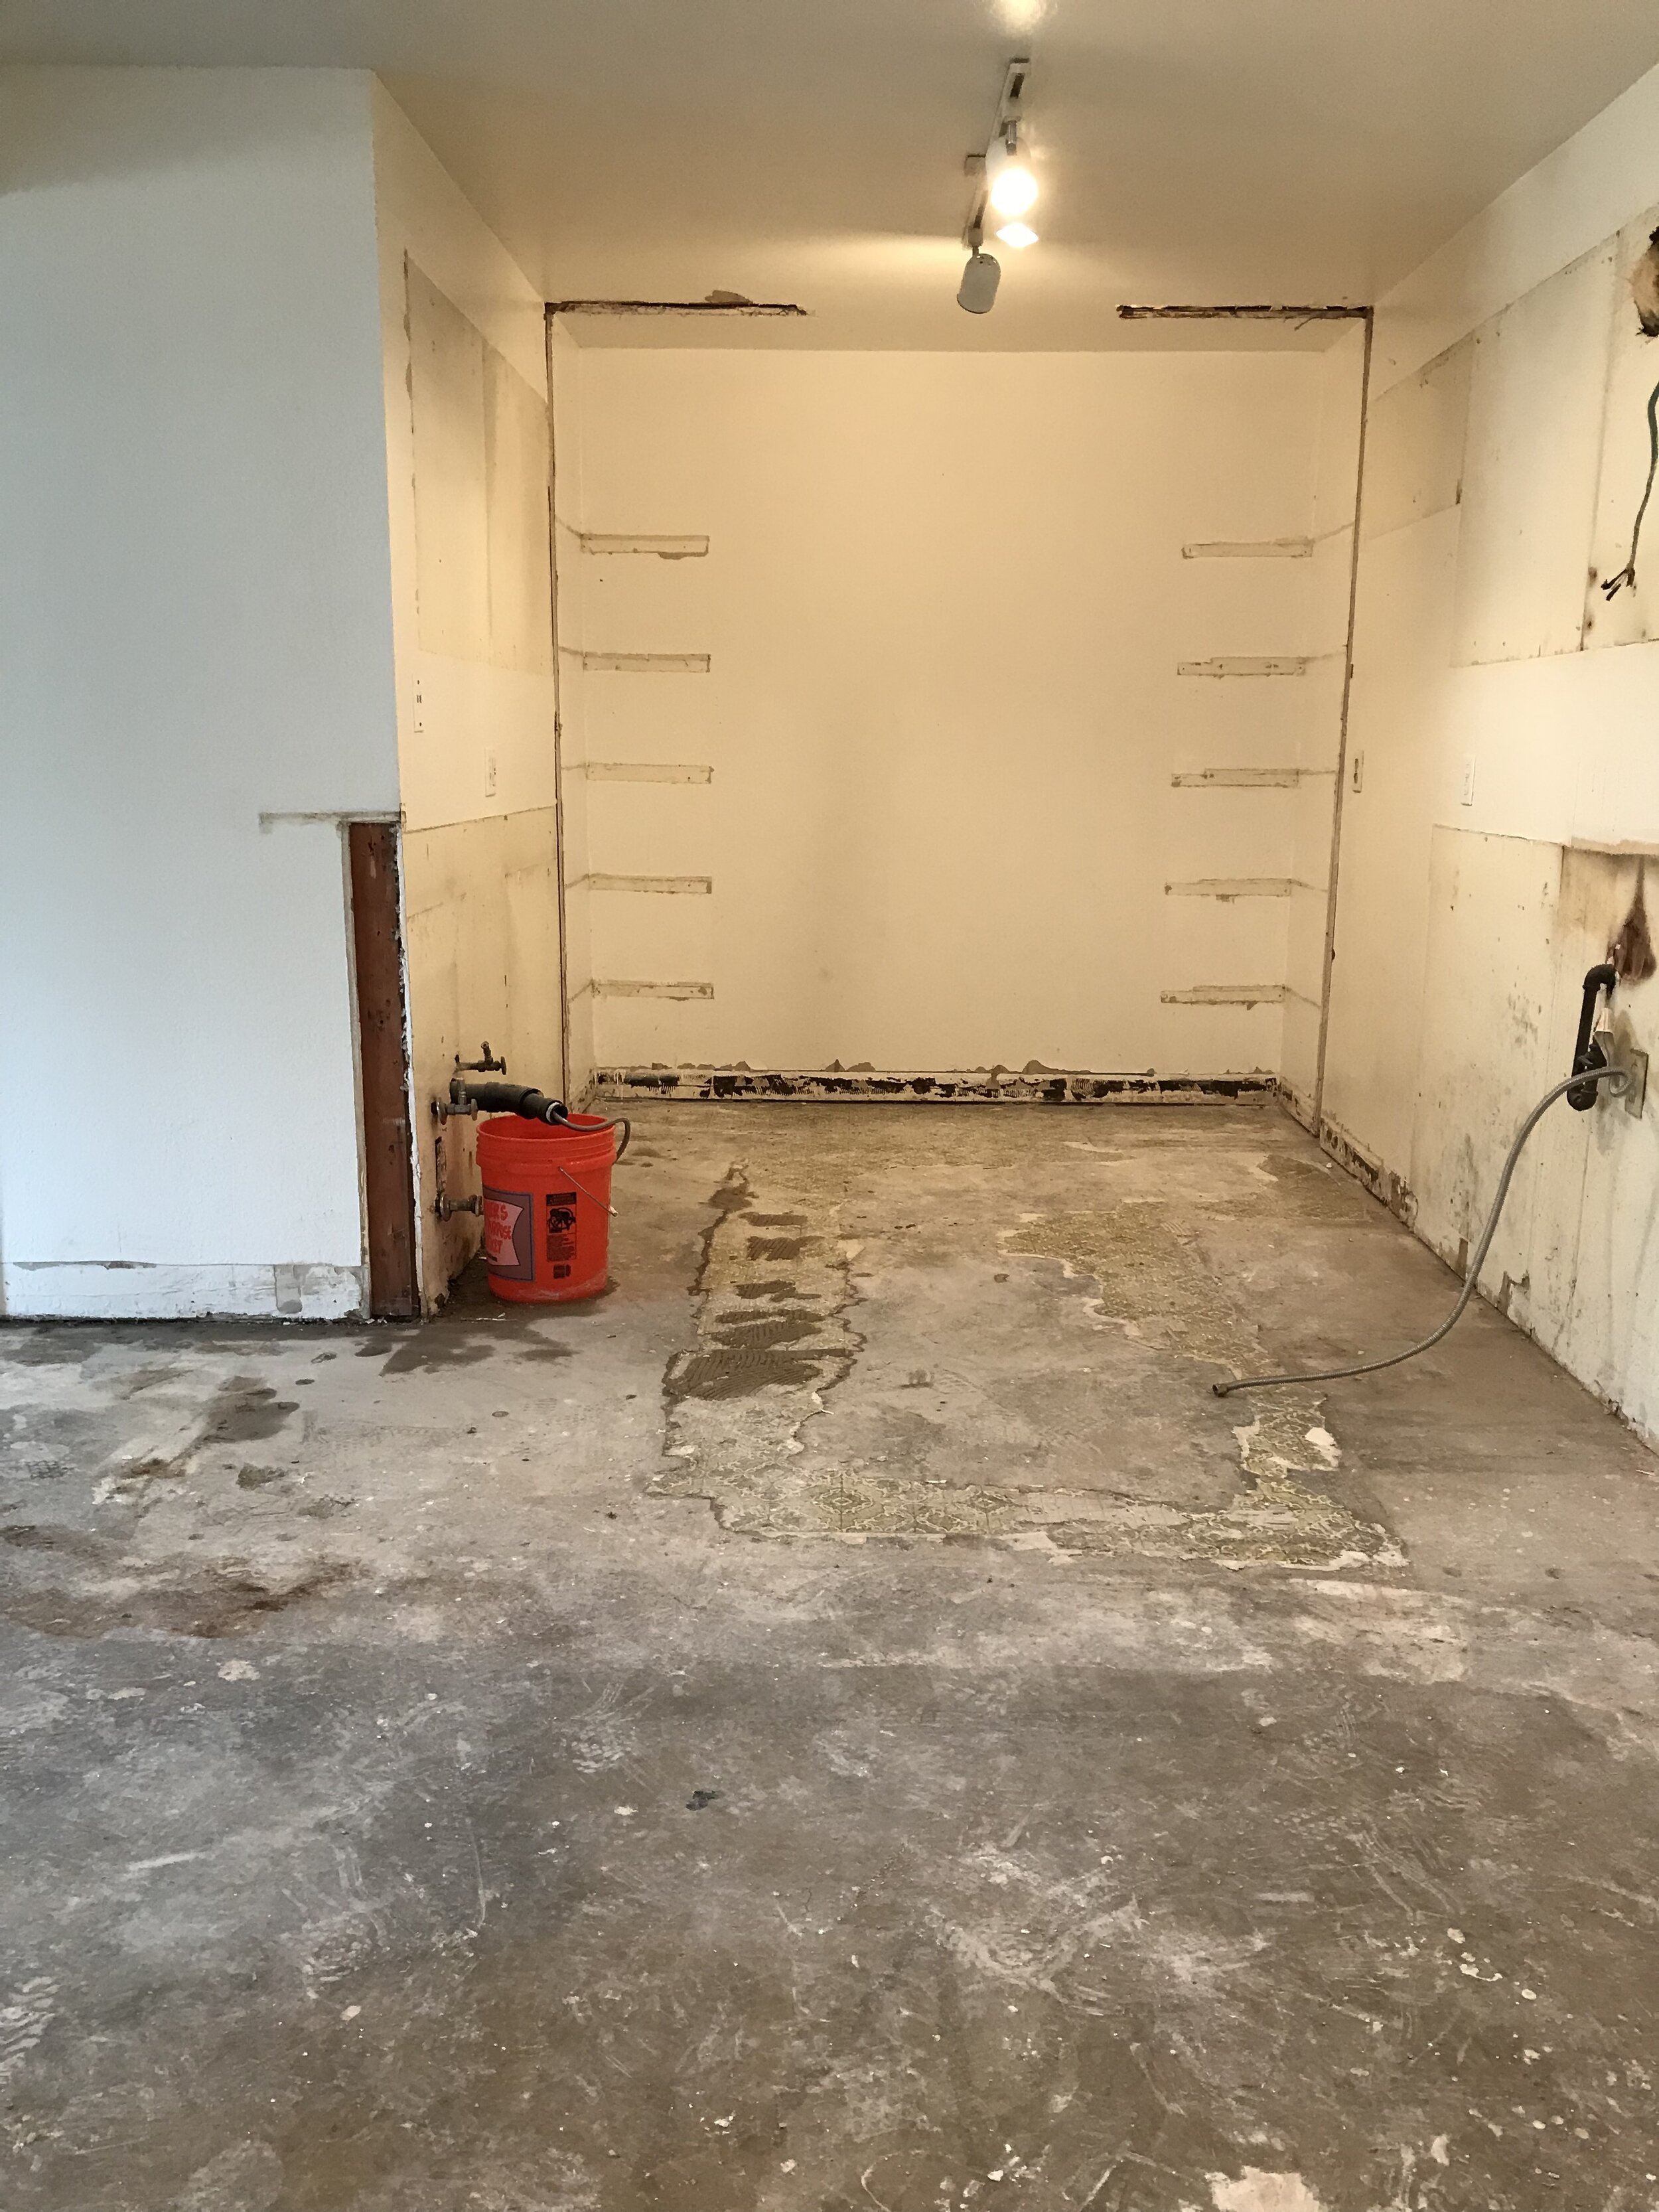
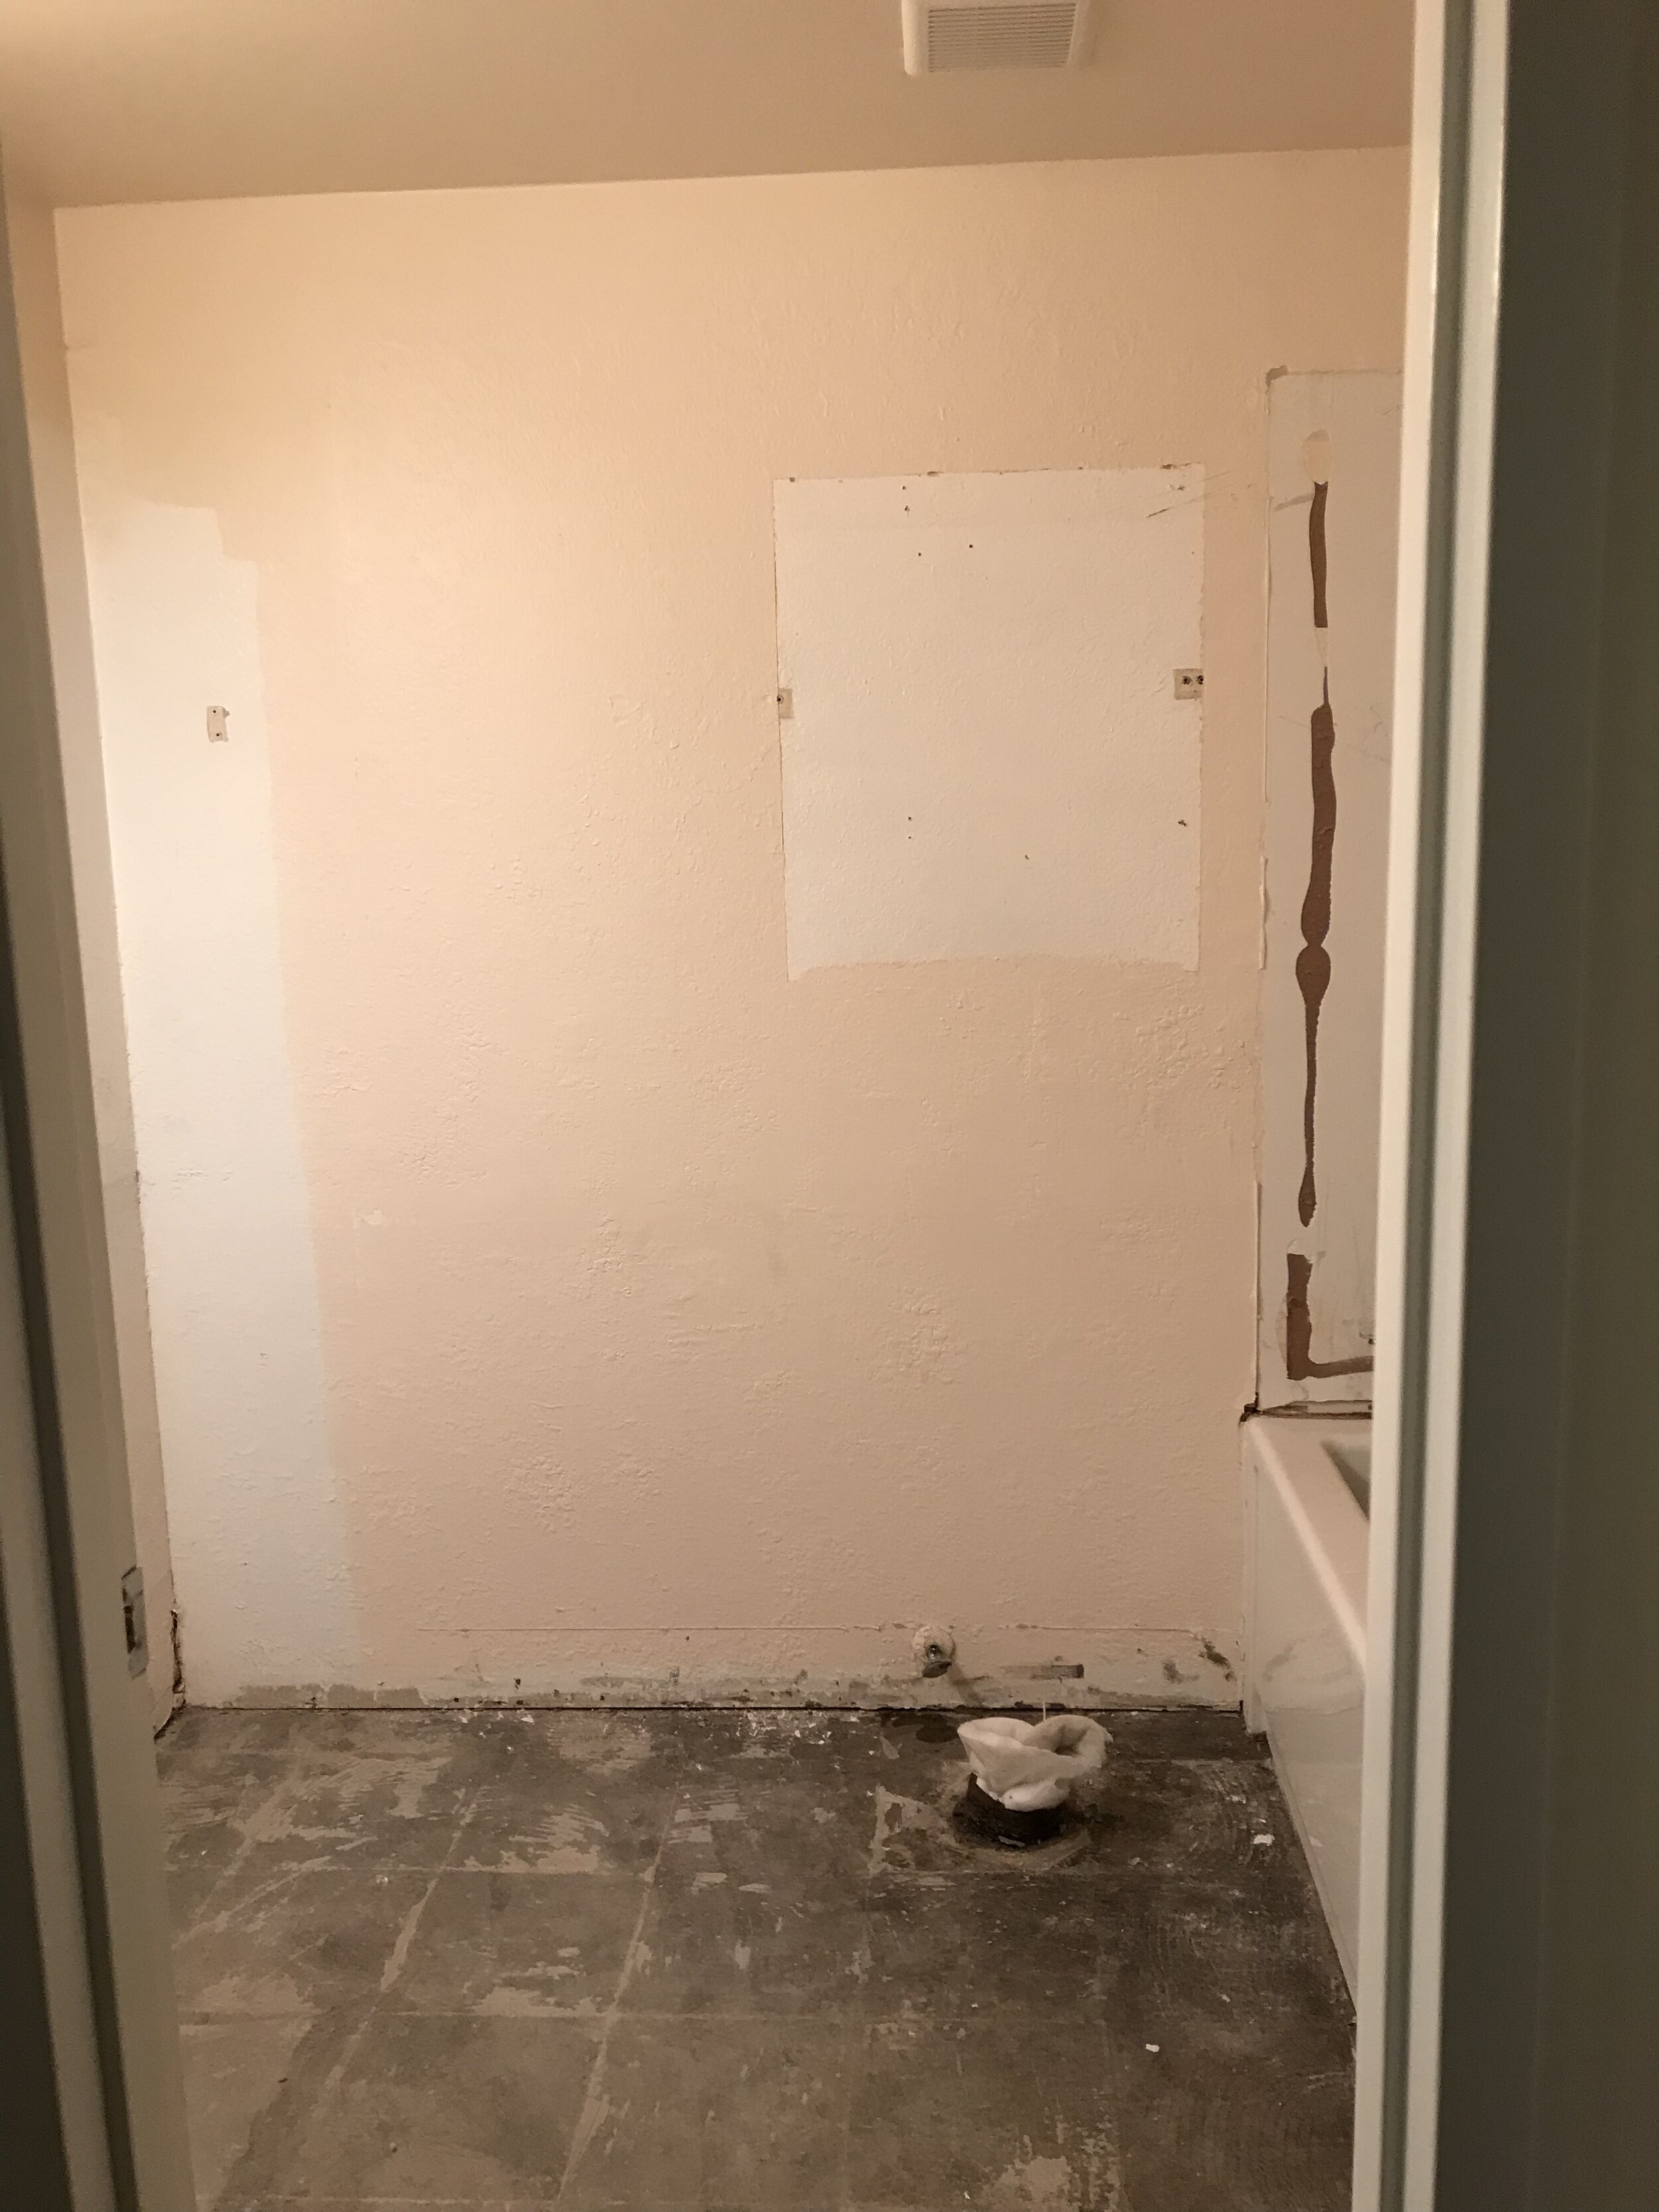
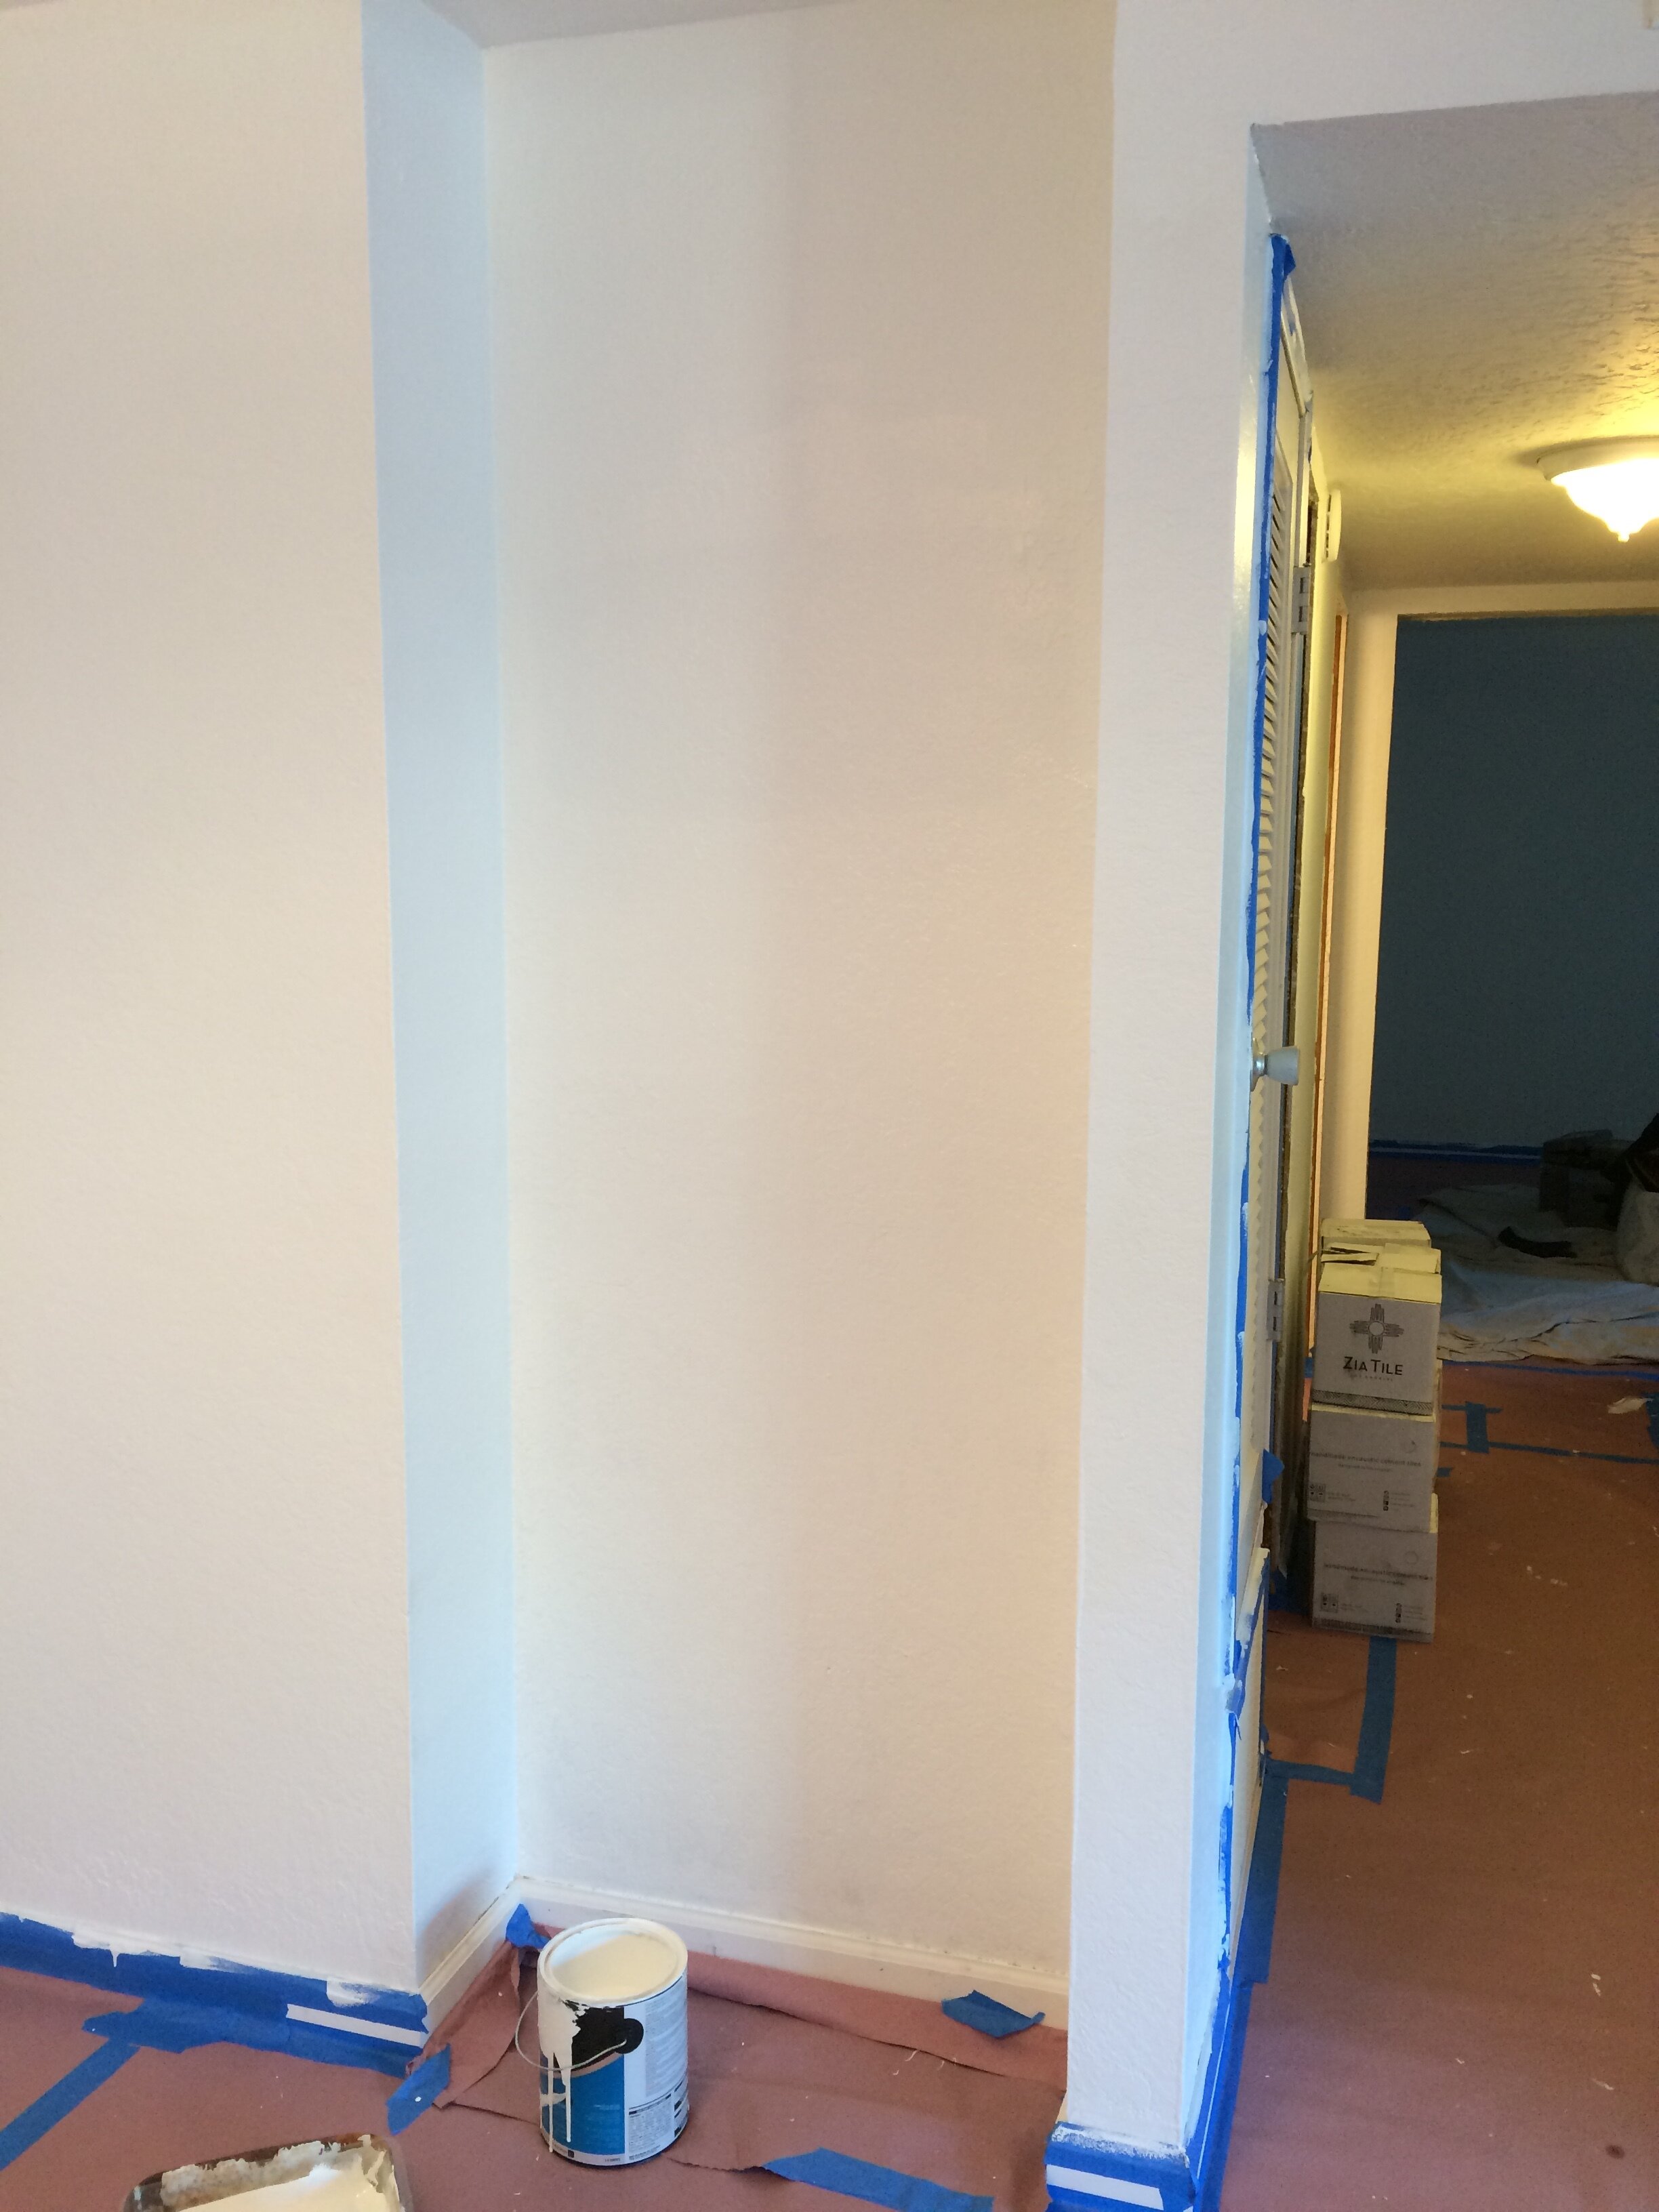
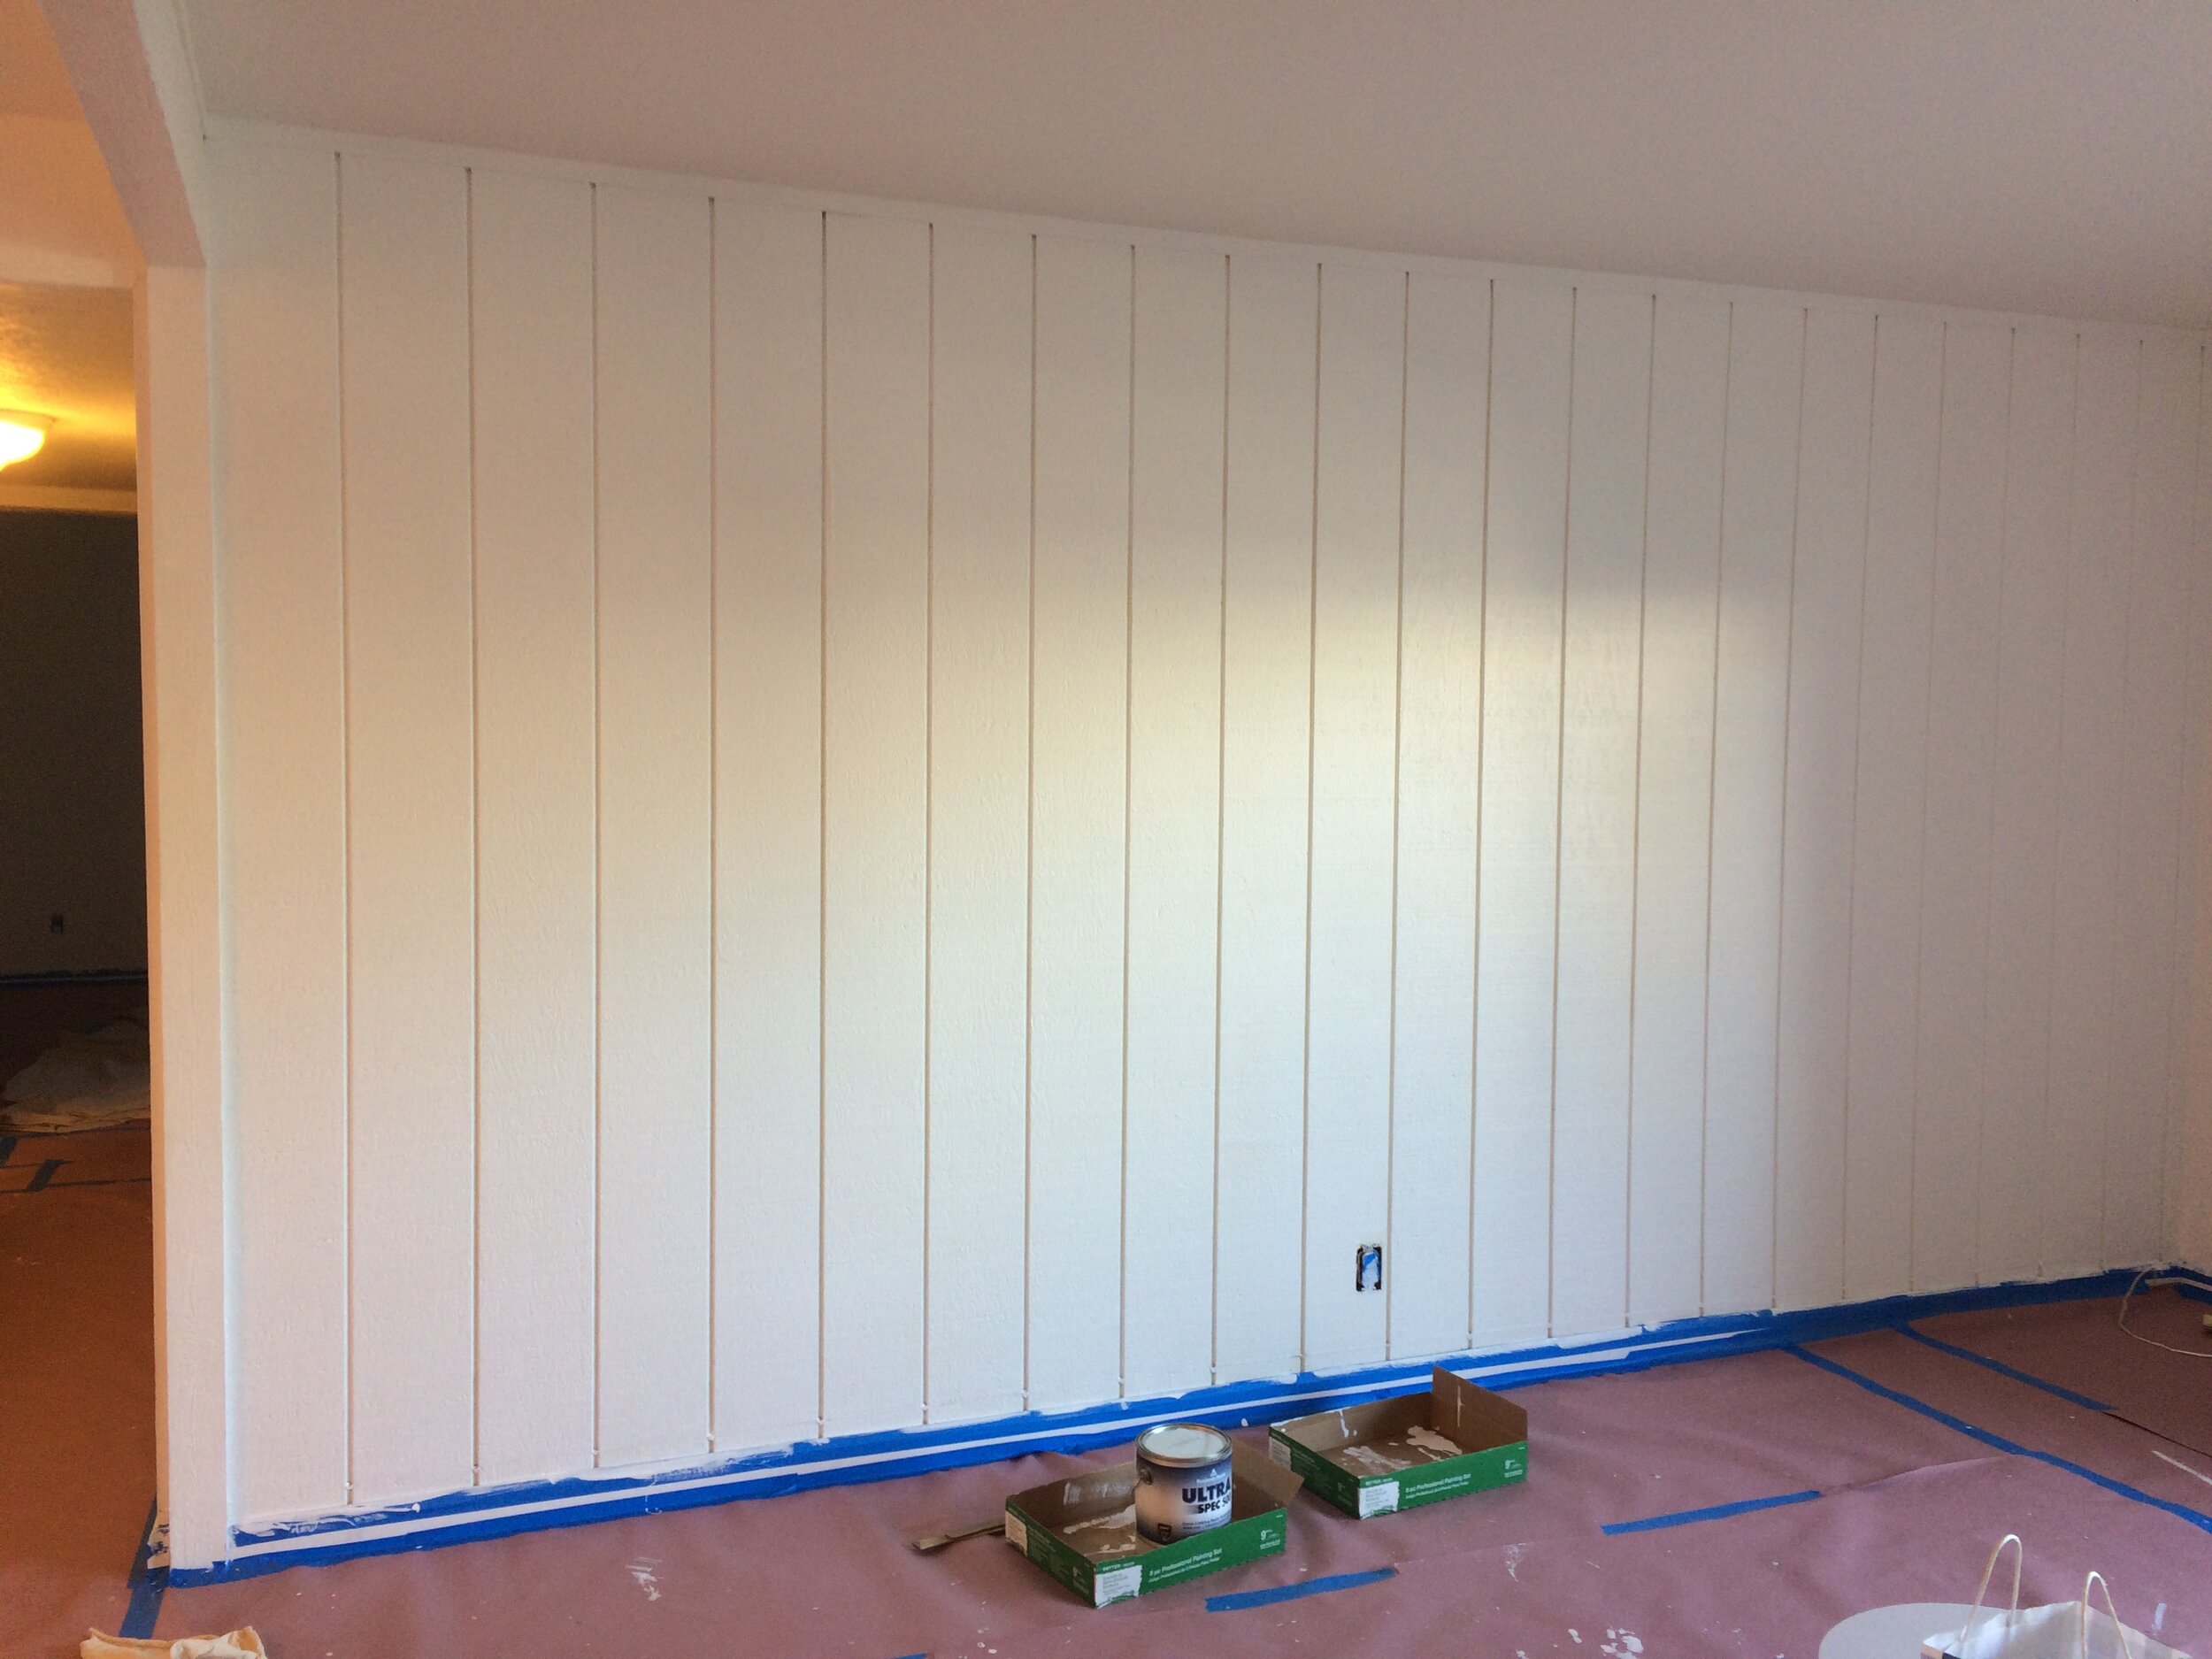
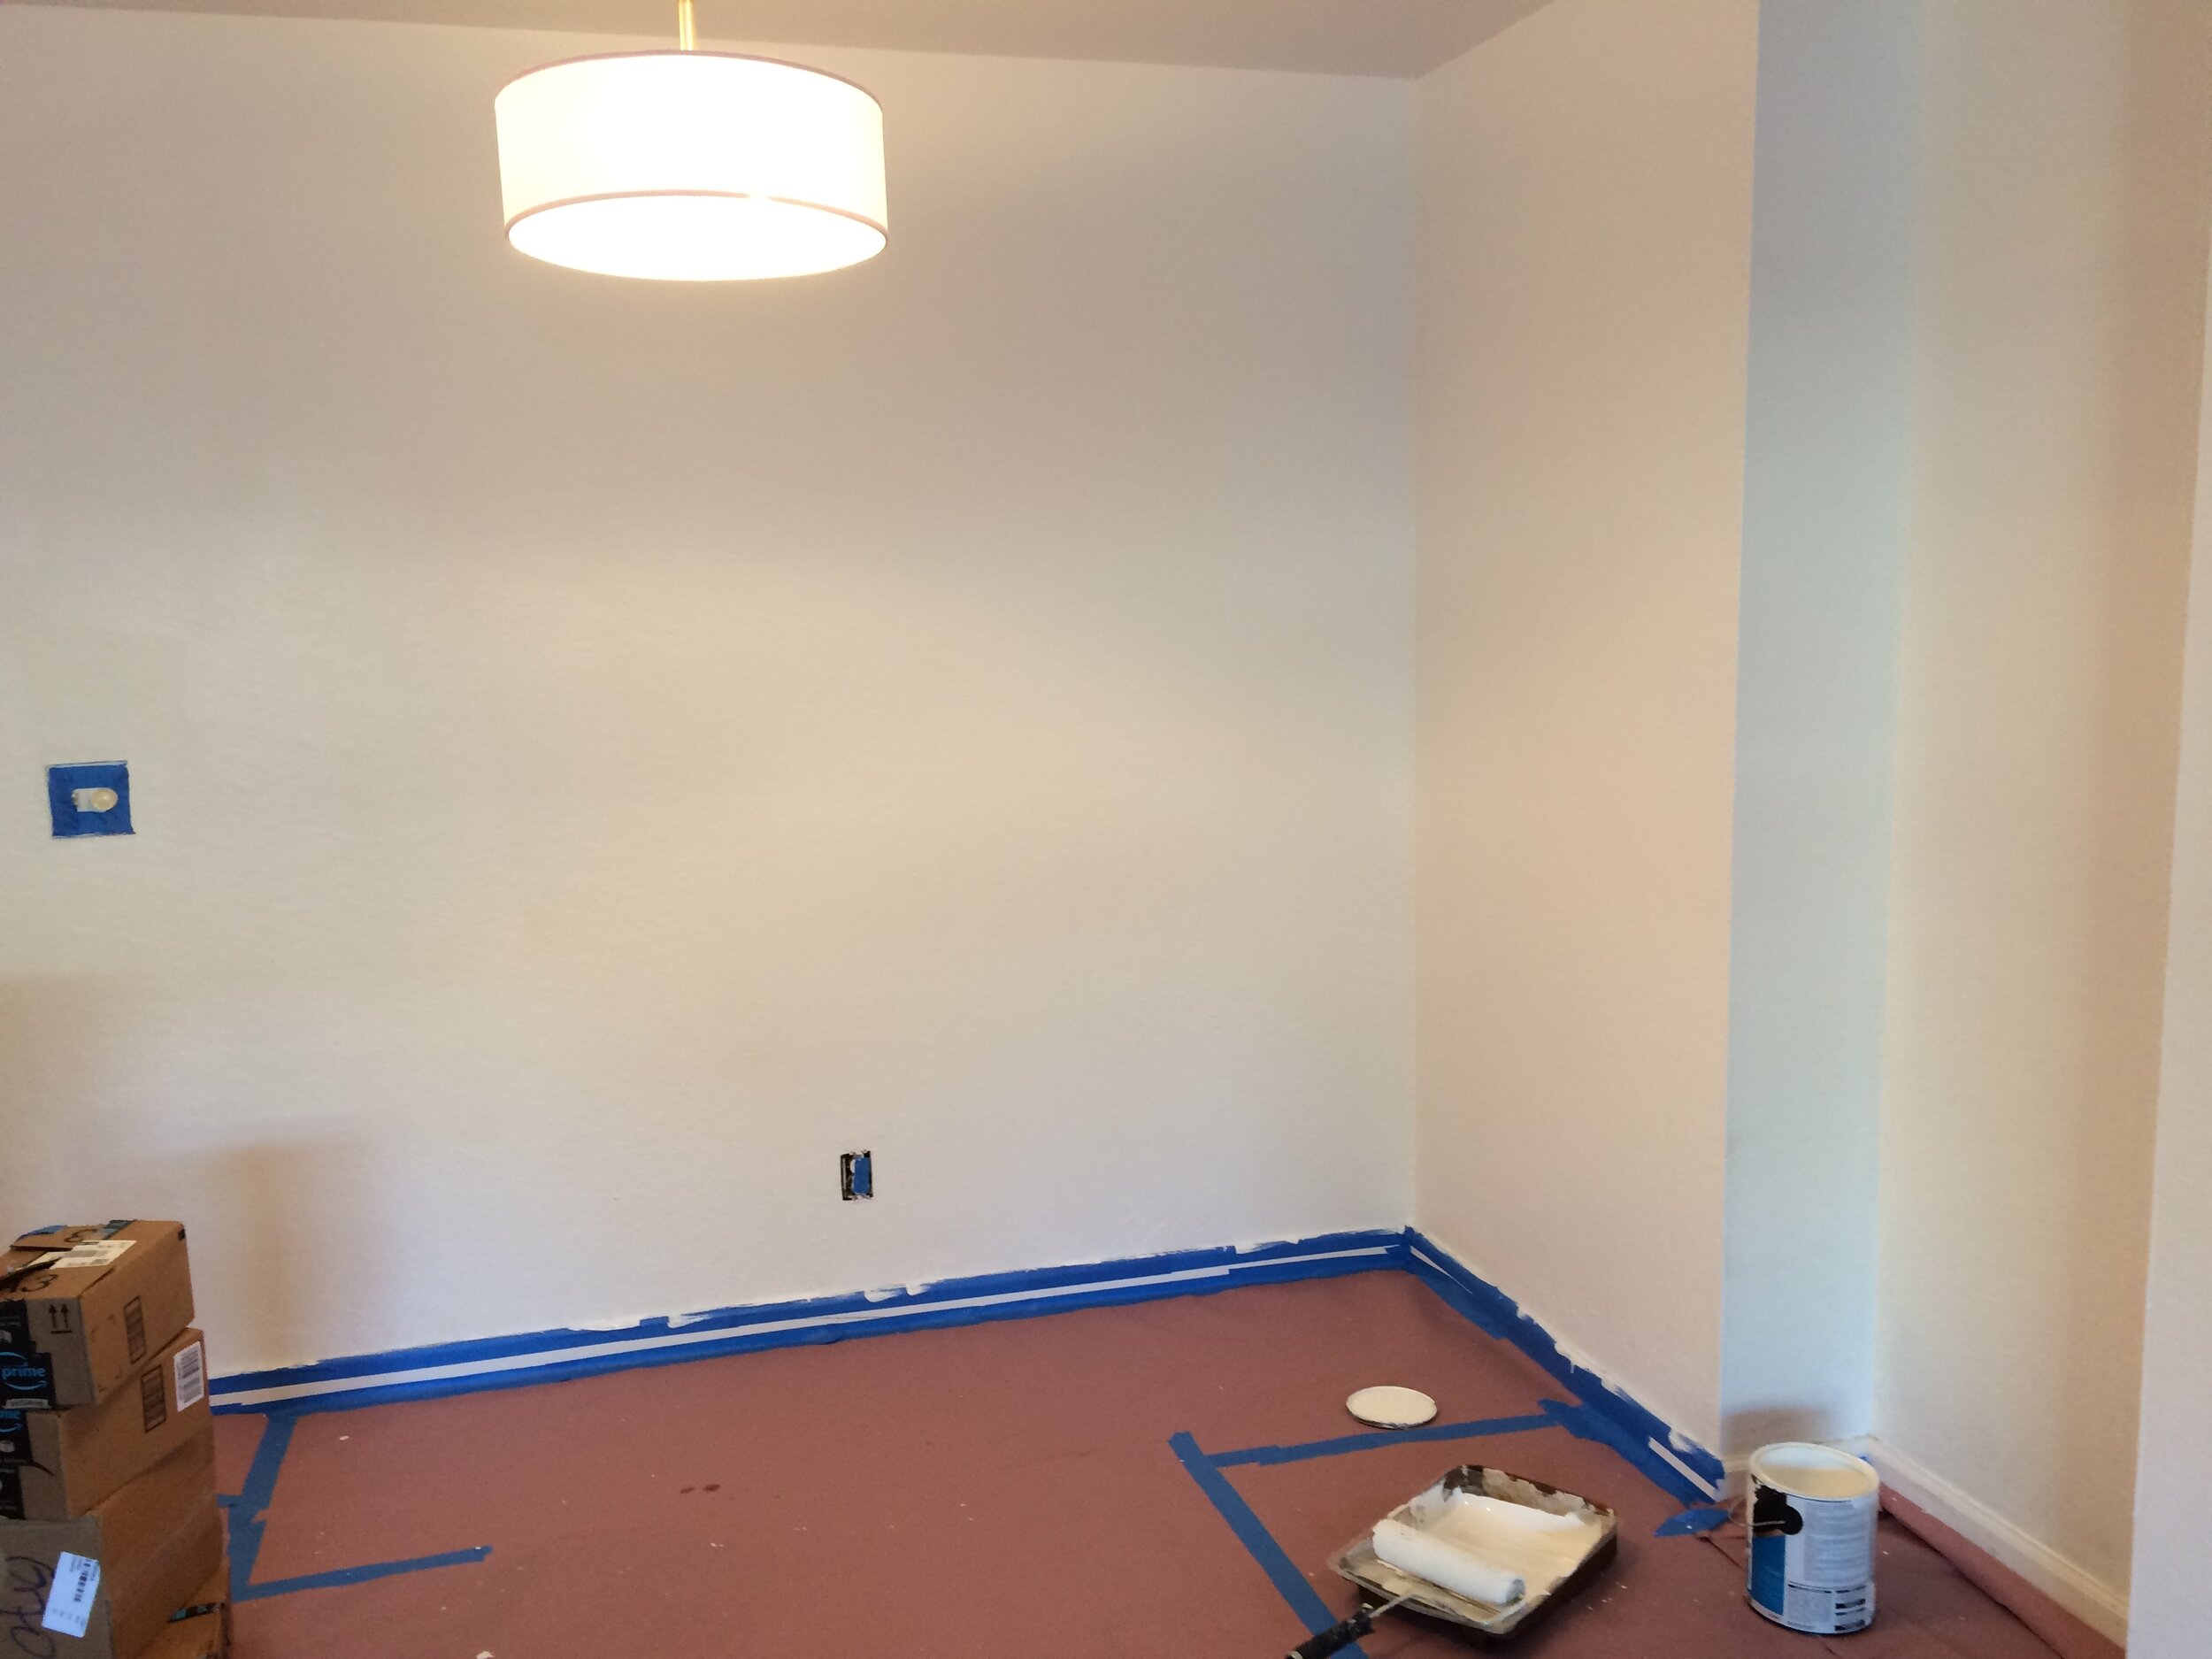
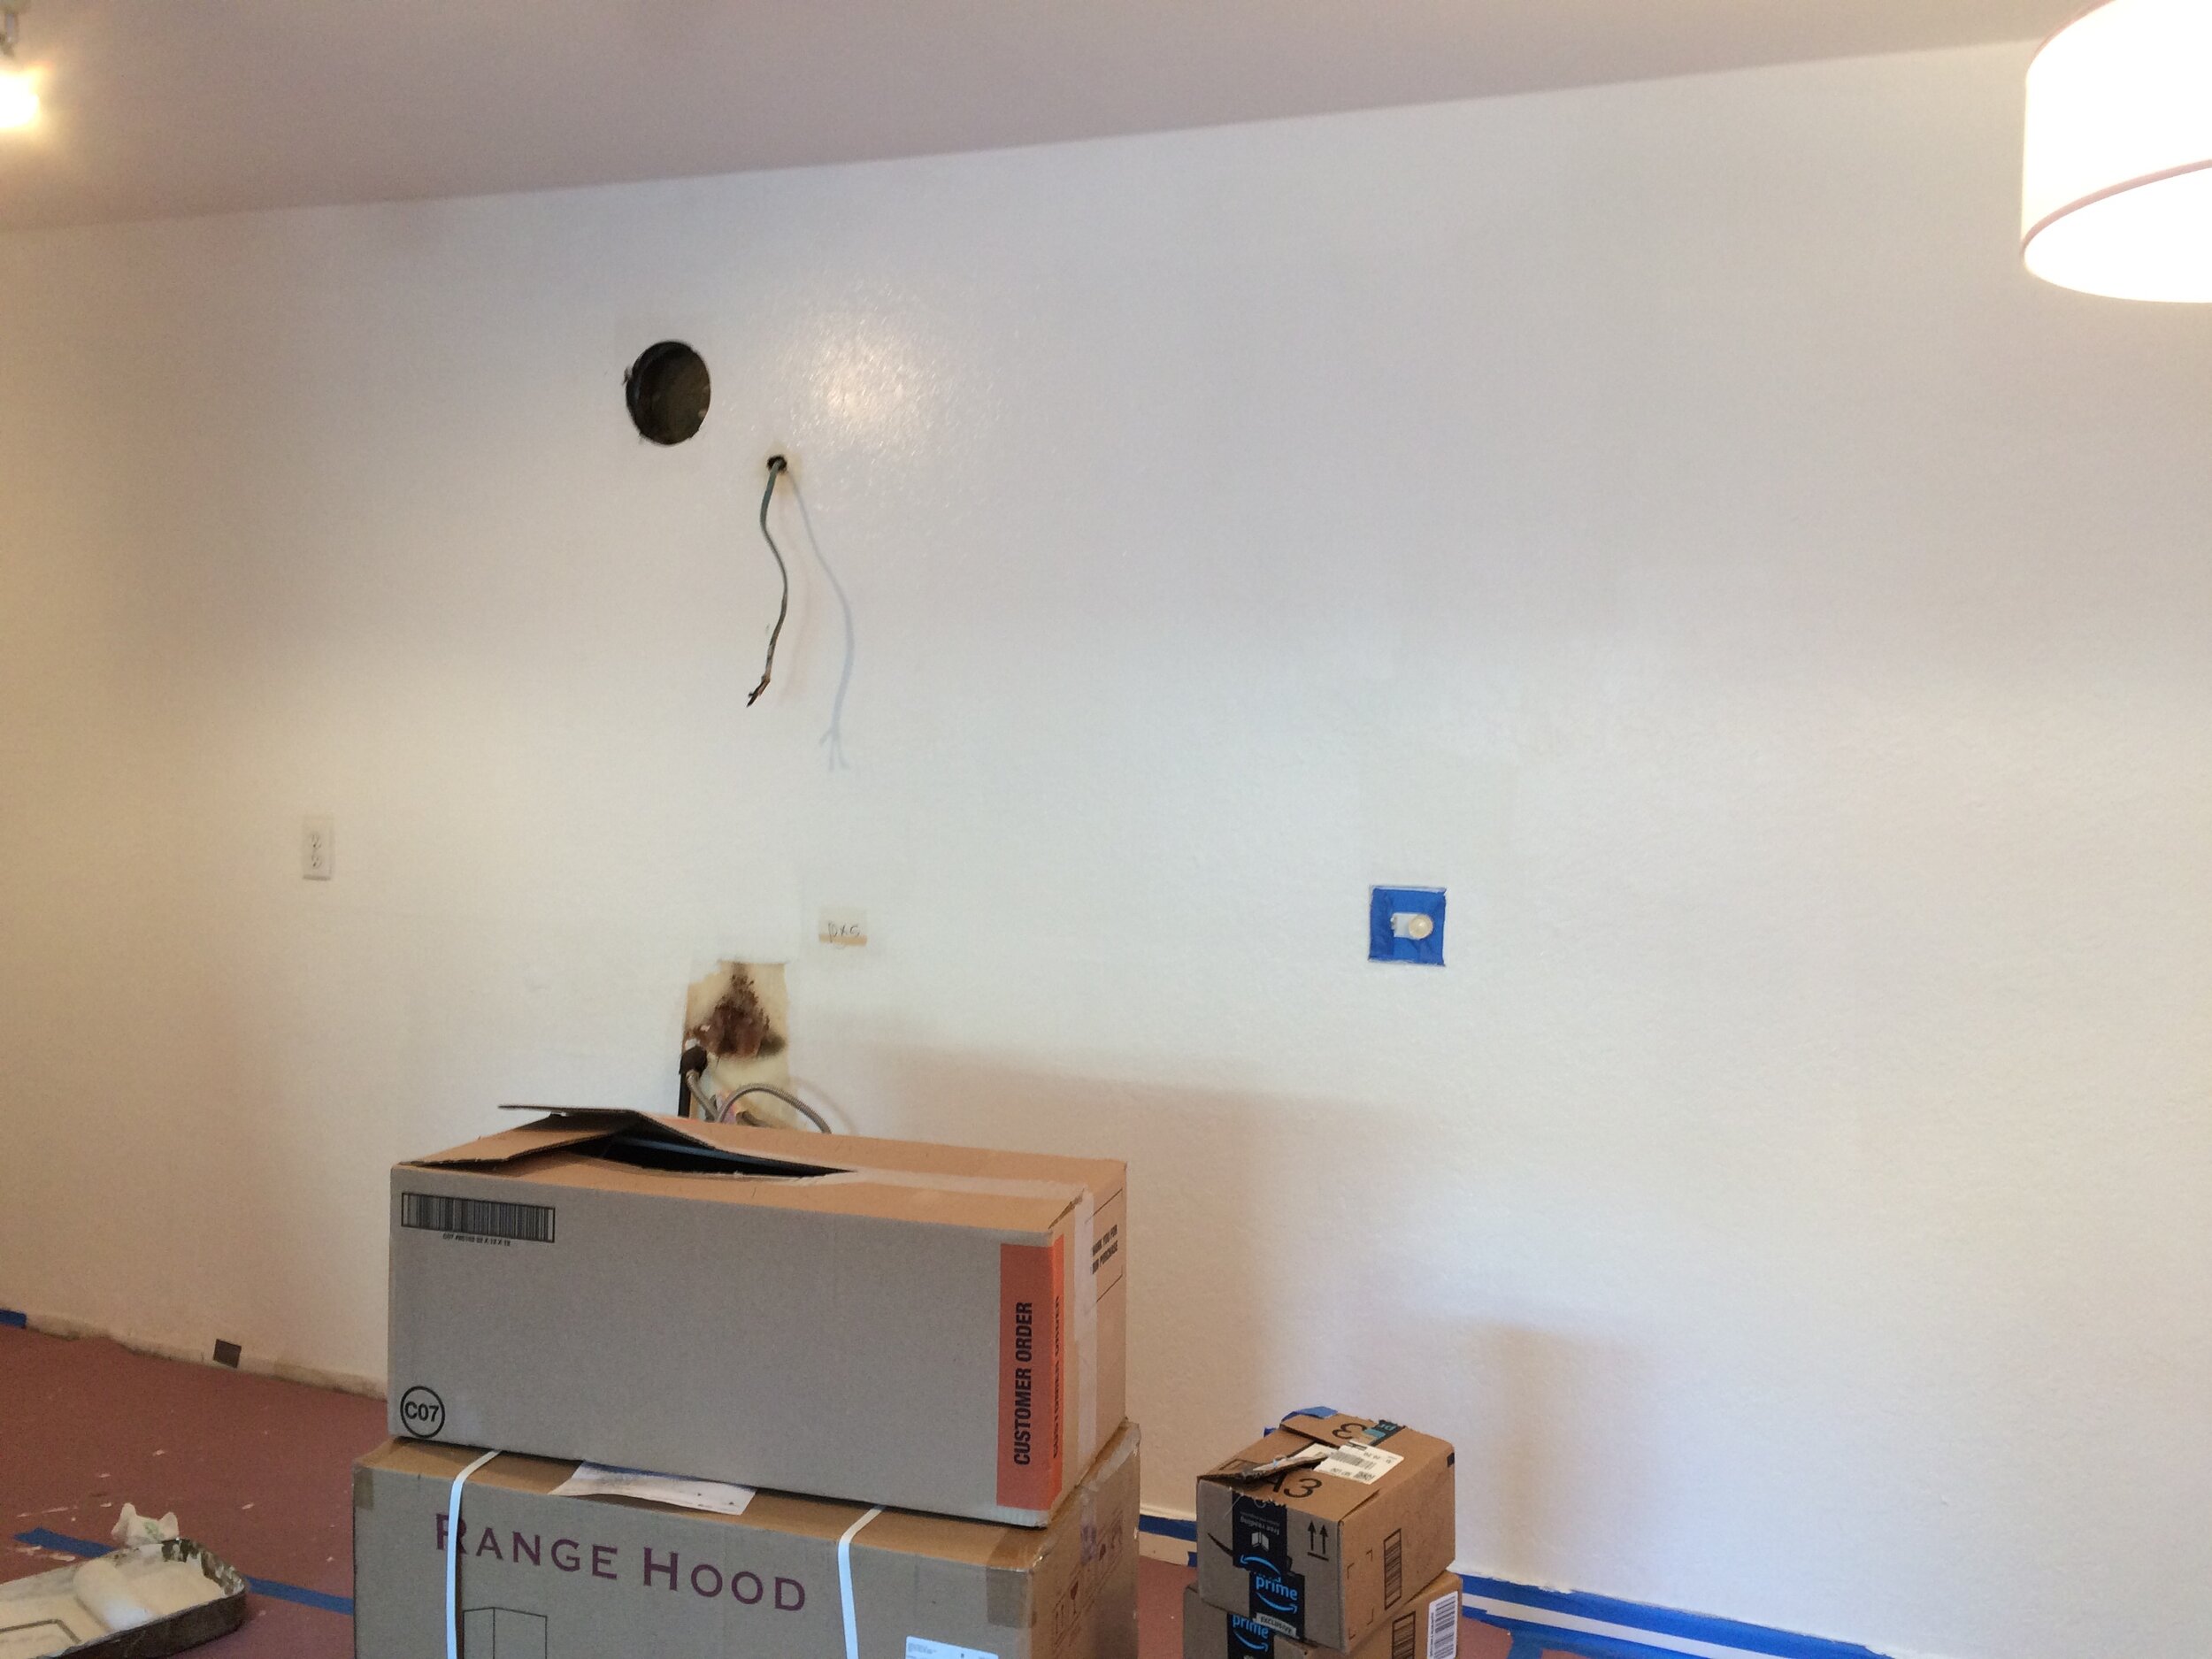
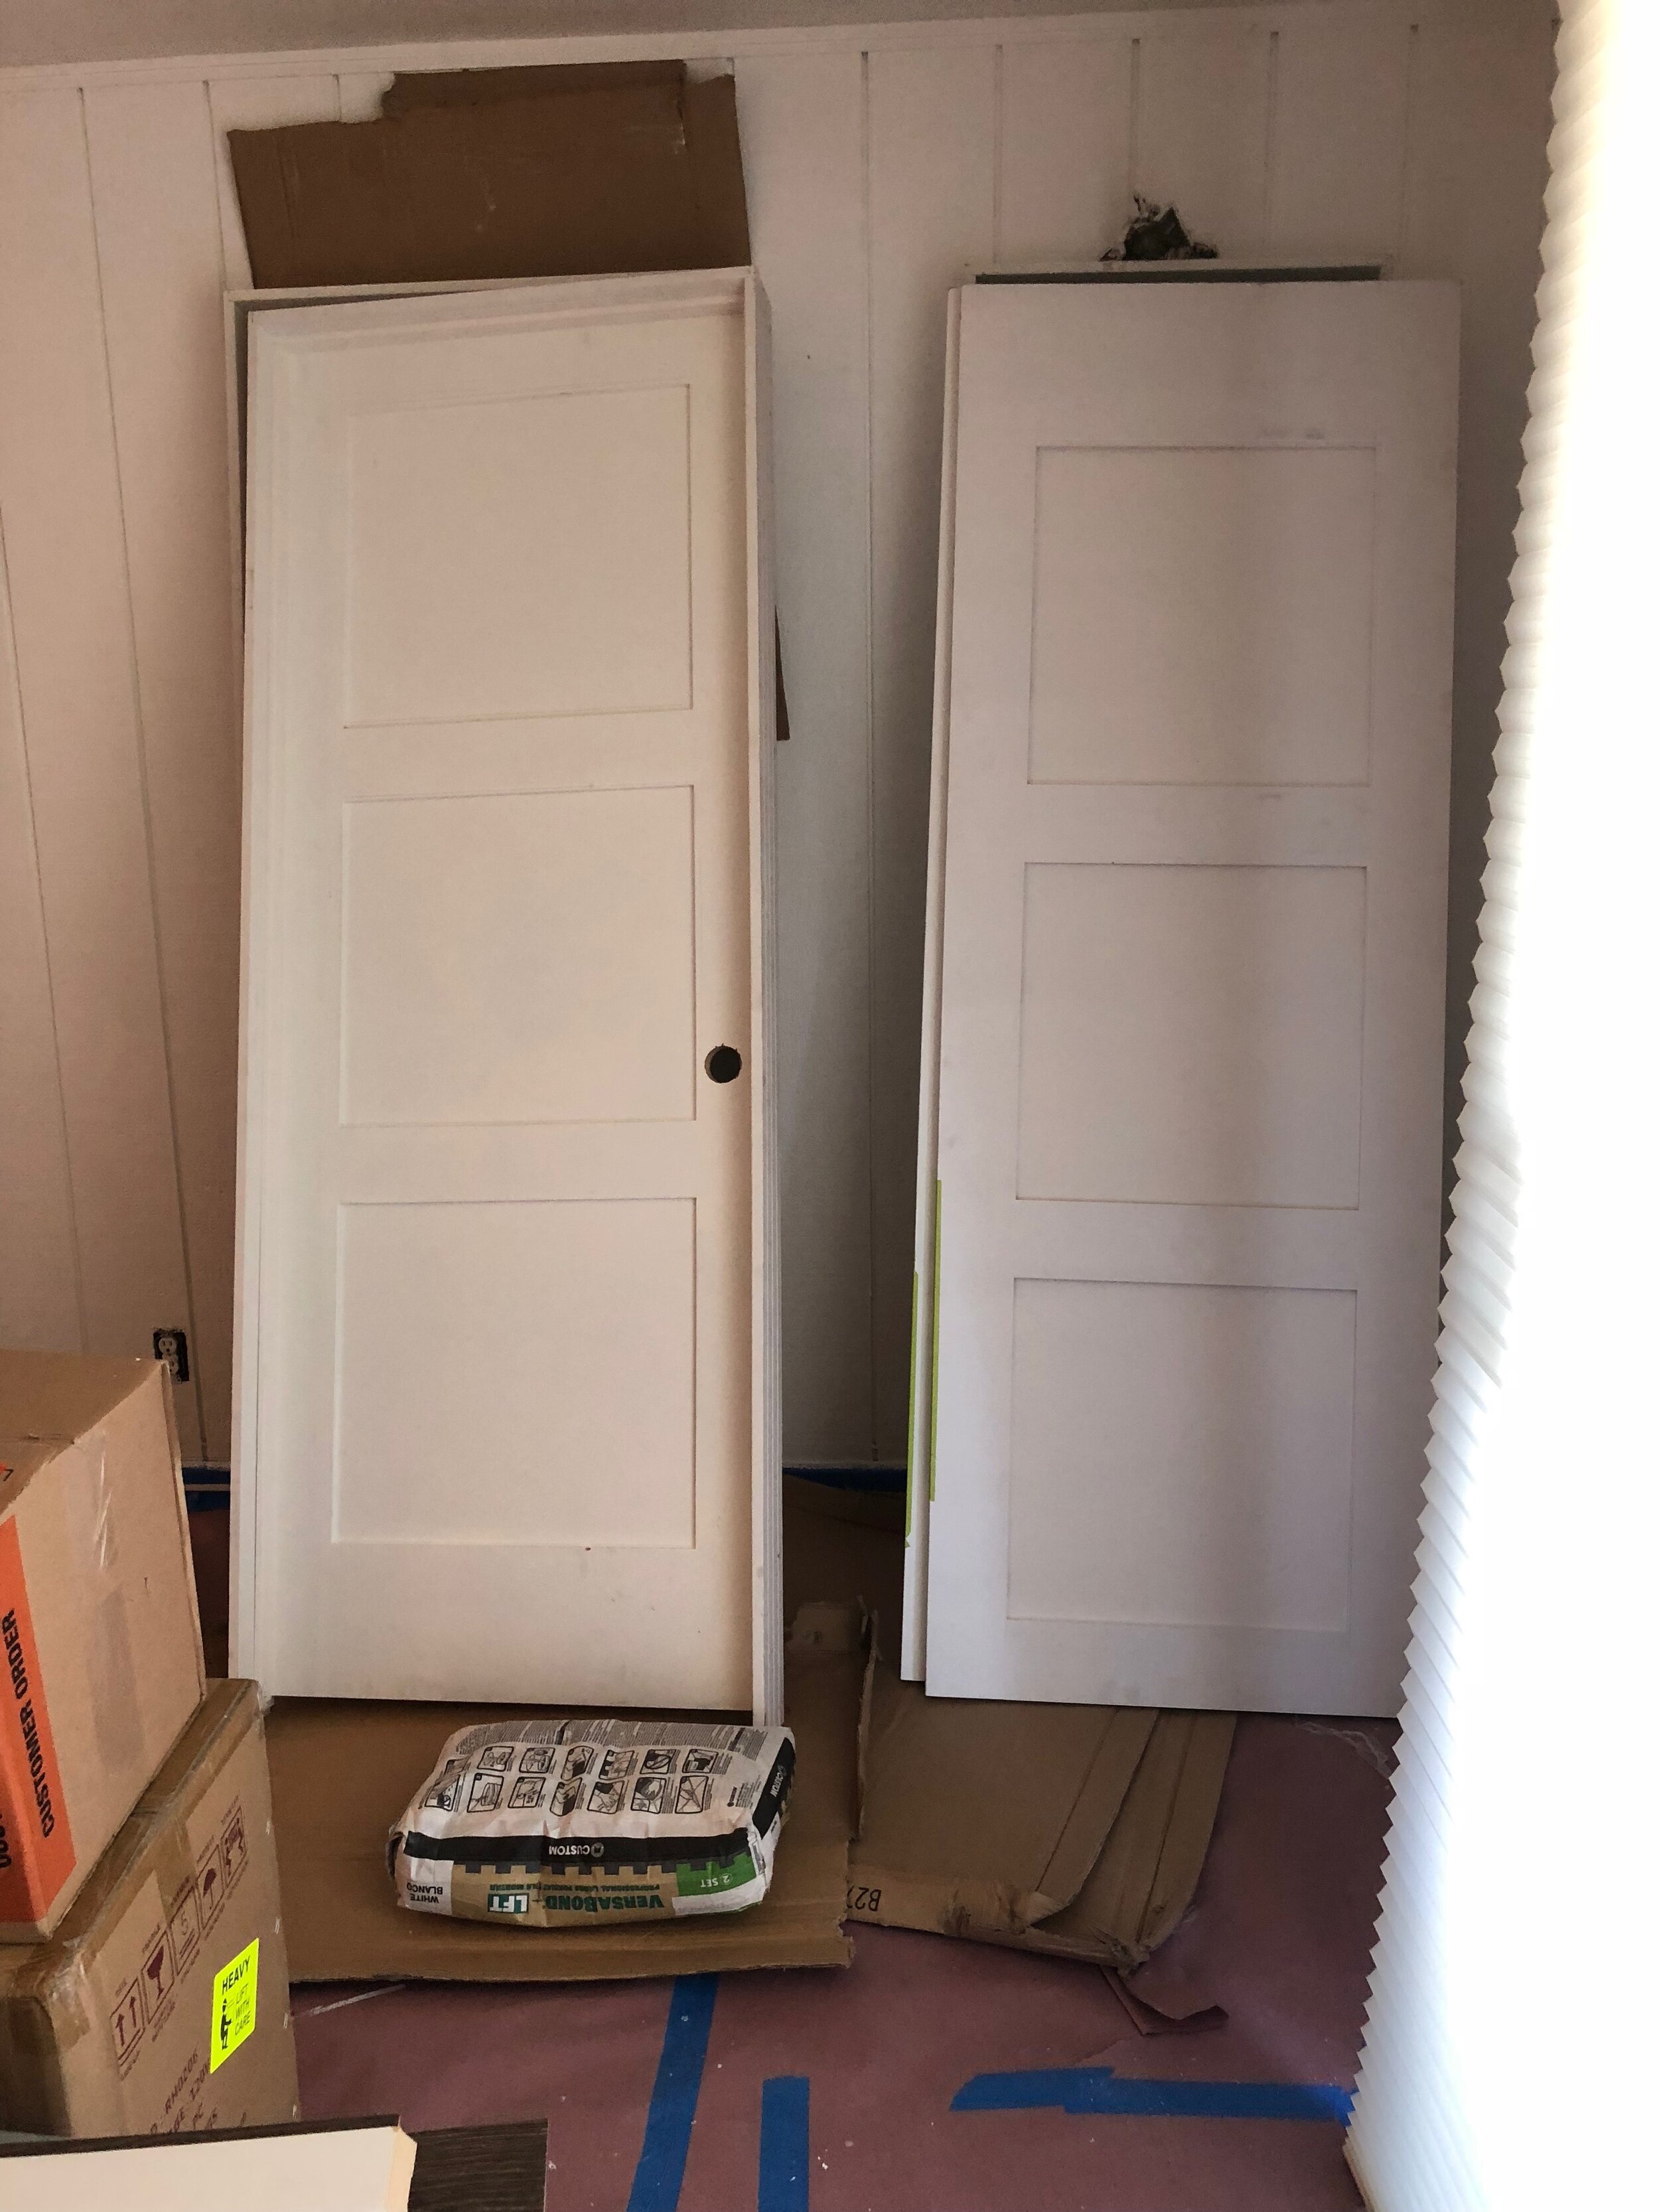
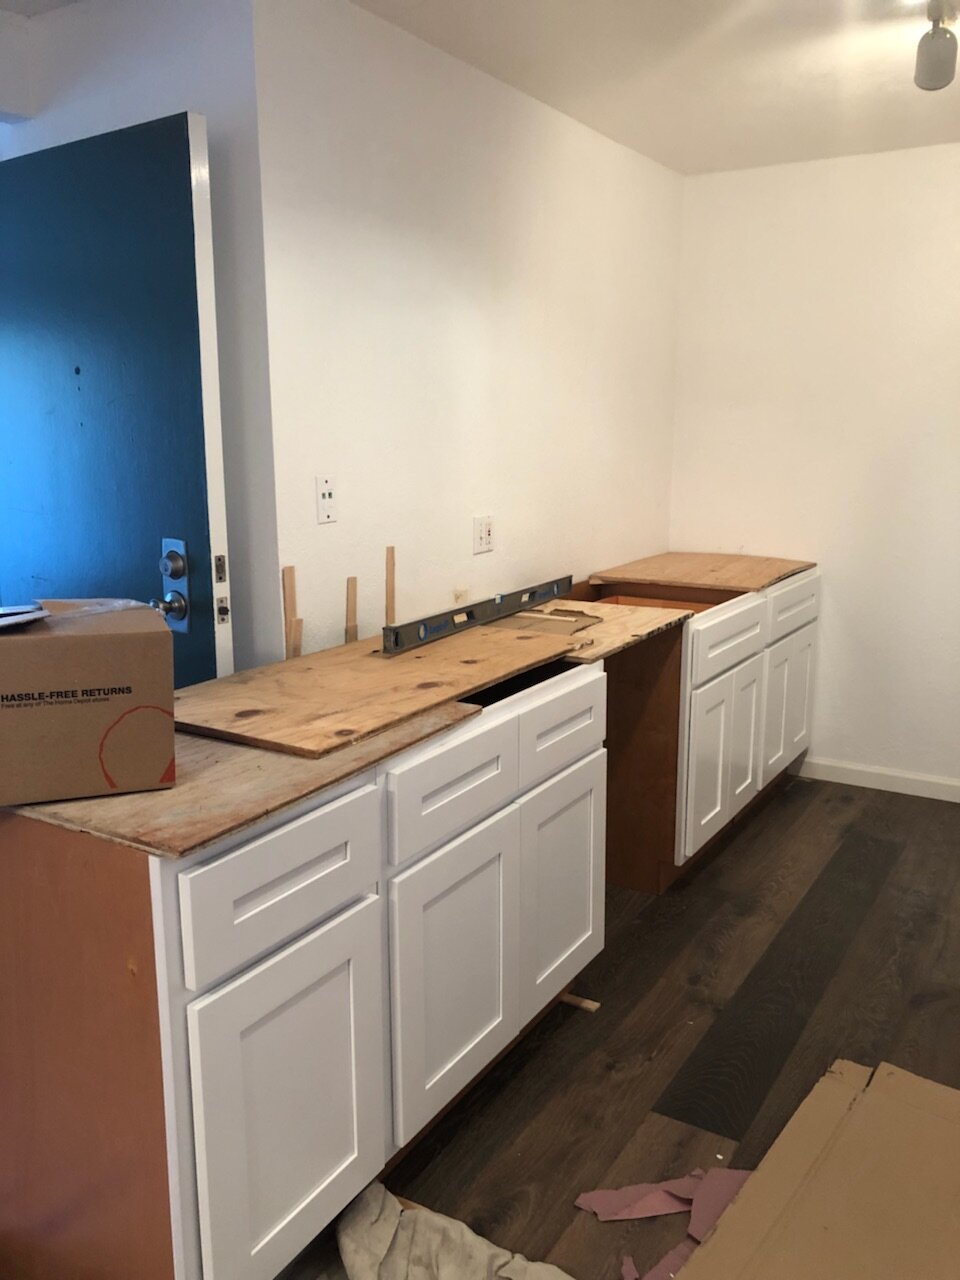
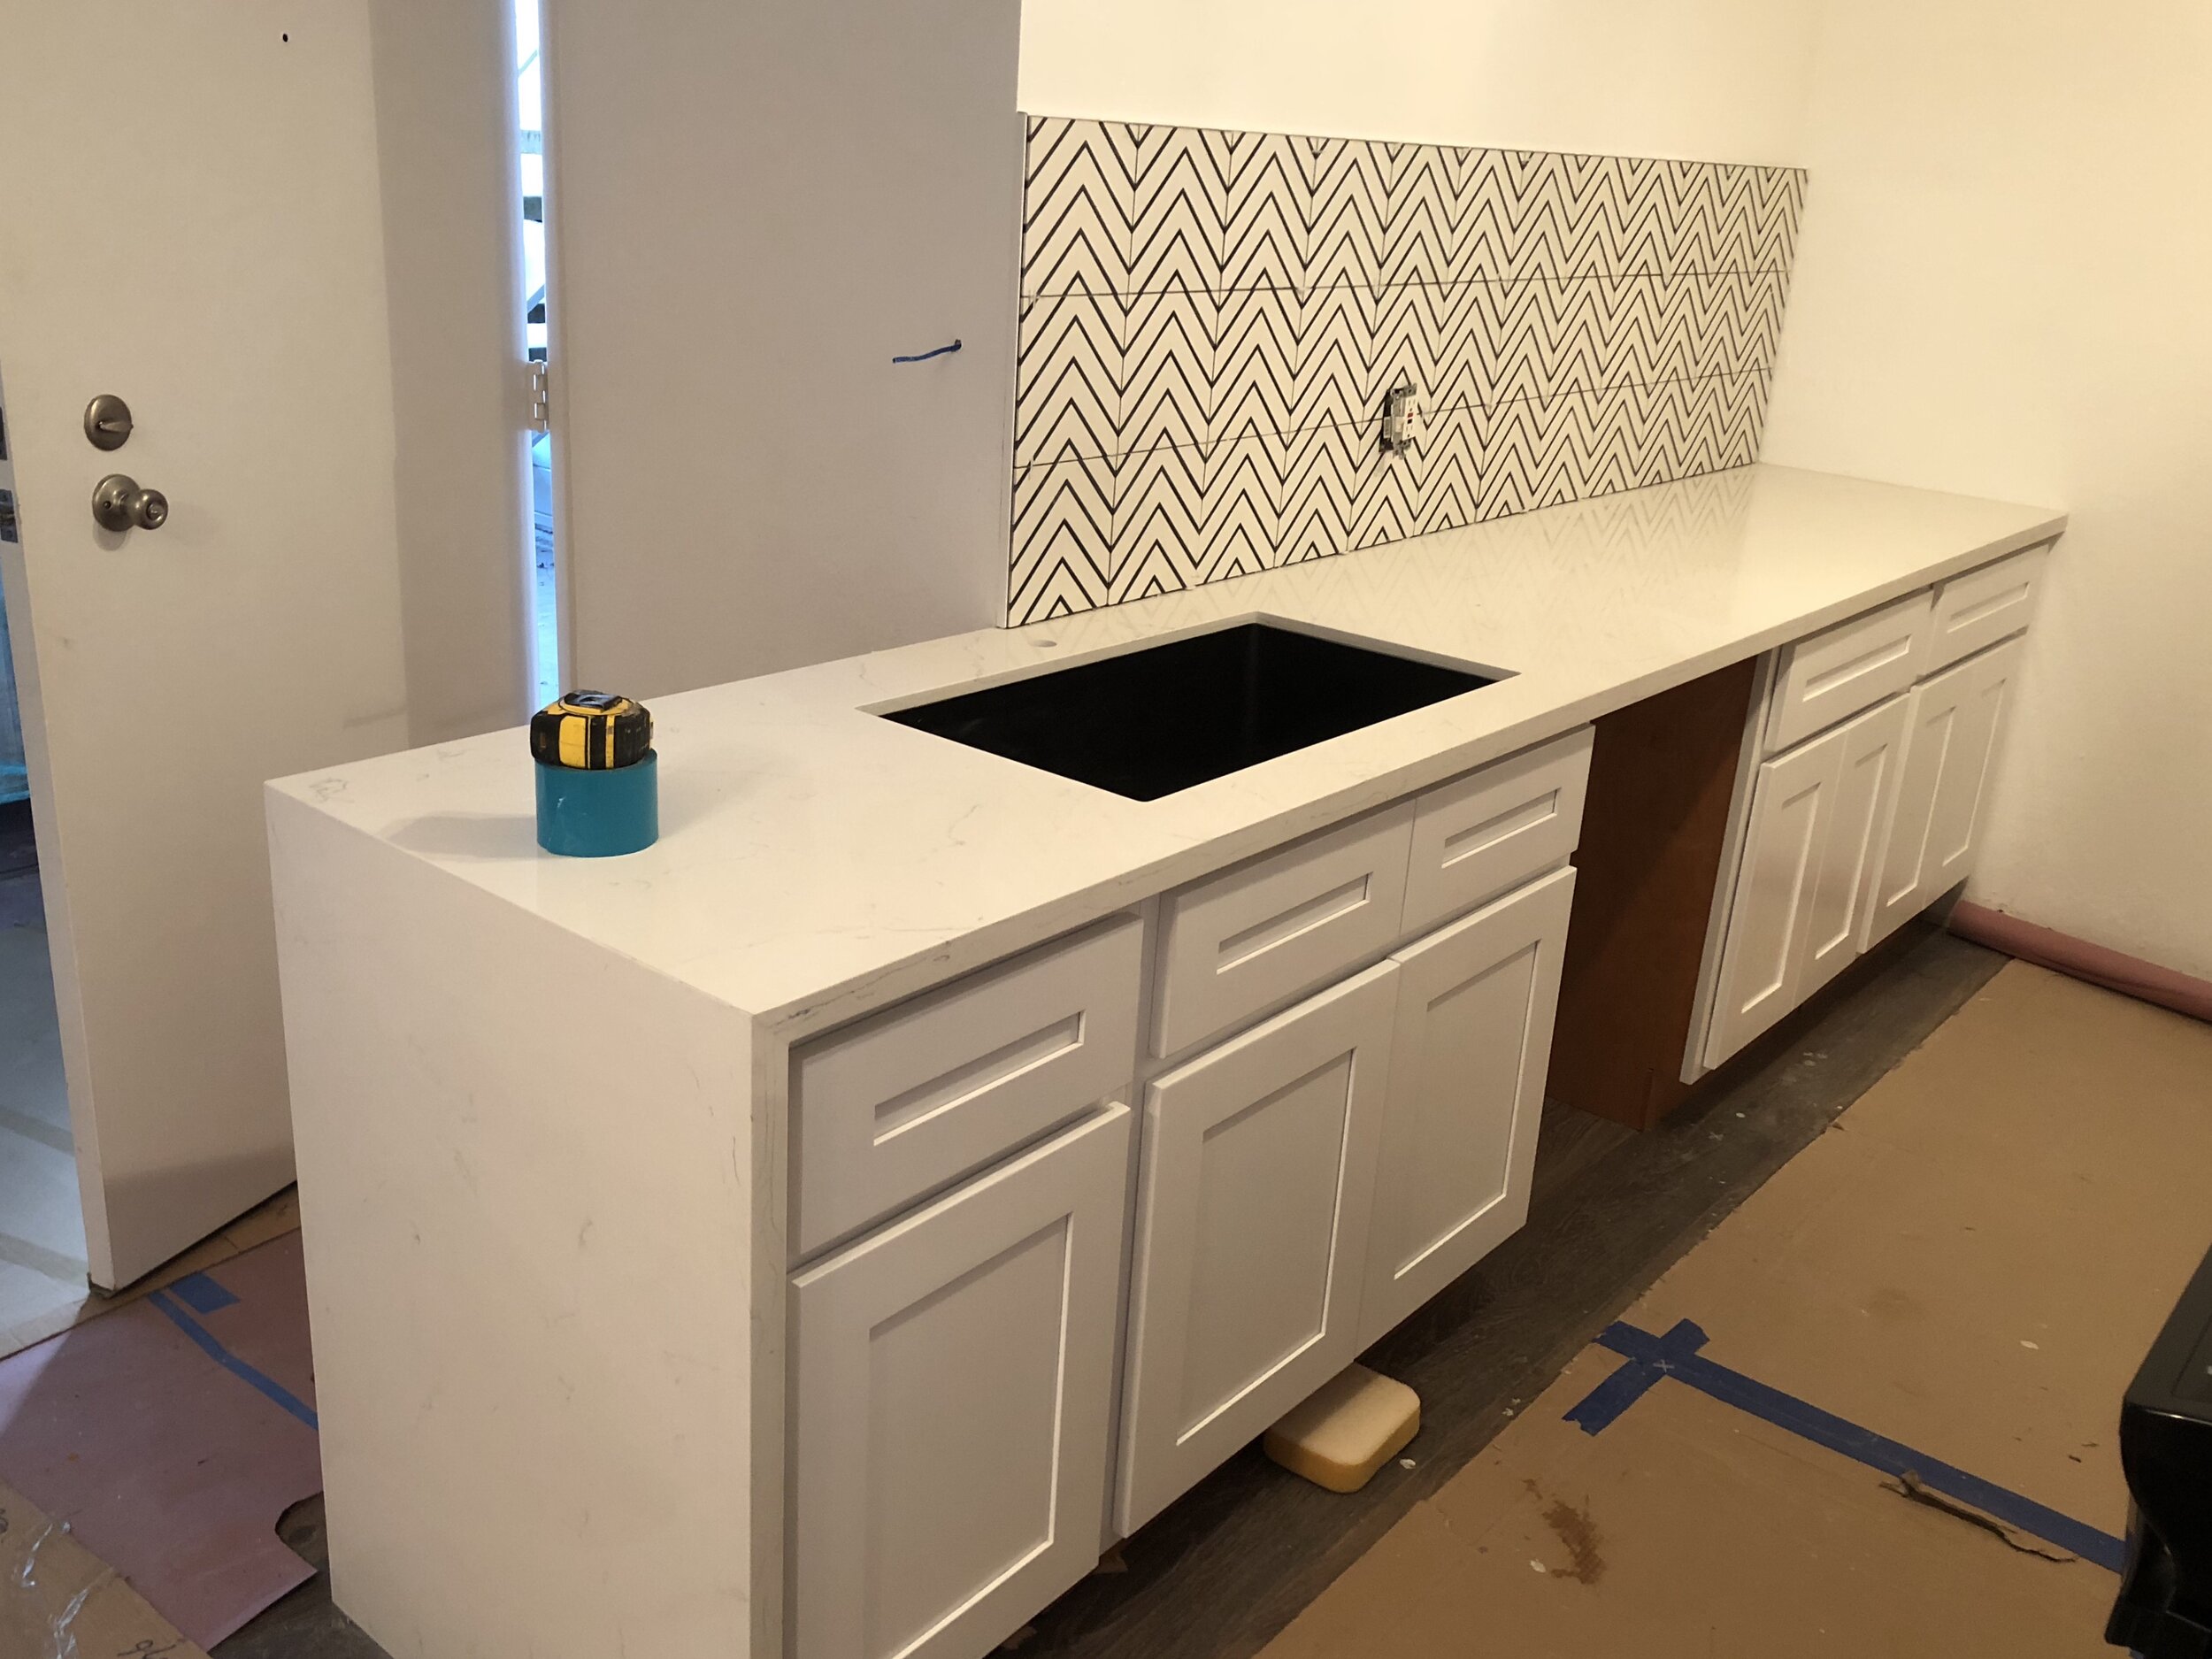
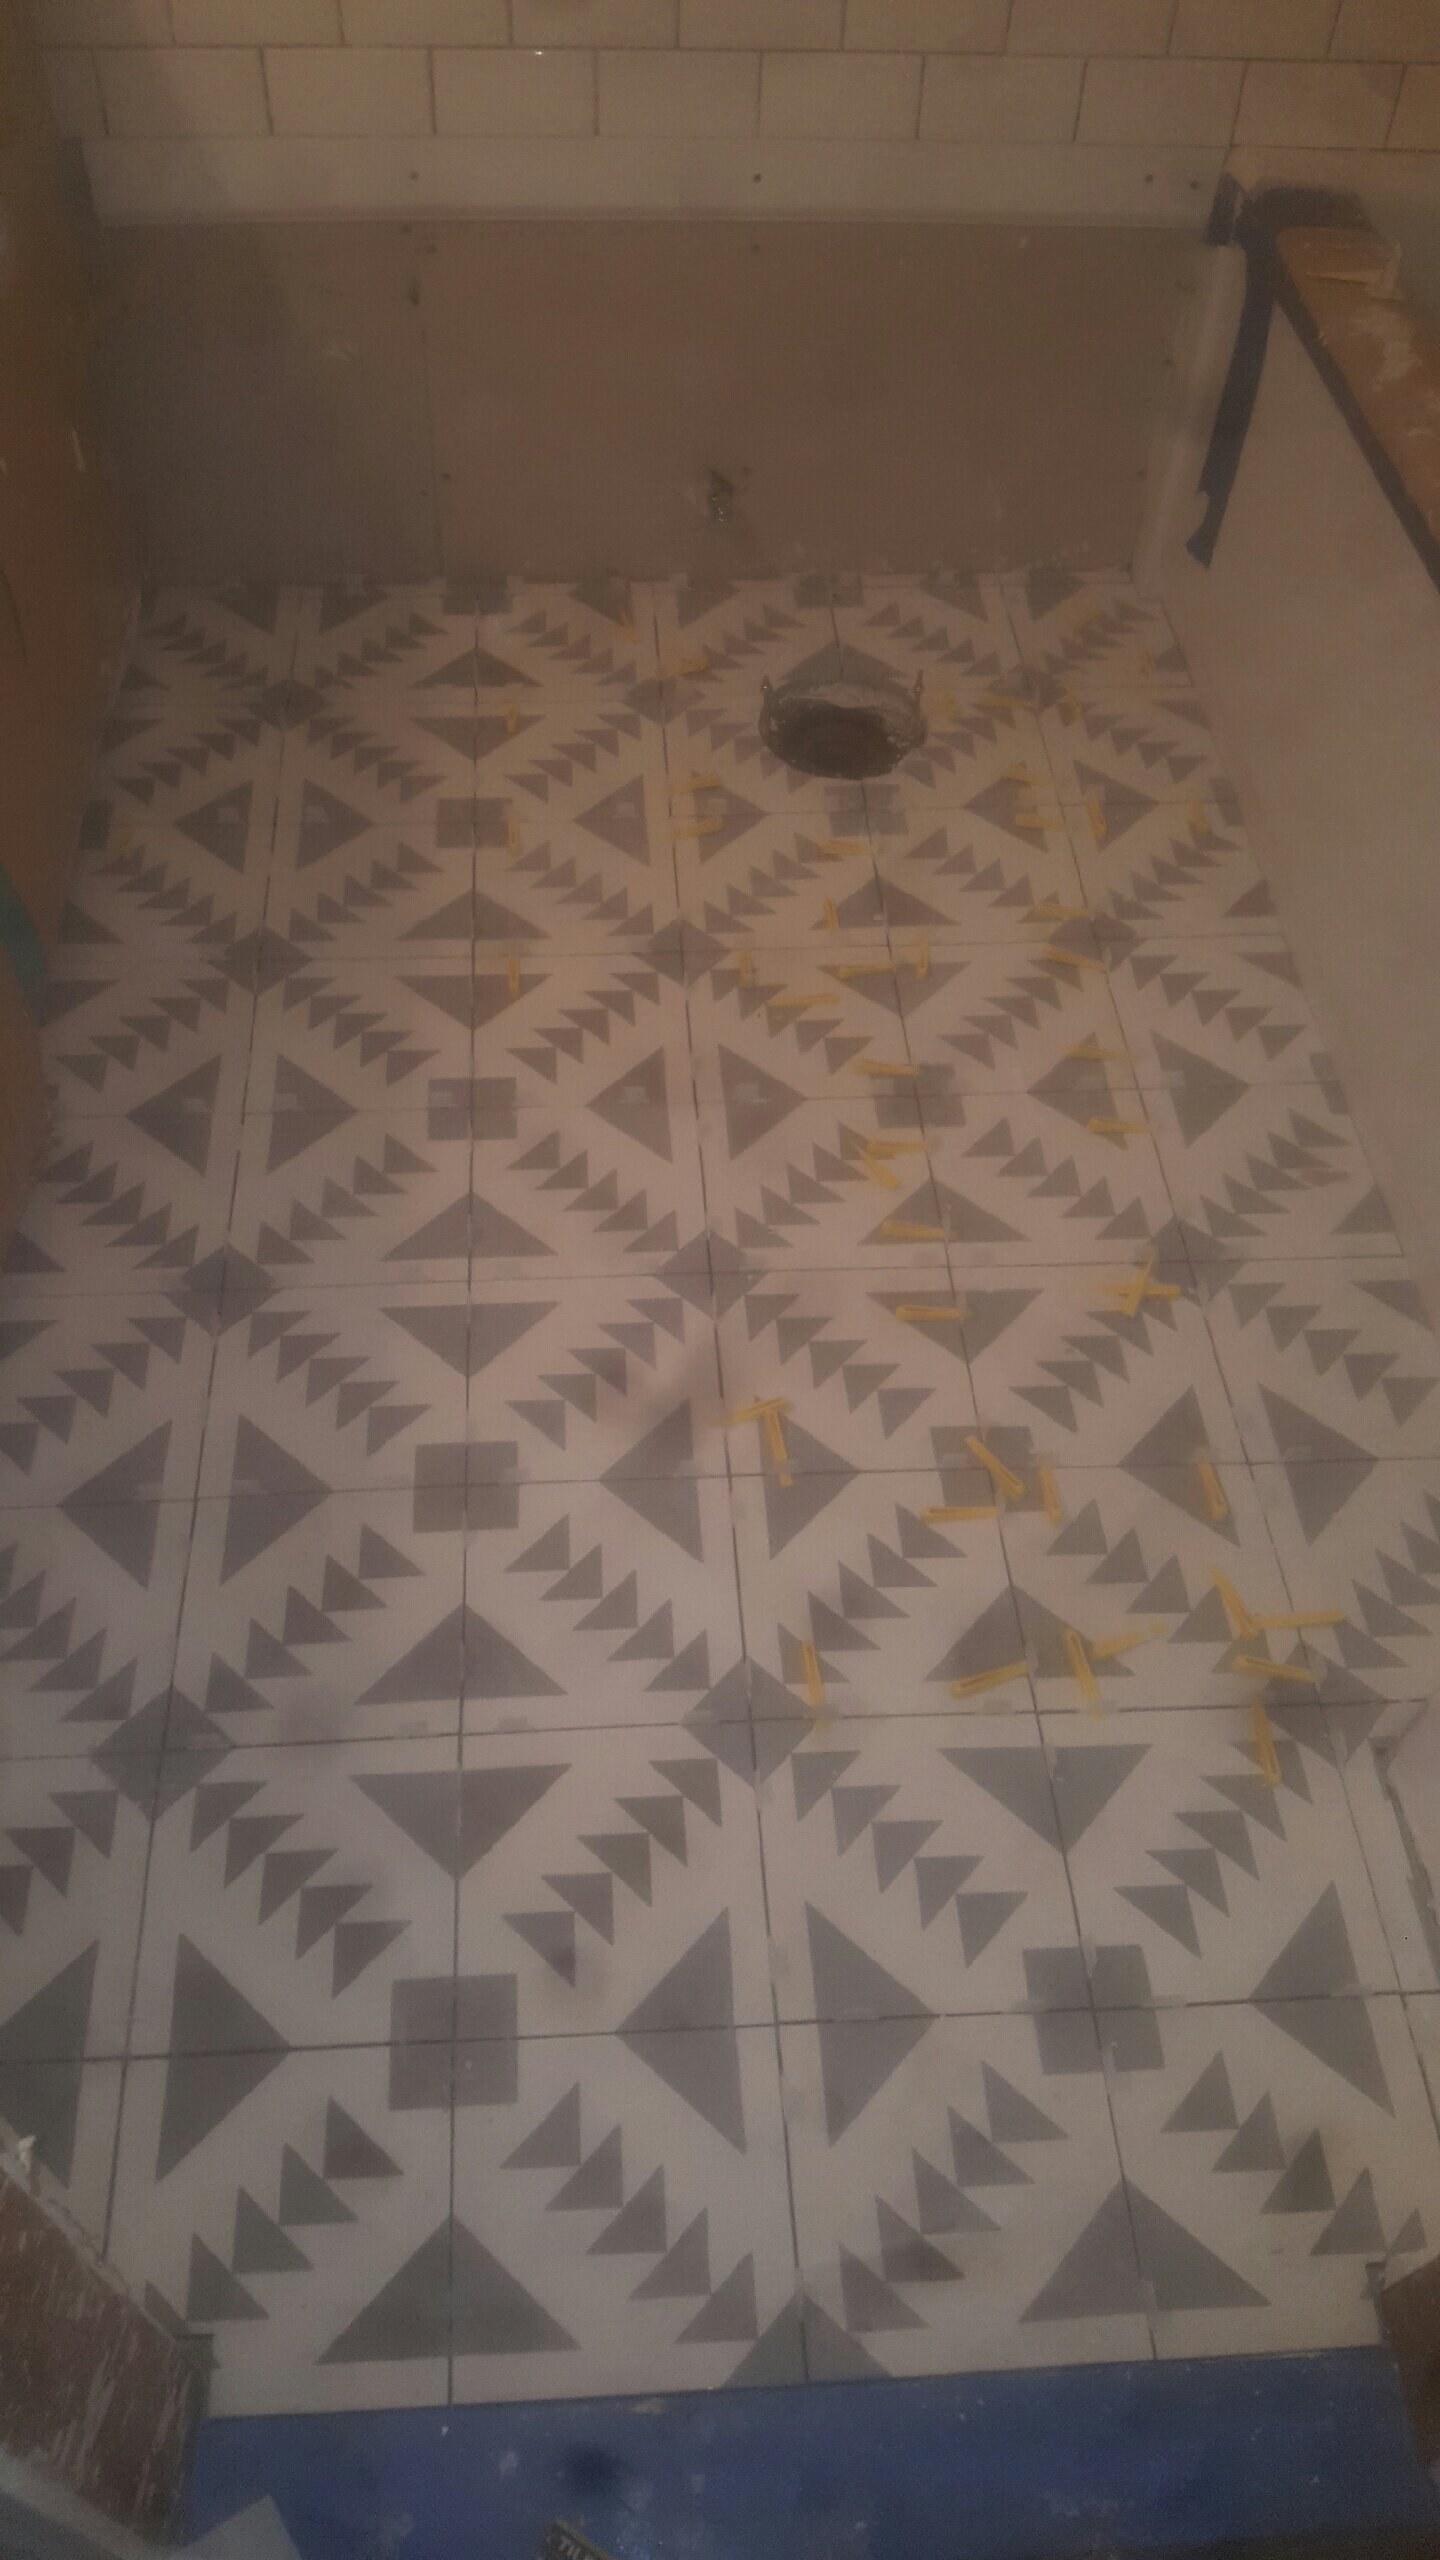
Here are our BEFORE and DURING reno photos.
If I didn’t link something below, that’s because I didn’t absolutely love it once we lived in our space and saw how everything wore over time.
Paint Colors: We did Benjamin Moore Chantilly Lace on all walls and ceilings. Flat on all walls and ceilings in the living room and bedrooms. Then, semi-gloss on kitchen and bathroom walls and ceilings. Pretty simple and the color is a very true white with an ever-so-slight warm undertone. Since this was a condo that we knew we were going to sell, we didn’t want the next owner to have to think about paint colors.
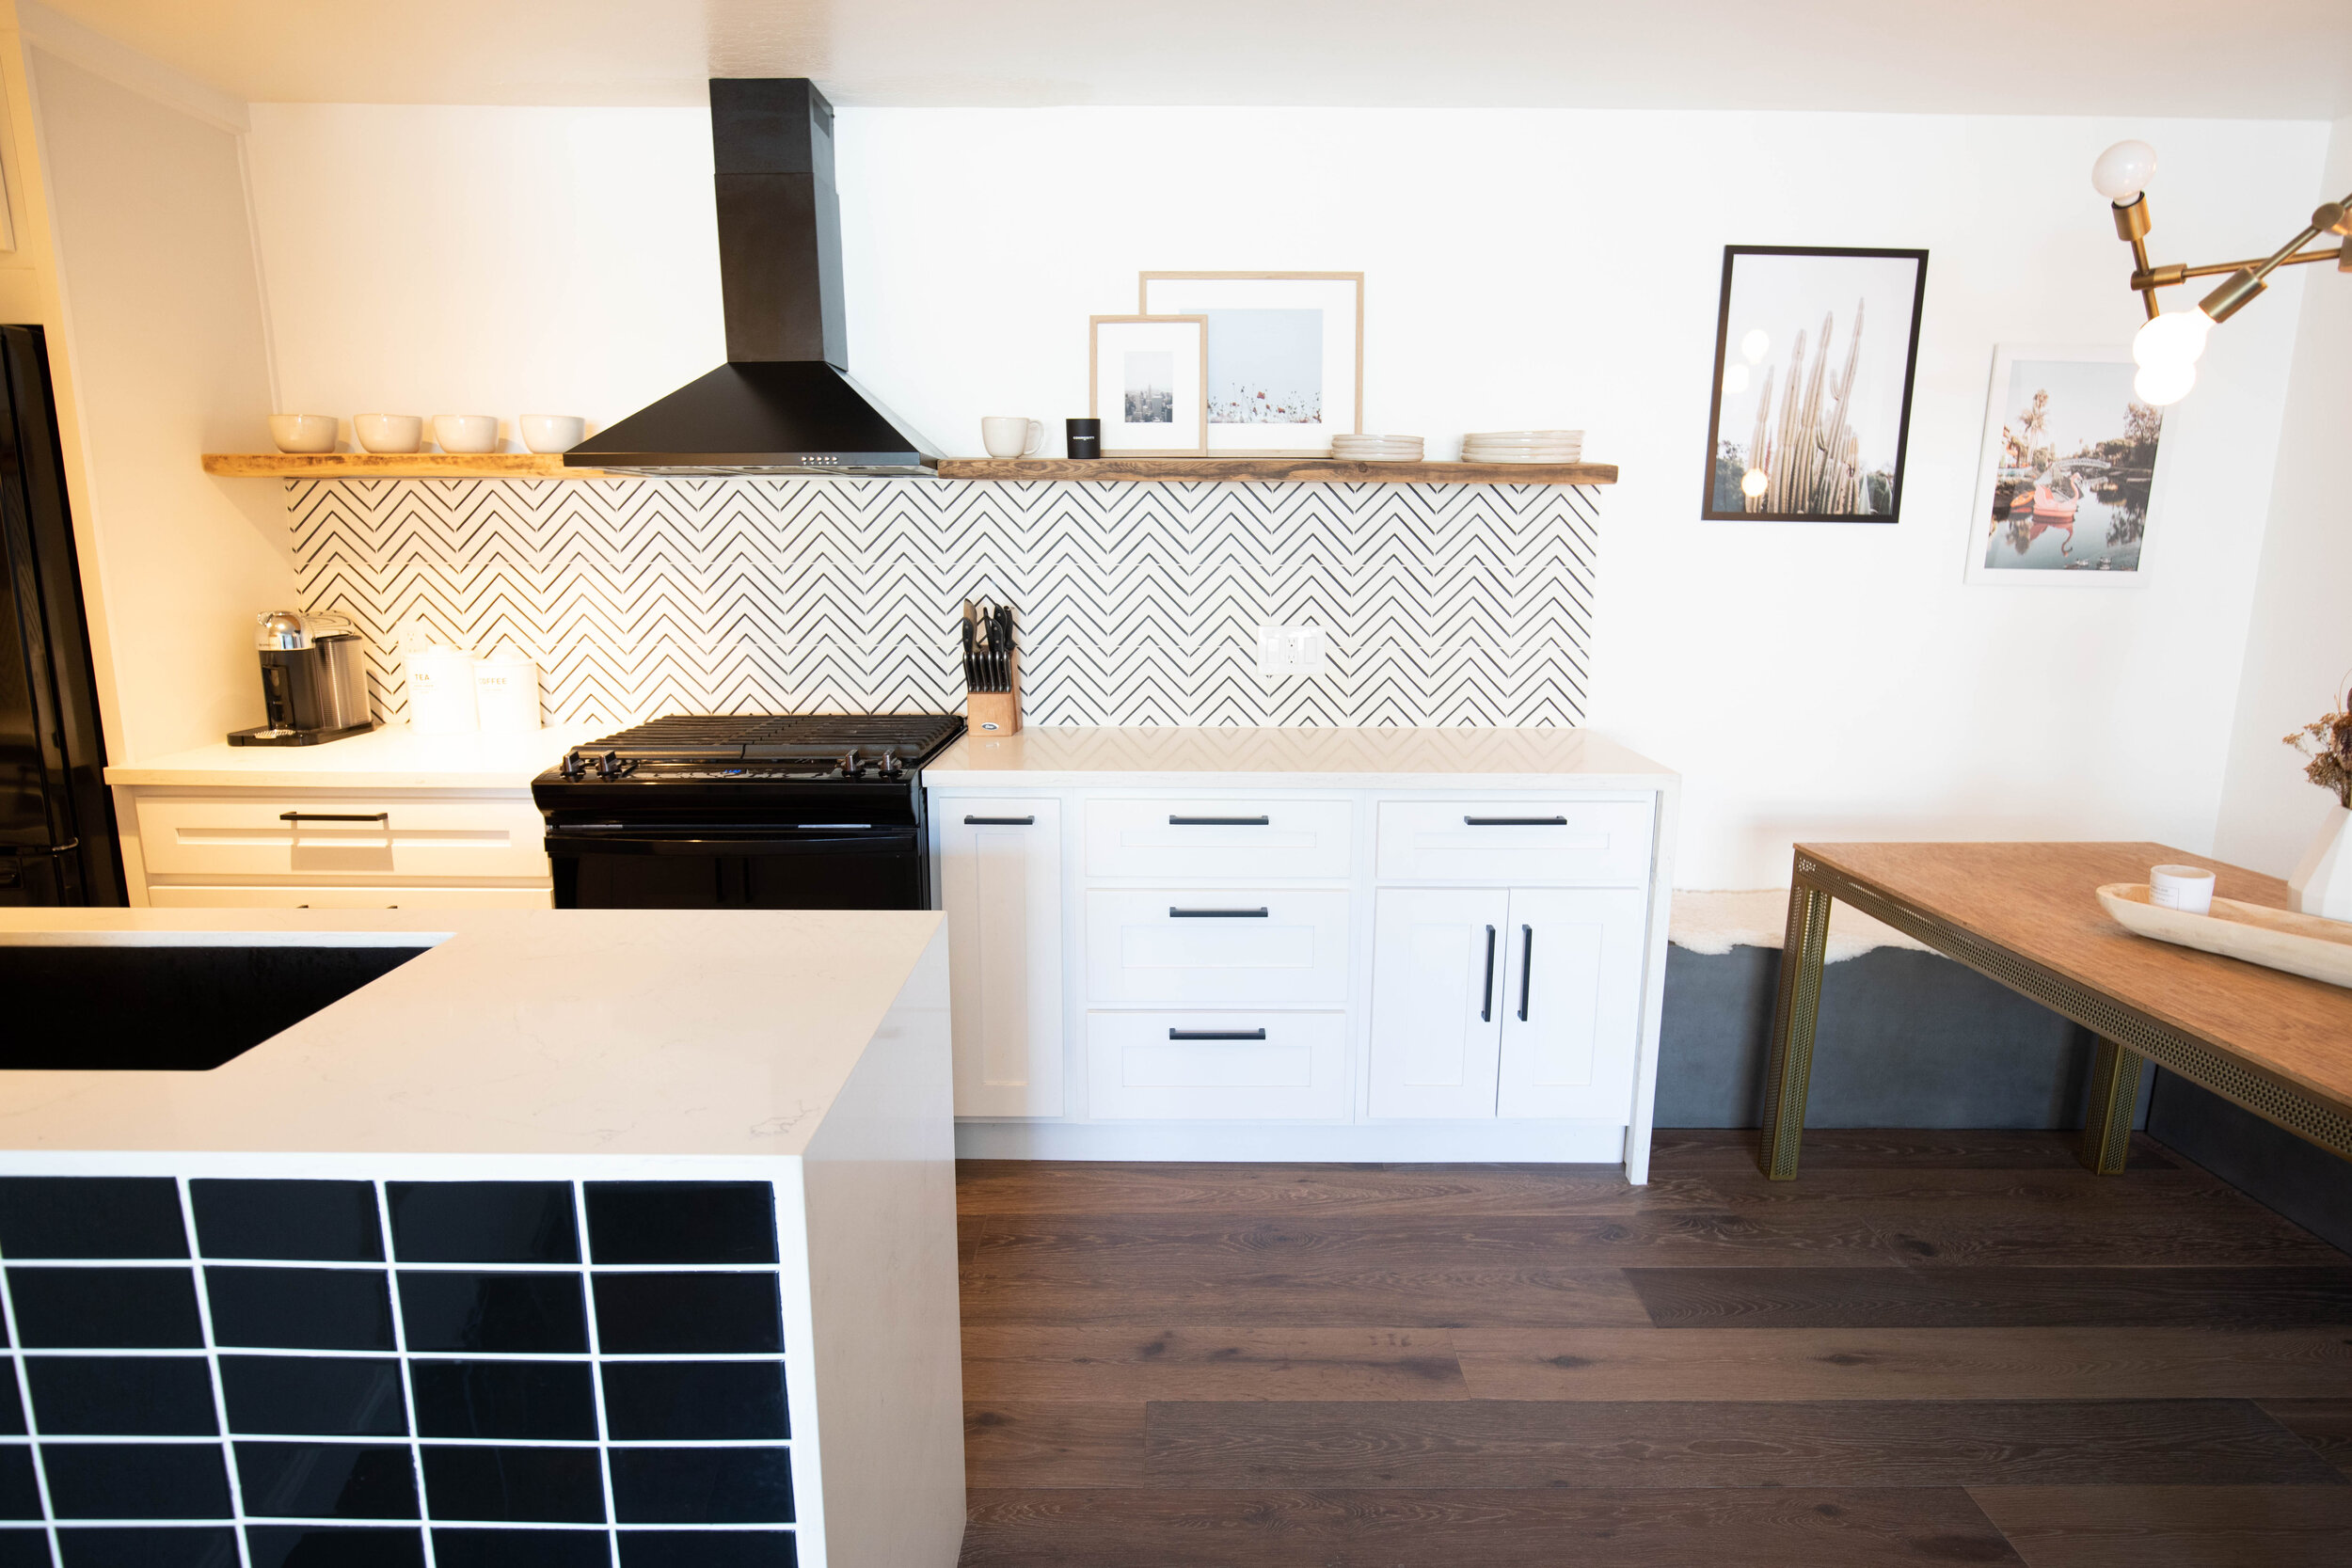
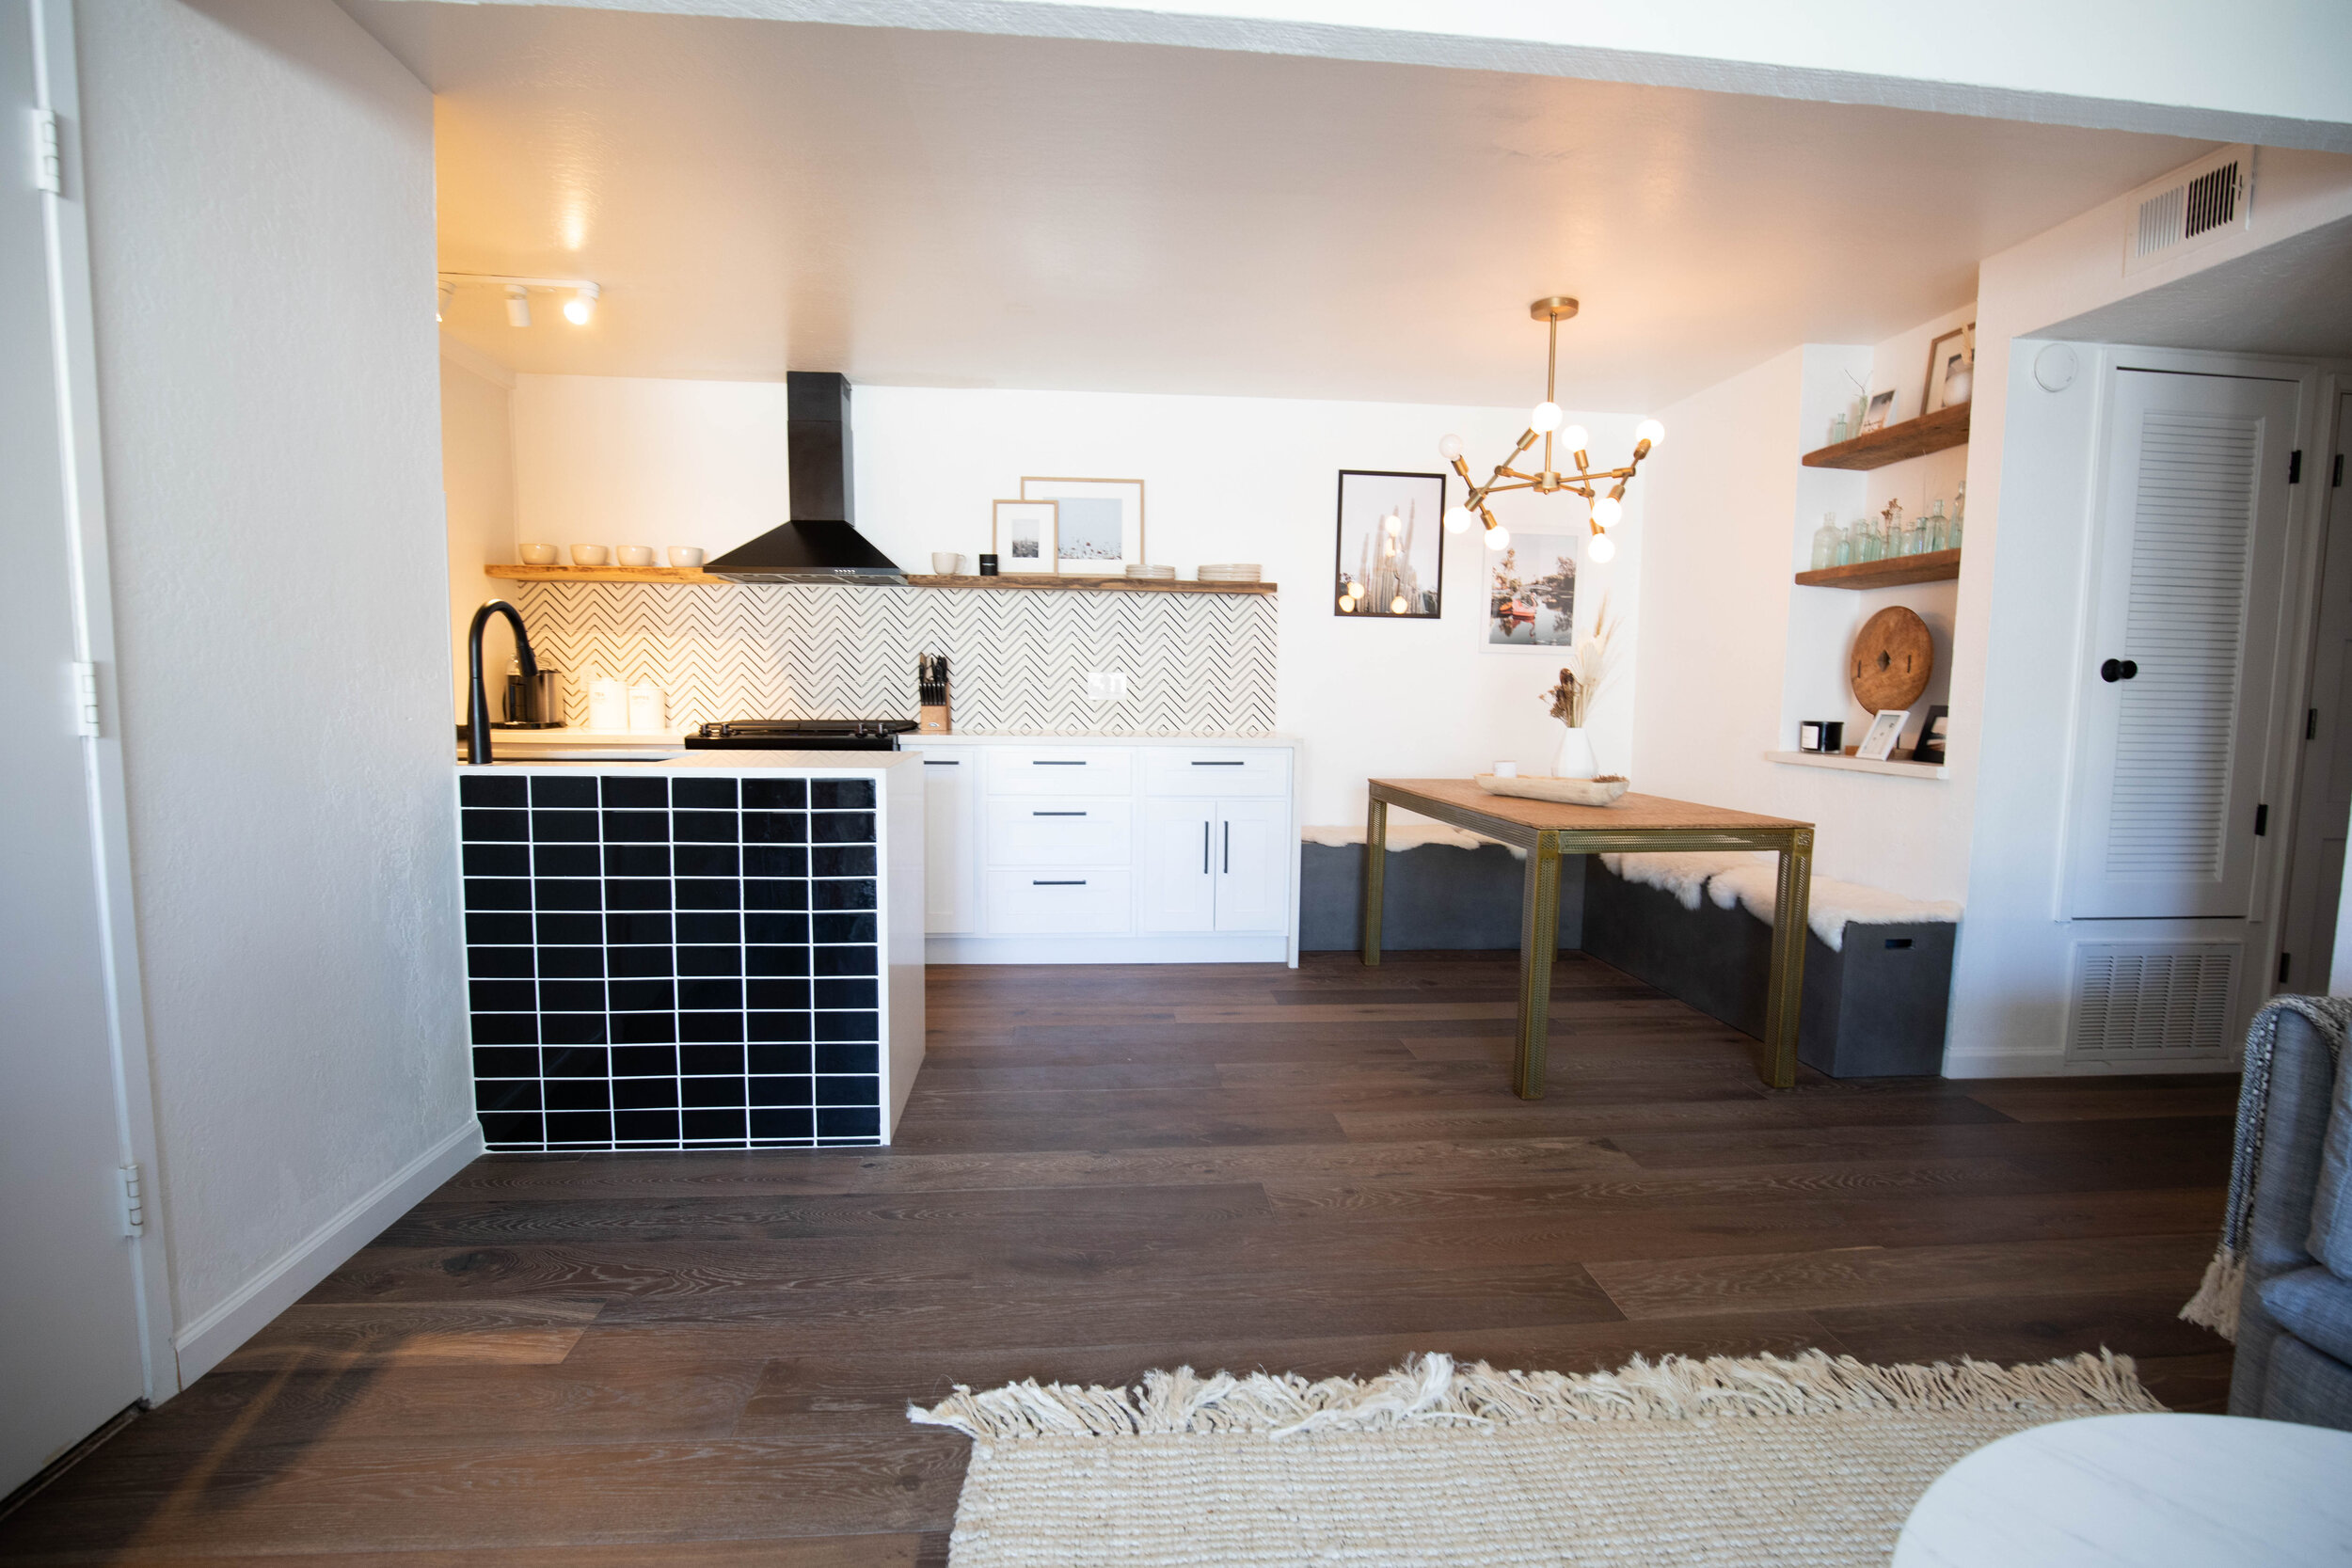
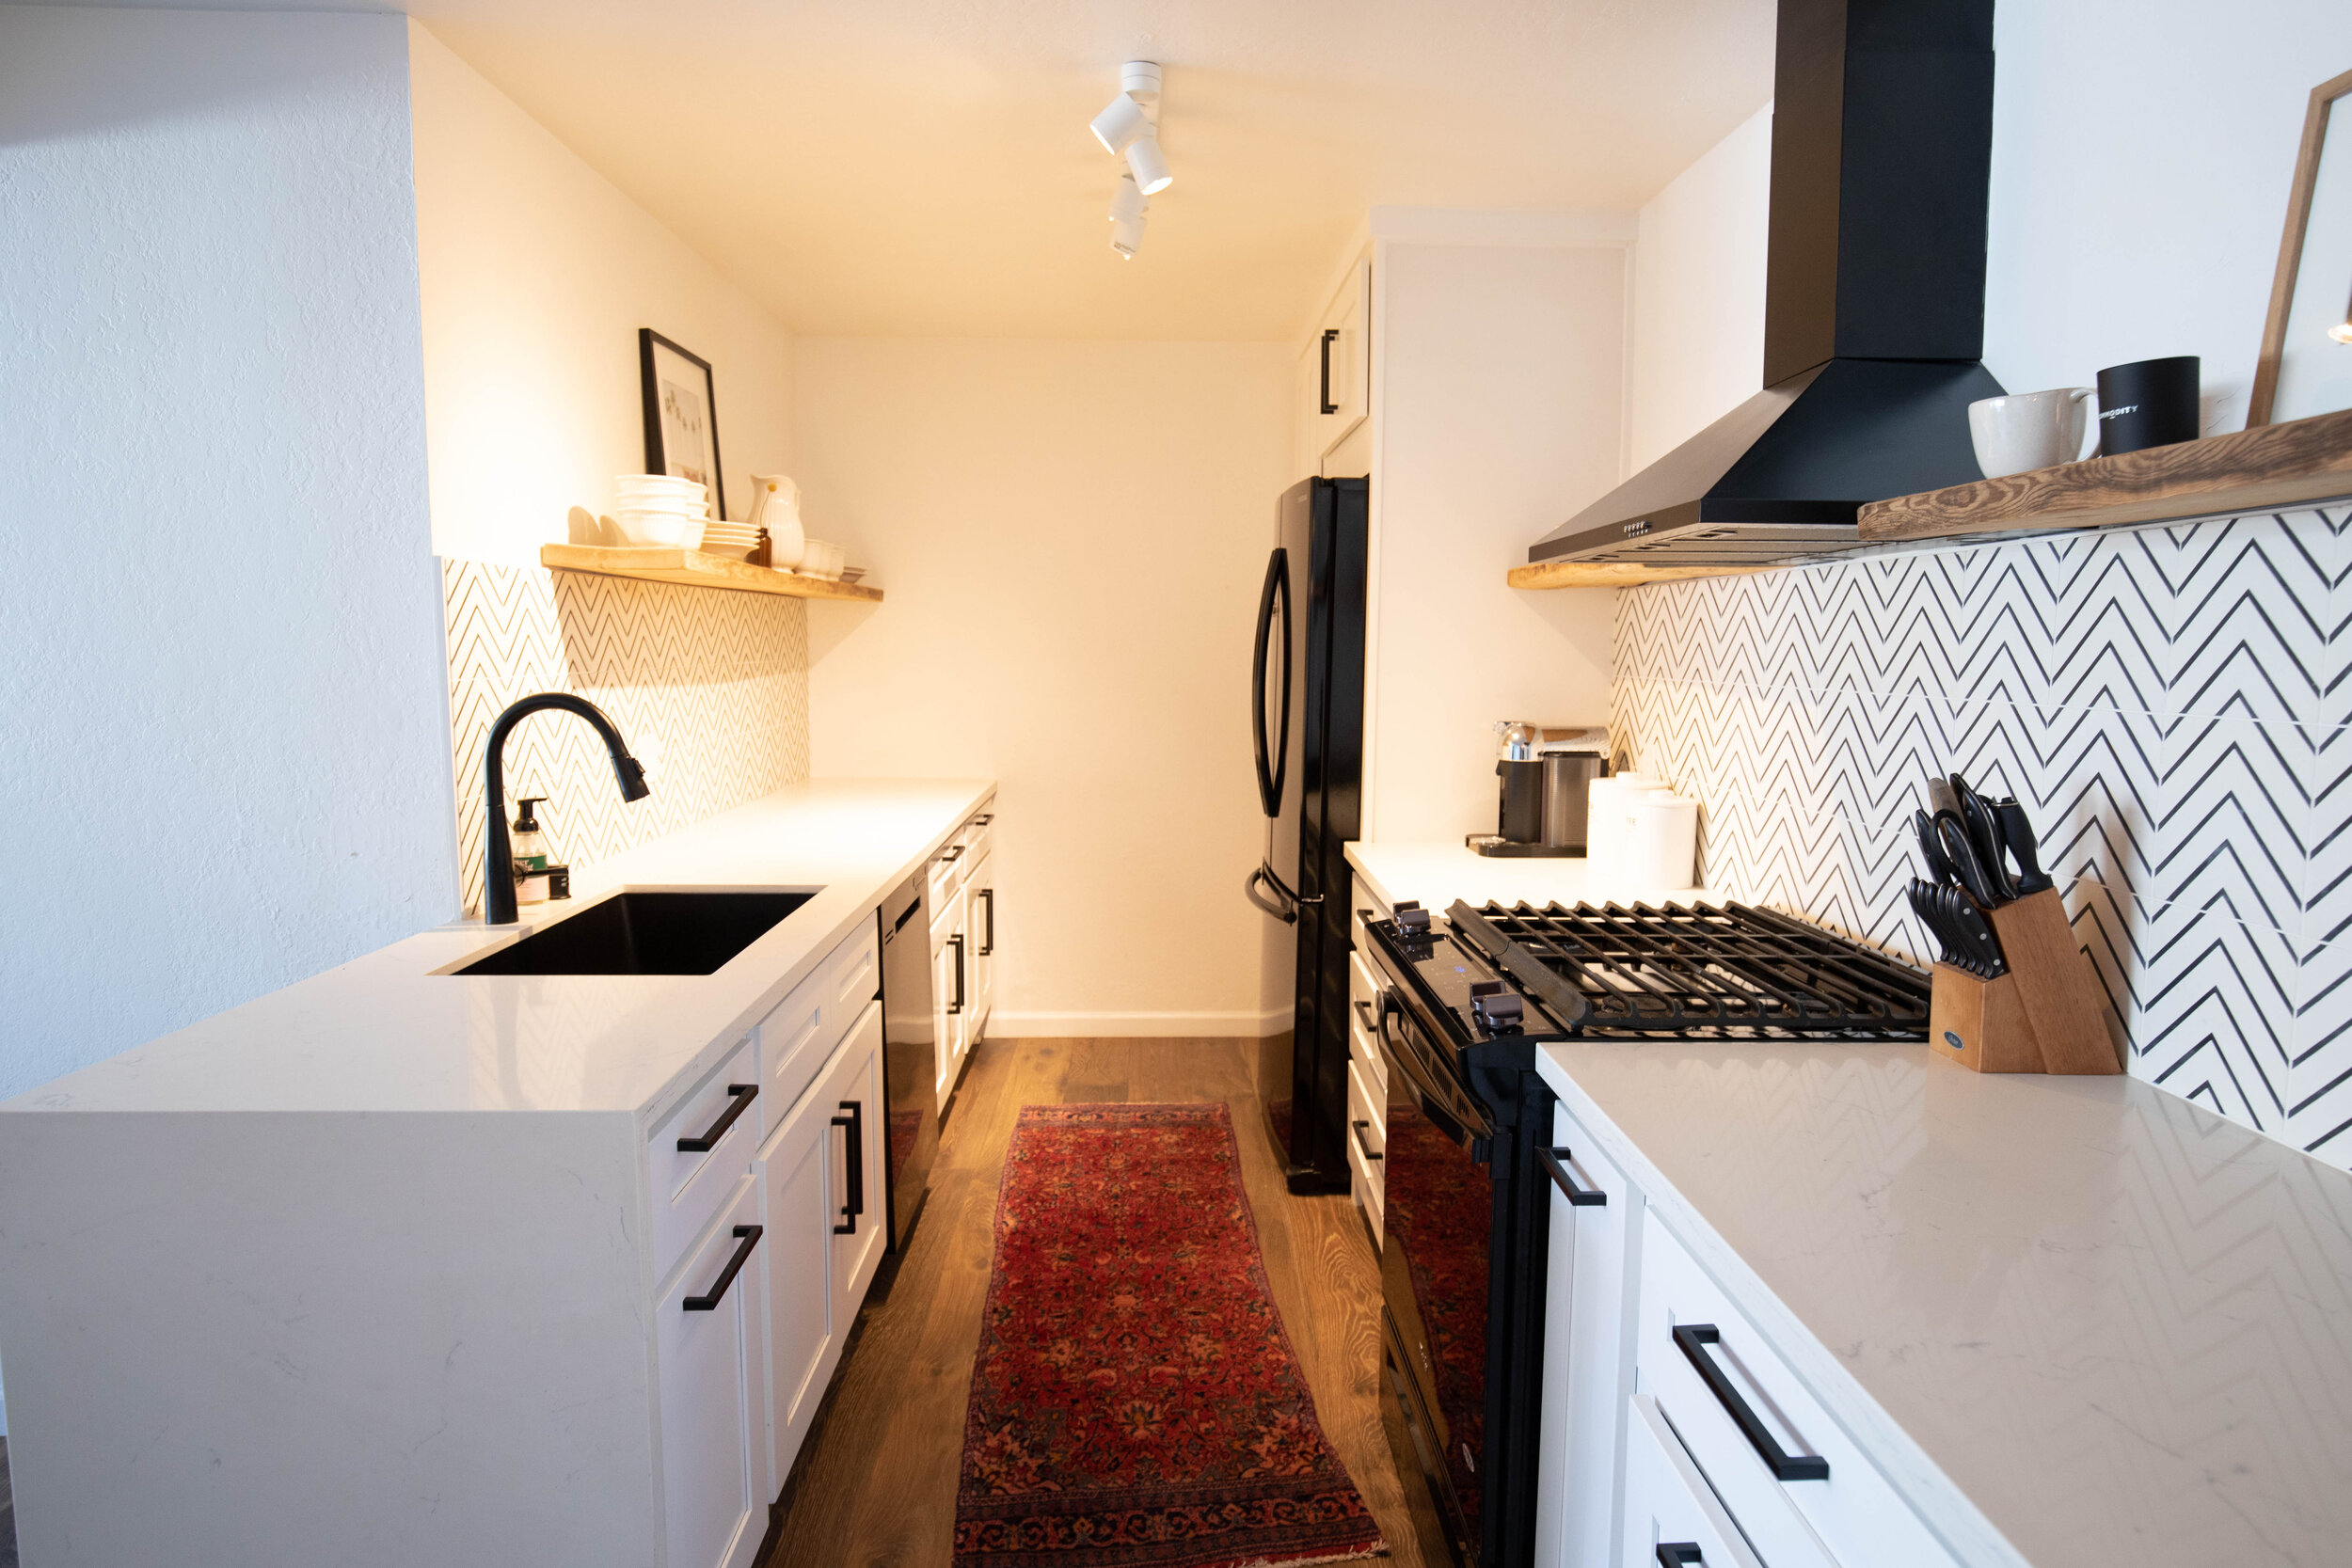
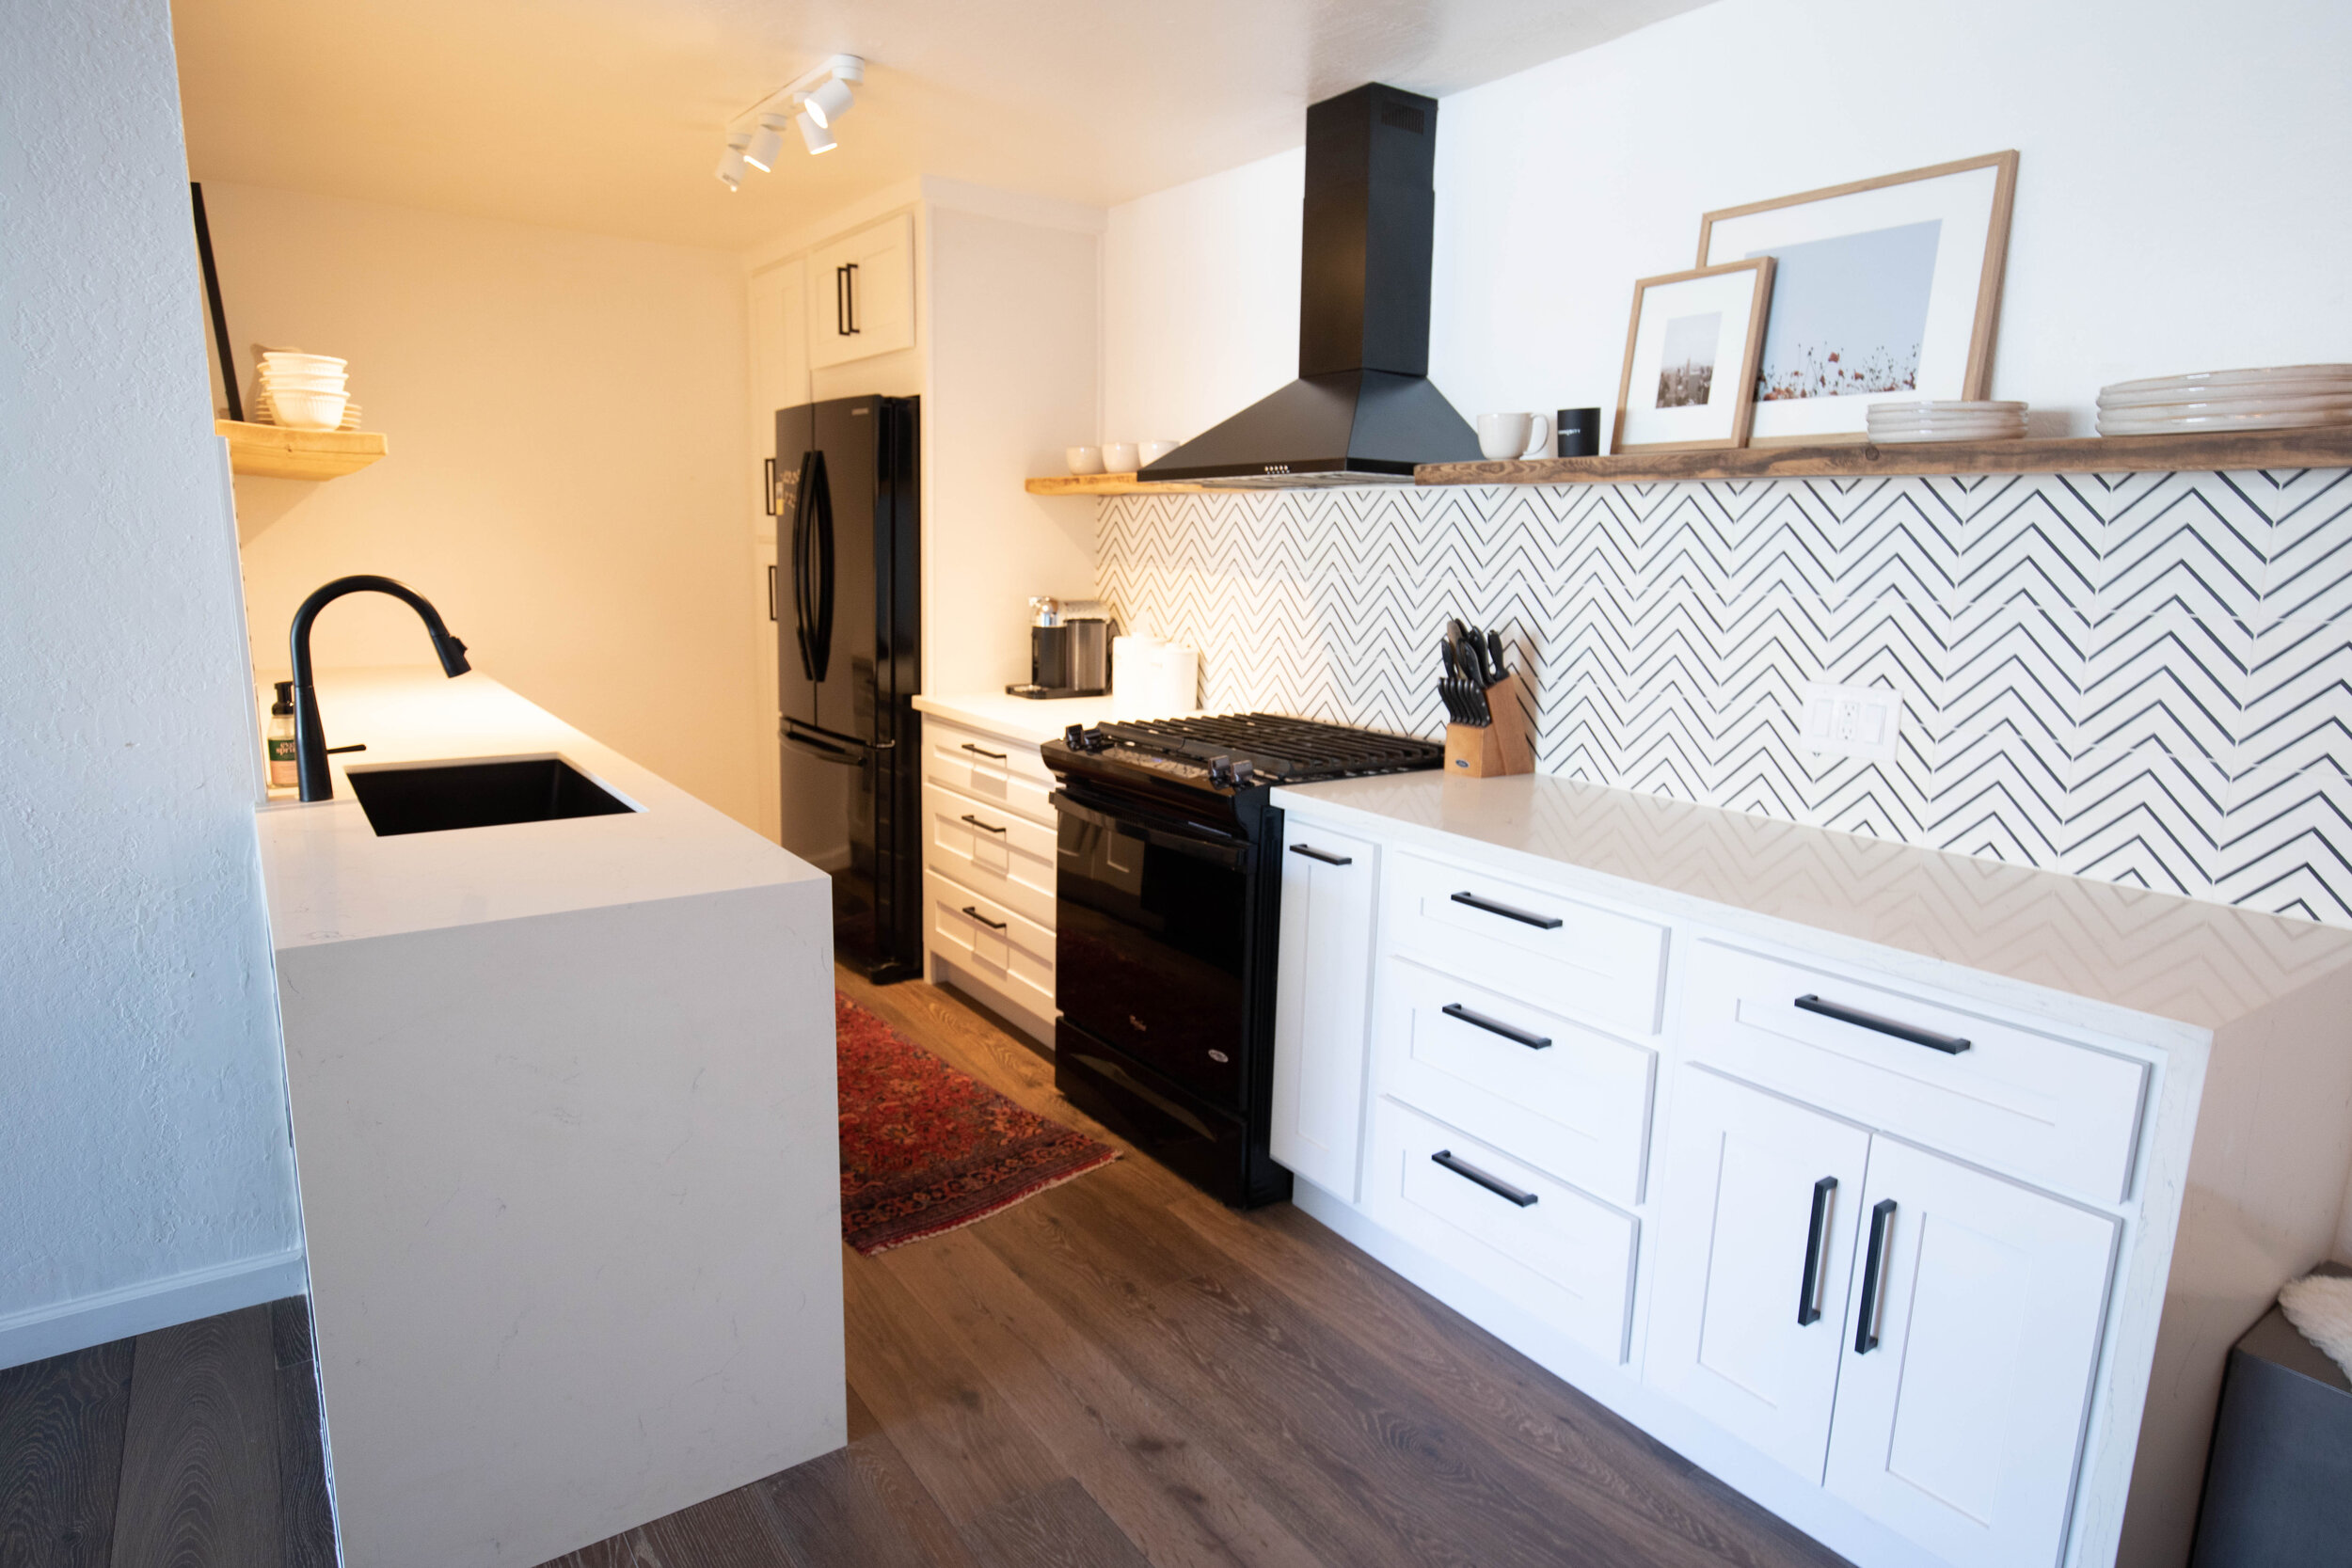
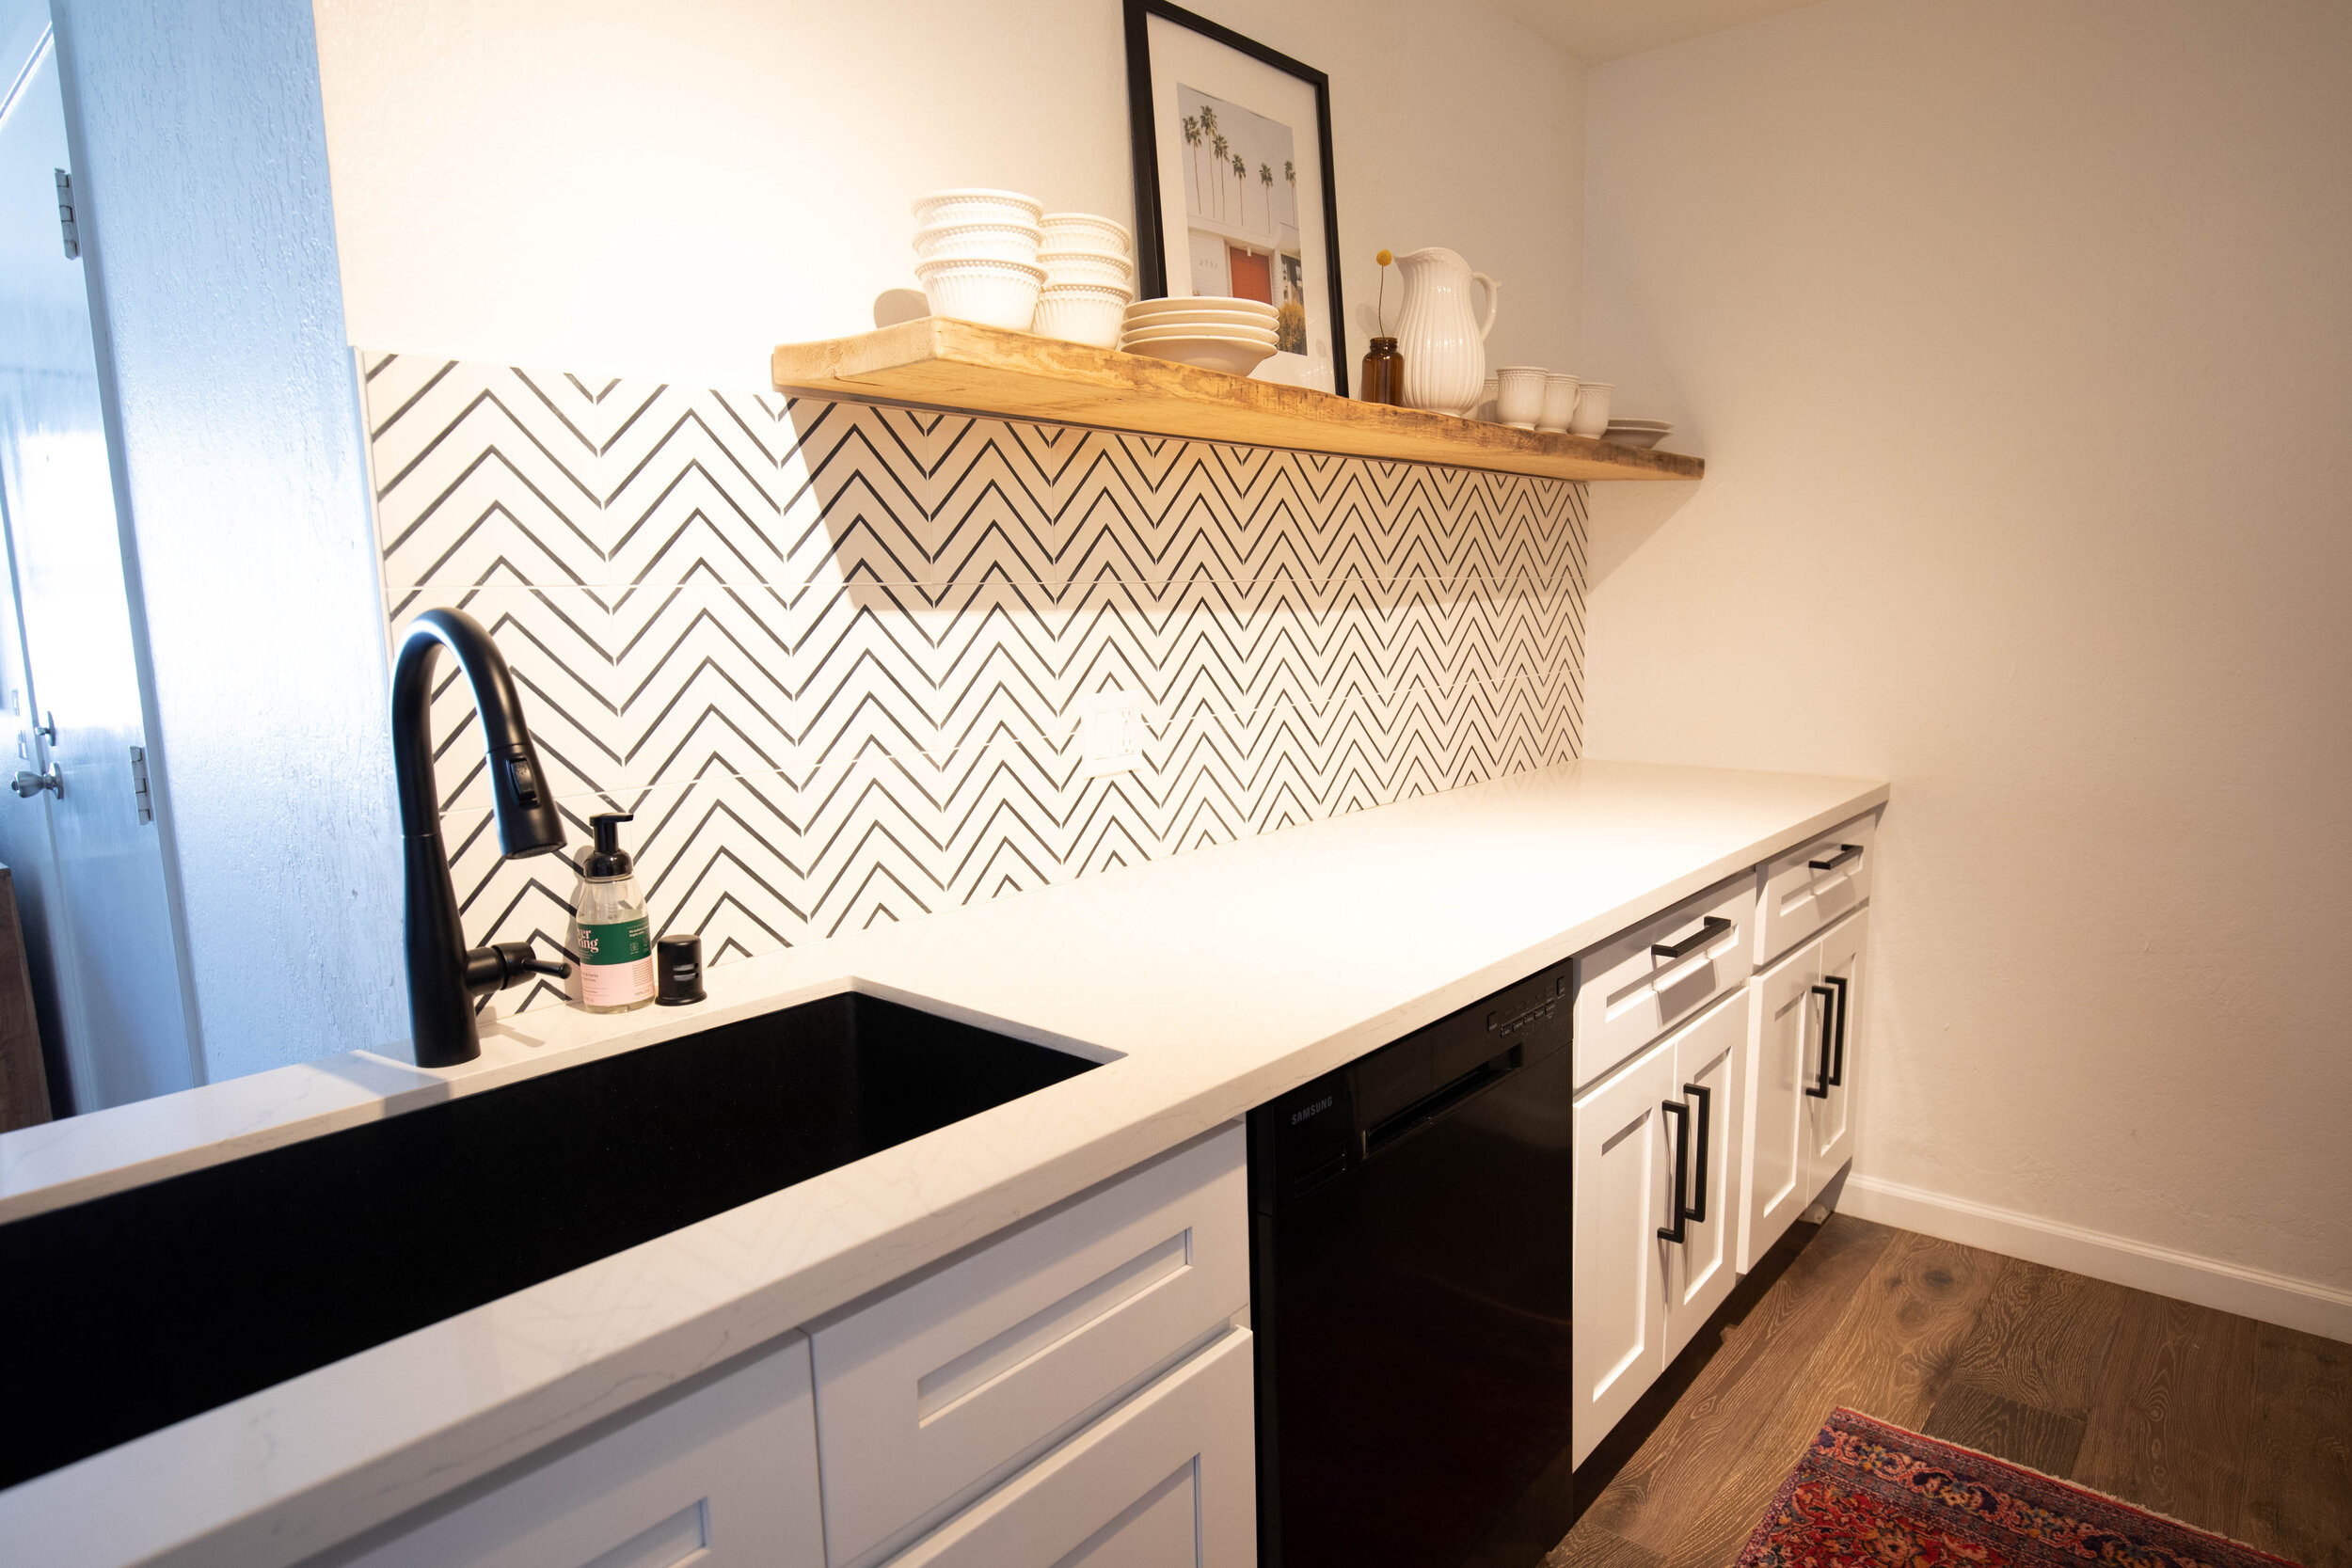
Kitchen Details: We kept the layout the same to save money (didn’t want to relocate any plumbing). The condo sits on a concrete slab and dealing with the HOA would have been iffy and time-consuming. There were 2 pony walls in the kitchen that they used to hide the pantry area. We removed them to make it feel more open, clean, and simple. We also decided against upper cabinets because it is a fairly small galley kitchen and the uppers made it look so tiny. Uppers can make a small space feel even smaller and closed off. To make up for some of the cabinet space, we added more lowers along the back wall and one more next to the sink. Another little detail that we really enjoyed while living there was putting a small spice cabinet next to the range and a garbage pull-out cabinet next to the sink. We opted out of a microwave because of the radiation, which felt very Marin LOL.
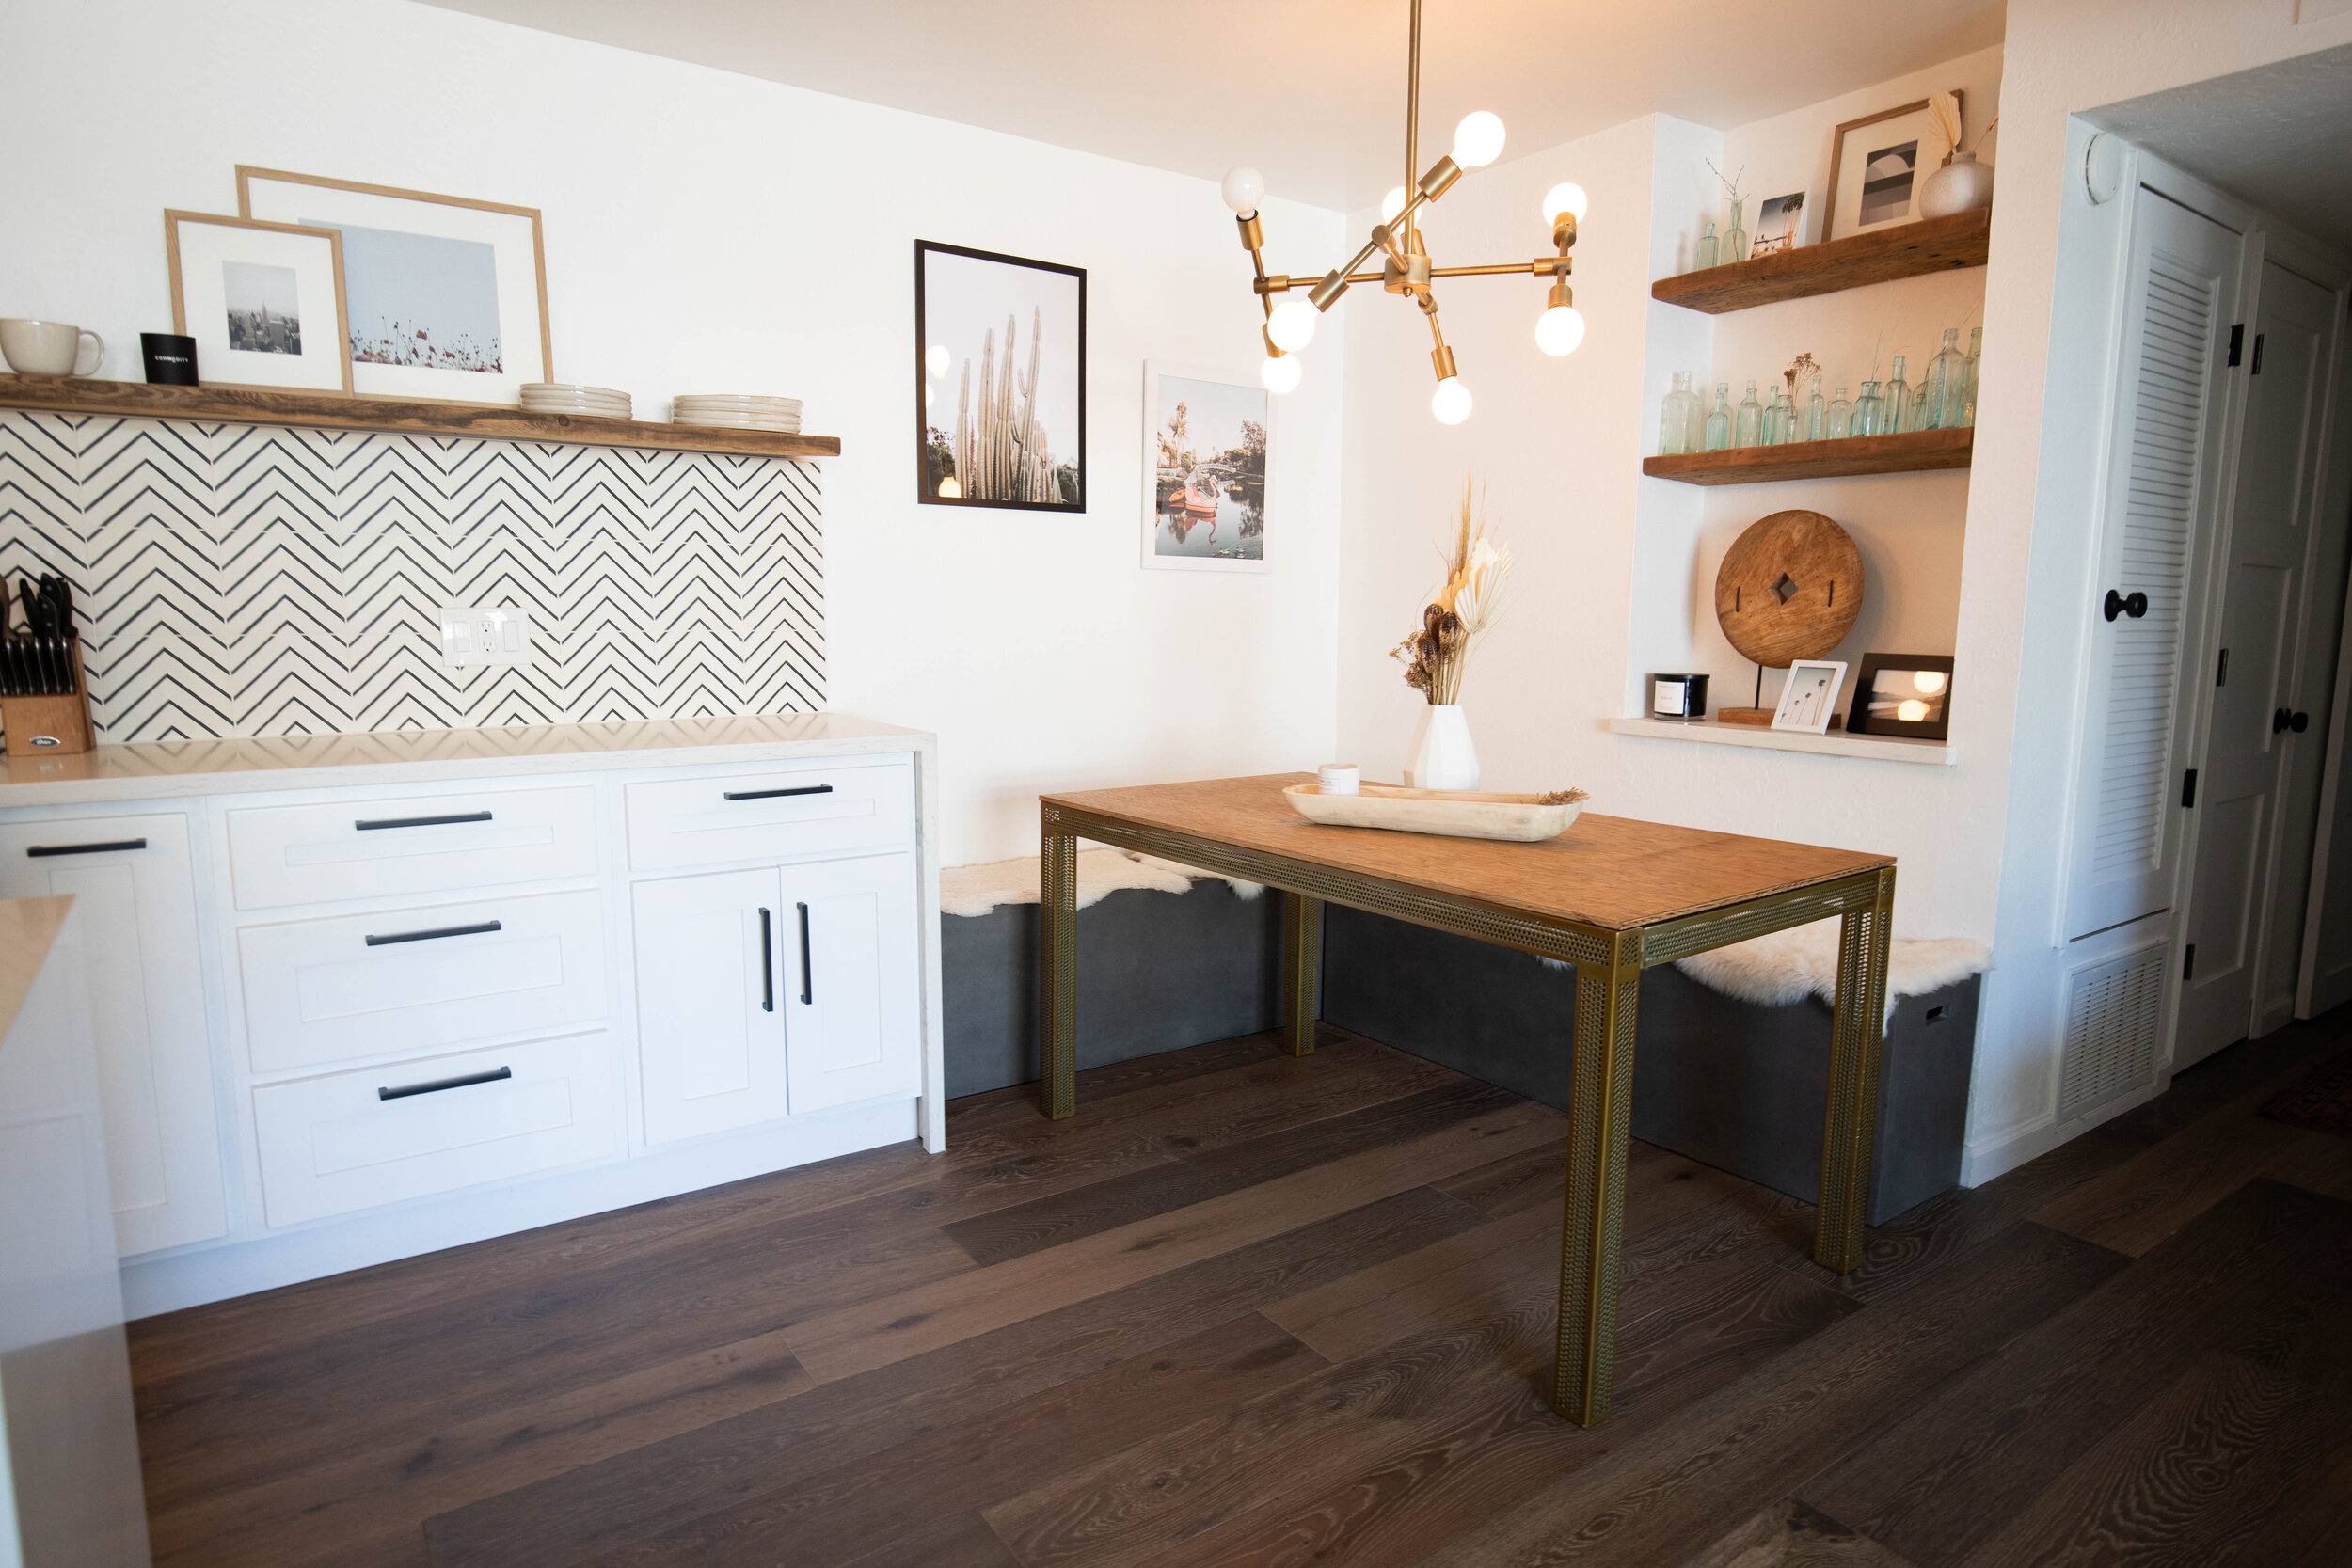
We went with black appliances, sink, and hardware to give that stark contrast with the cabinets. Since this is a condo, we decided to go a little more fun with the backsplash and added a chevron concrete tile.
Kitchen & Bathroom Cabinets and Countertops: Deco Kitchen and Bath, Inc. I’ll be honest, this place is cheap, but makes quality wood cabinets with soft-close drawers and cabinets. They also show you what the kitchen will look like with their design software. Custom cabinets are not a smart move in a condo. You just aren’t going to get that money back in resale. Our countertops were man-made quartz slabs that were also from Deco. They were super cheap as well, but when sealed, are pretty awesome quality and look great. We didn’t have any problems with stains.
Sink: Elkay Quartz Undermount Sink We went with the 33” diameter sink. It’s definitely a big sink. It’s perfect for washing big pans and giving babies a bath.
Hood: Convertible Wall Mount Range Hood
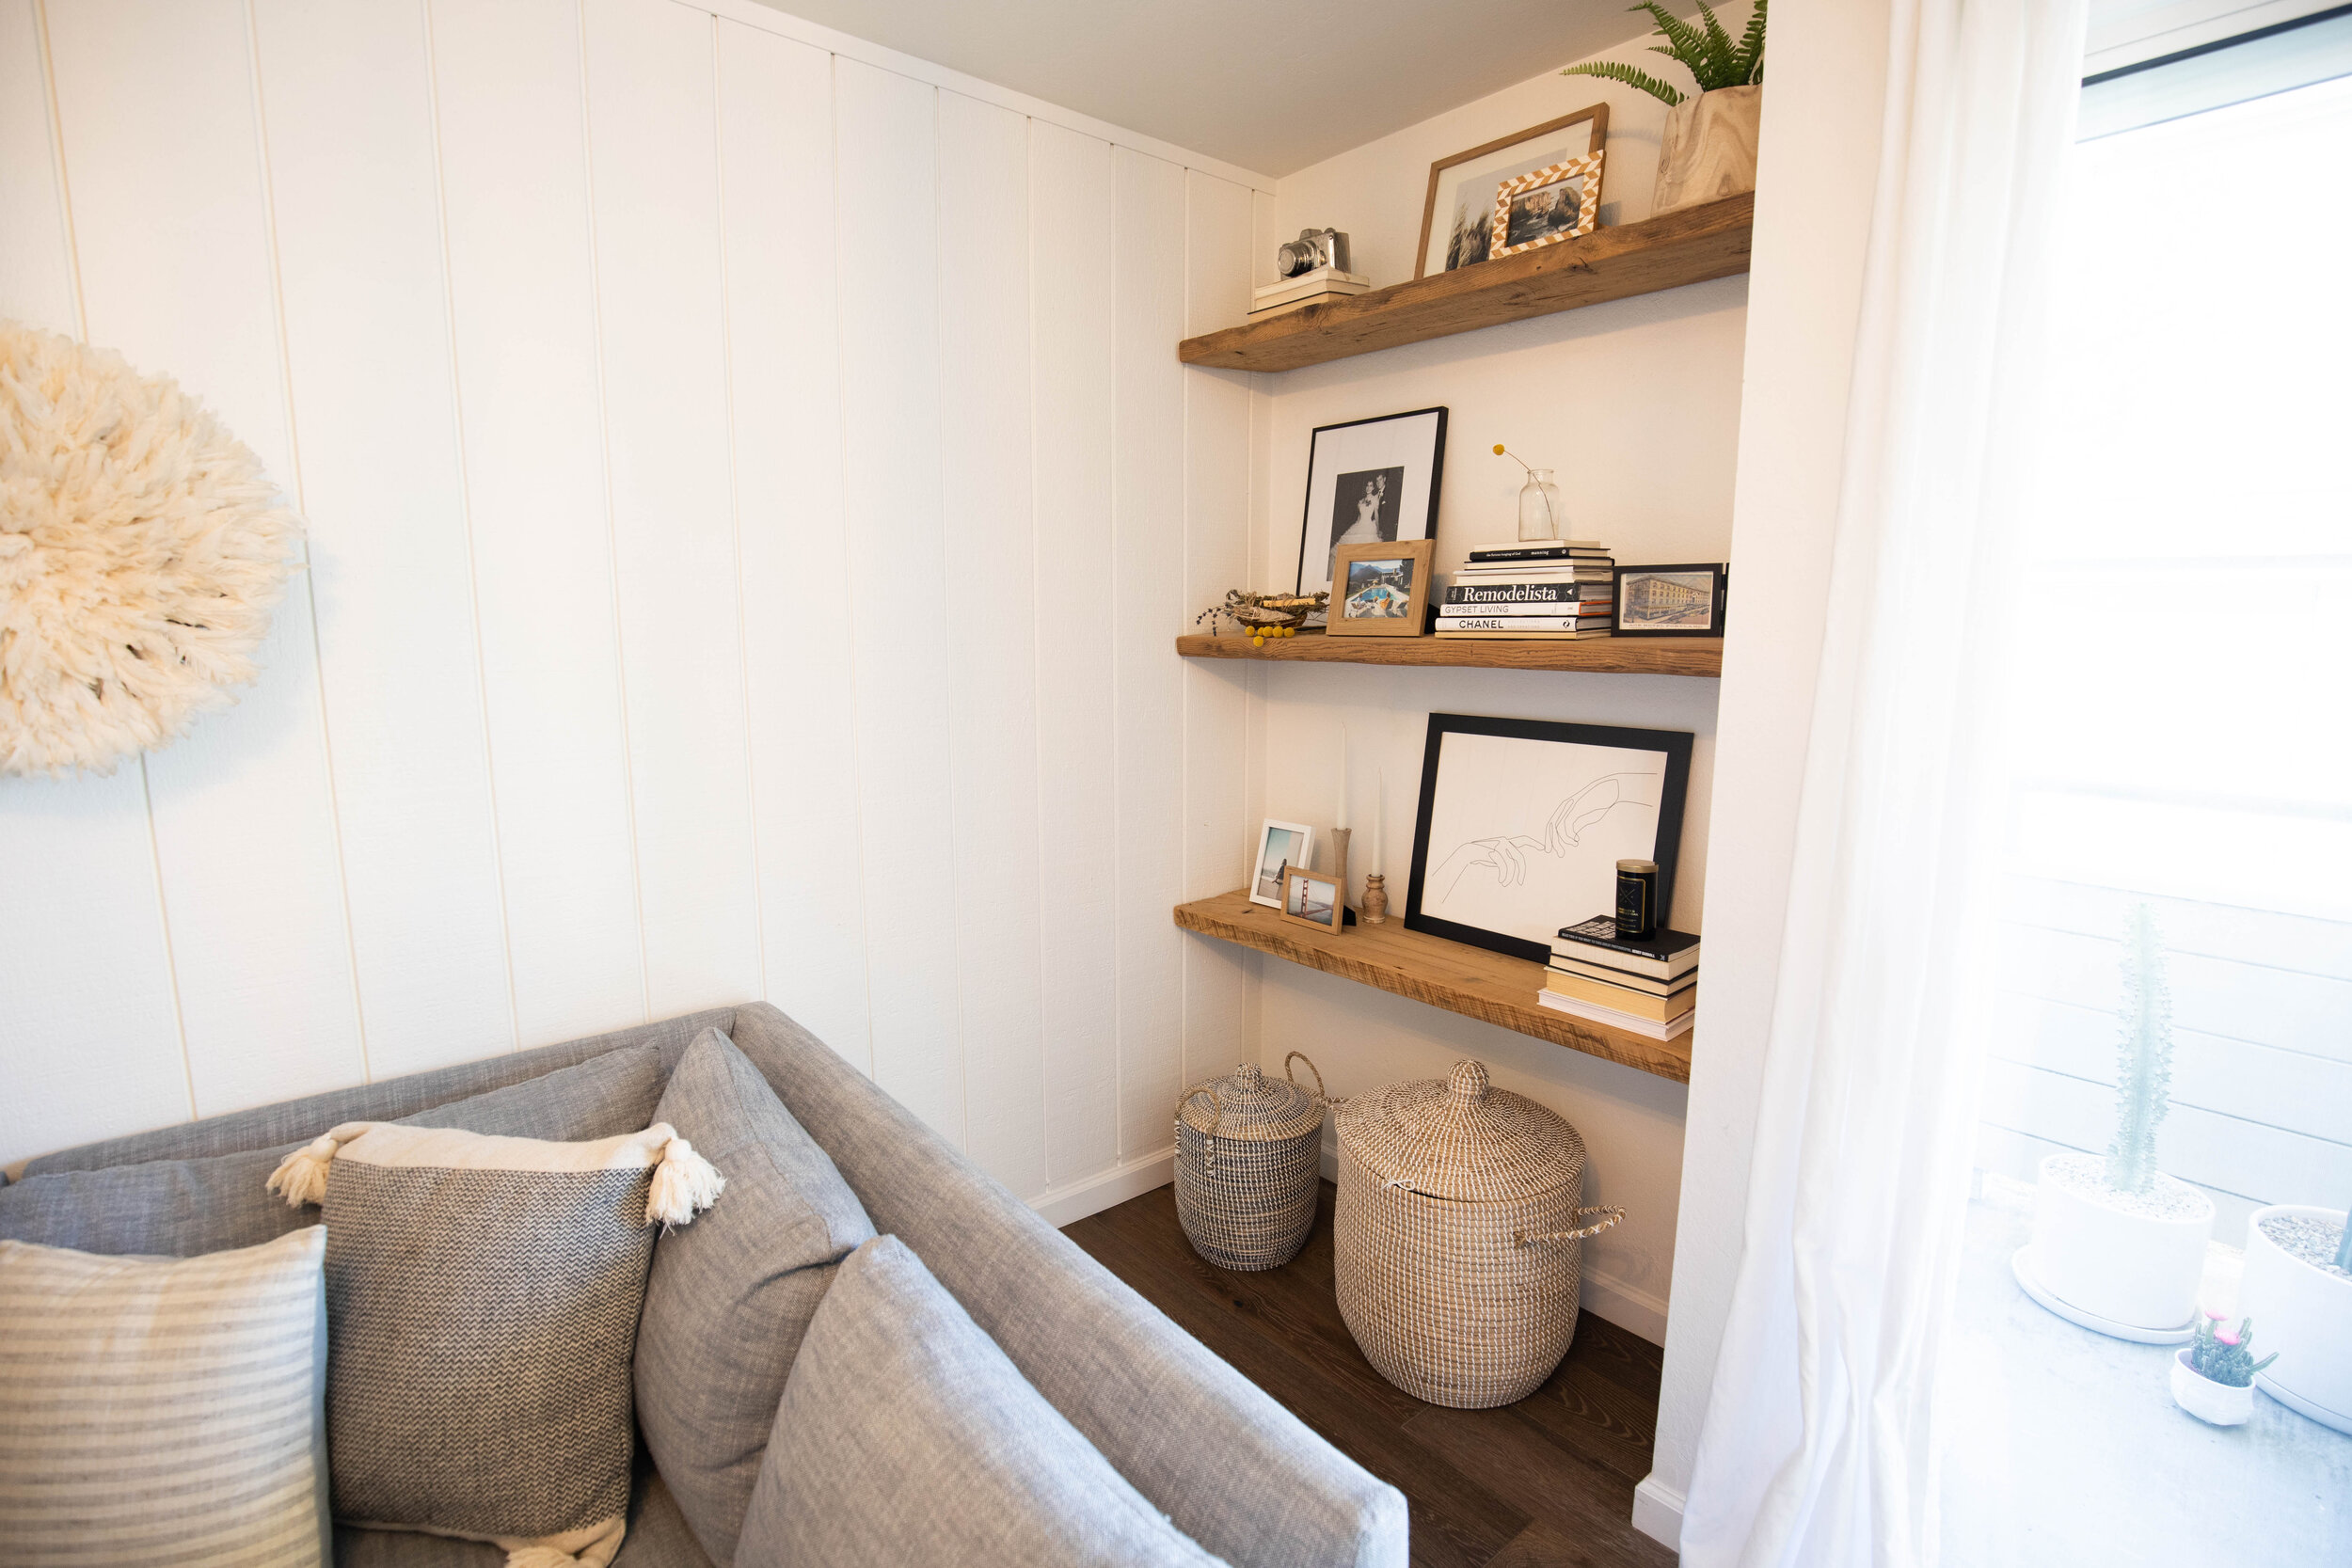
Reclaimed Wood Shelves: Etsy Listing (custom length made)
Cabinet Hardware: 3” and 5” Black Pulls
Backsplash Tile: Zia Tile
Dishes: They are Anthropologie, but they don’t sell them anymore. Here is a similar option: dinner plates, side plates, bowls, & mugs.
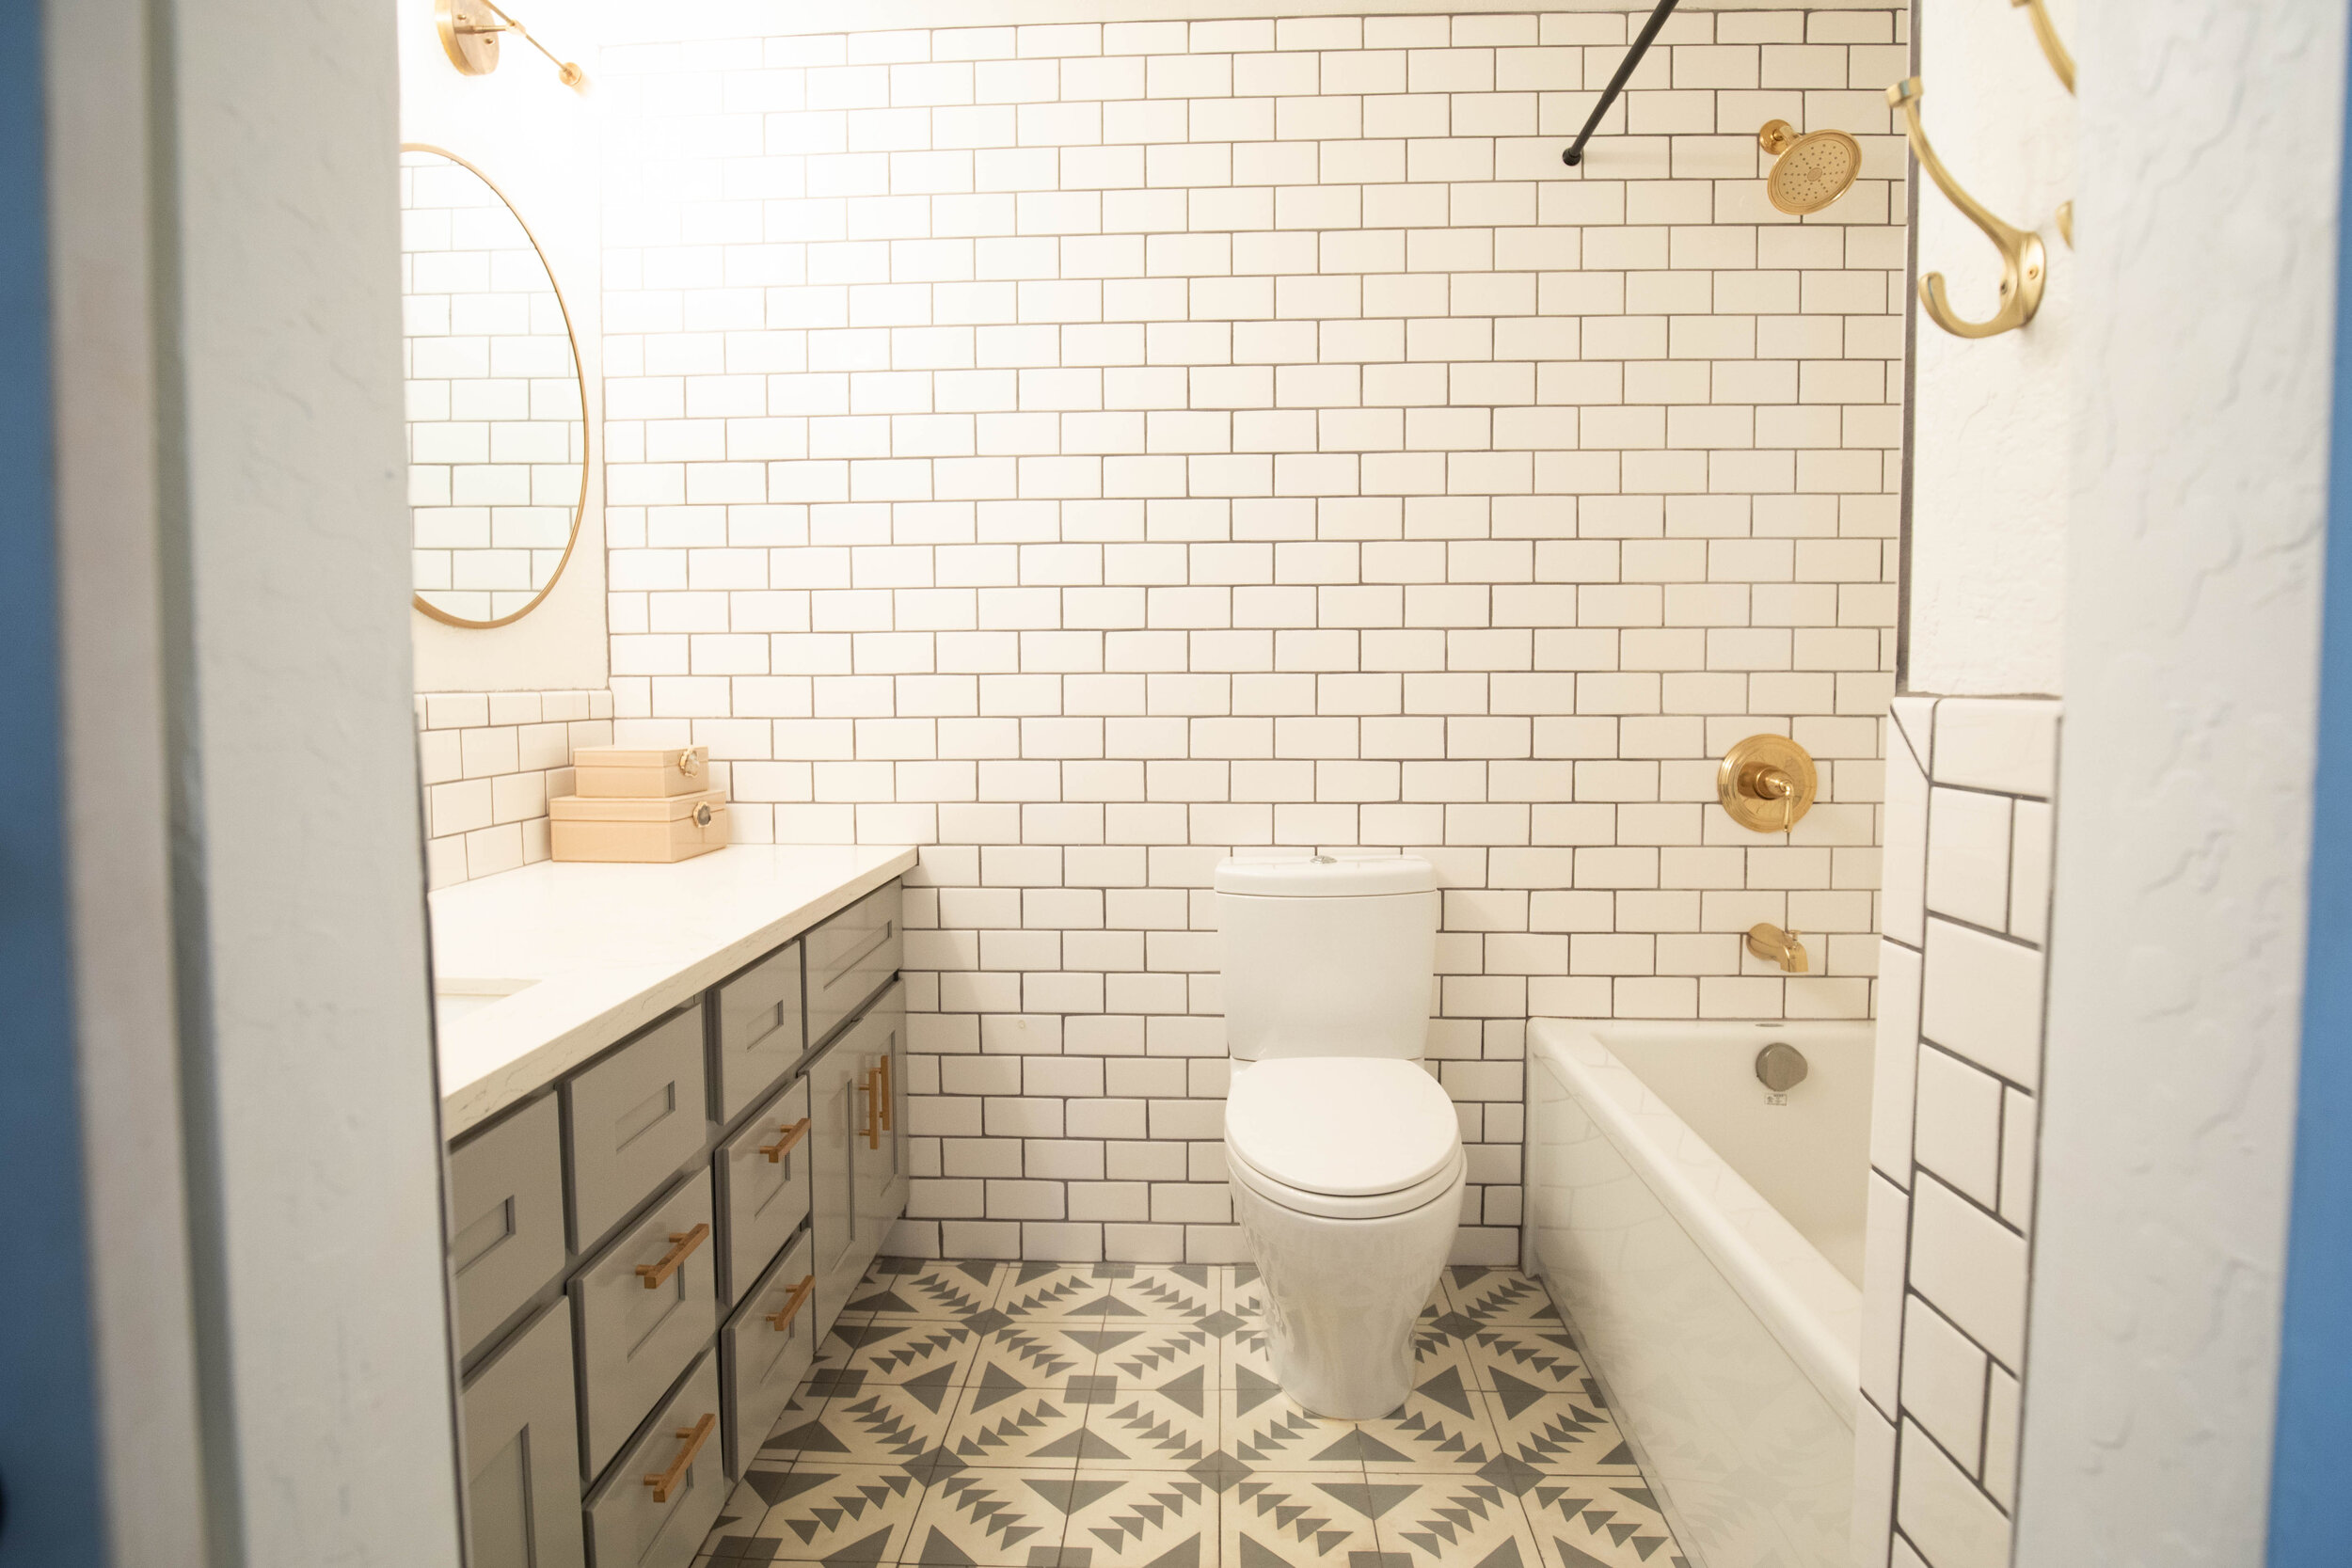
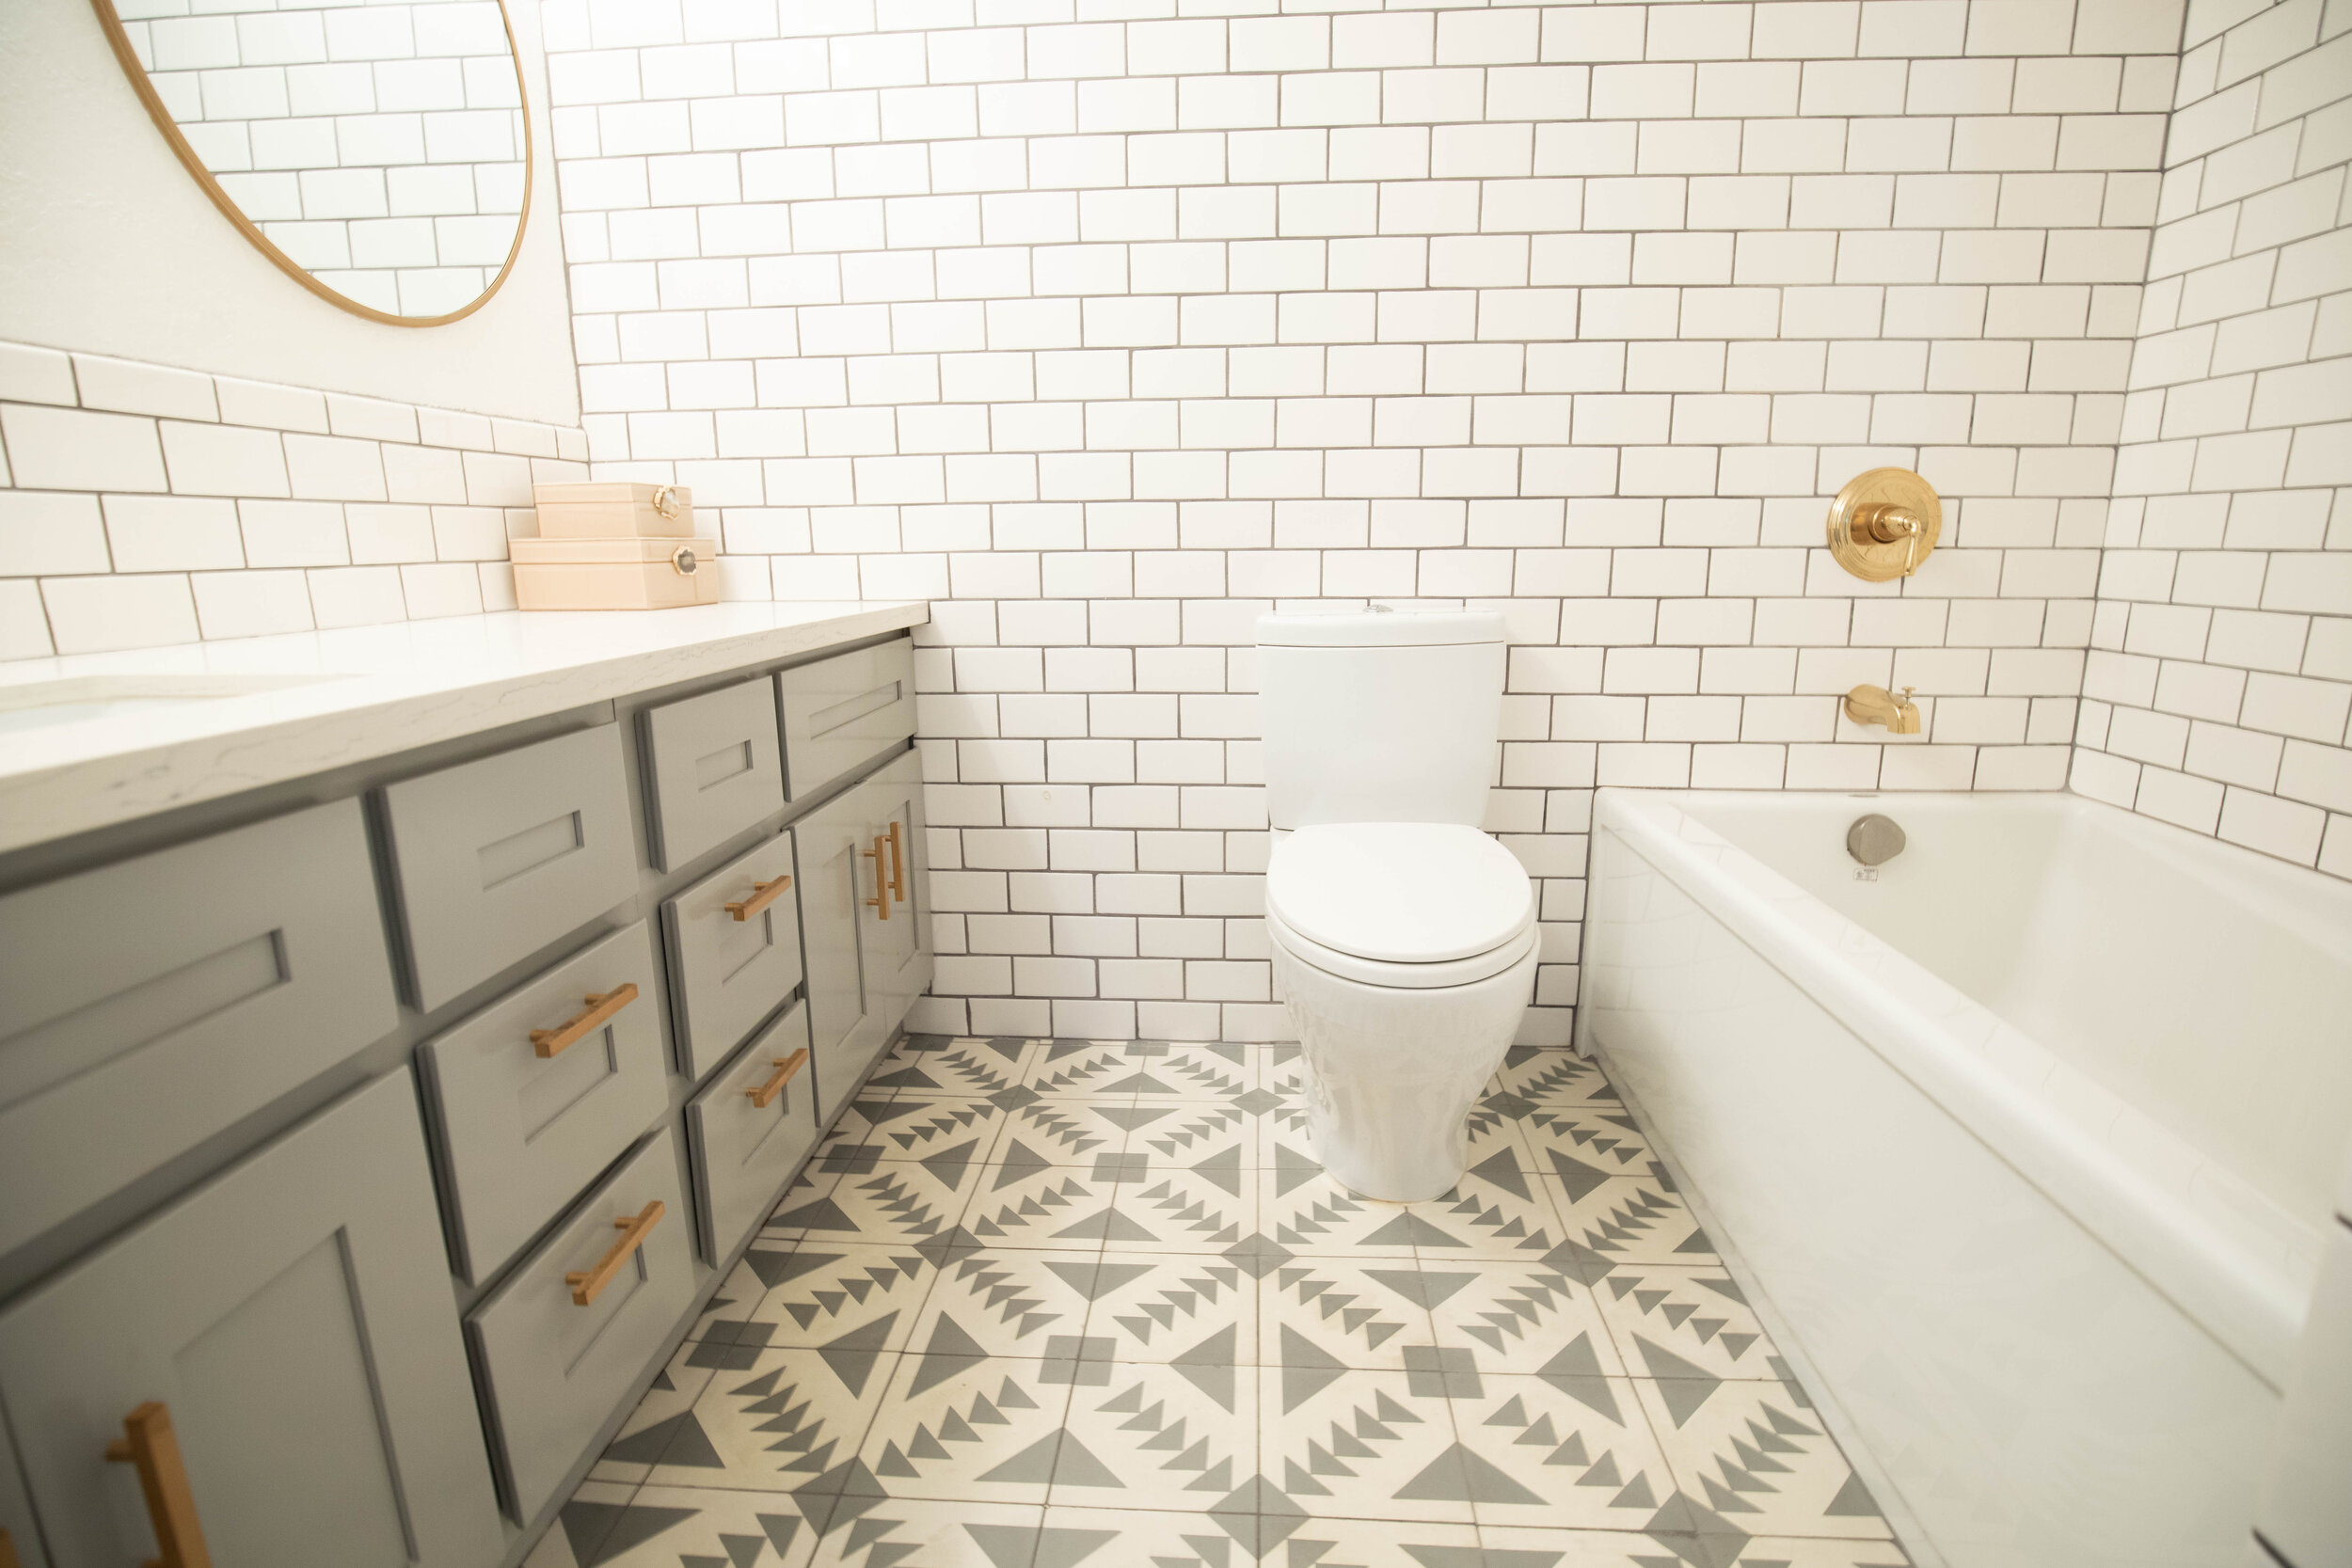
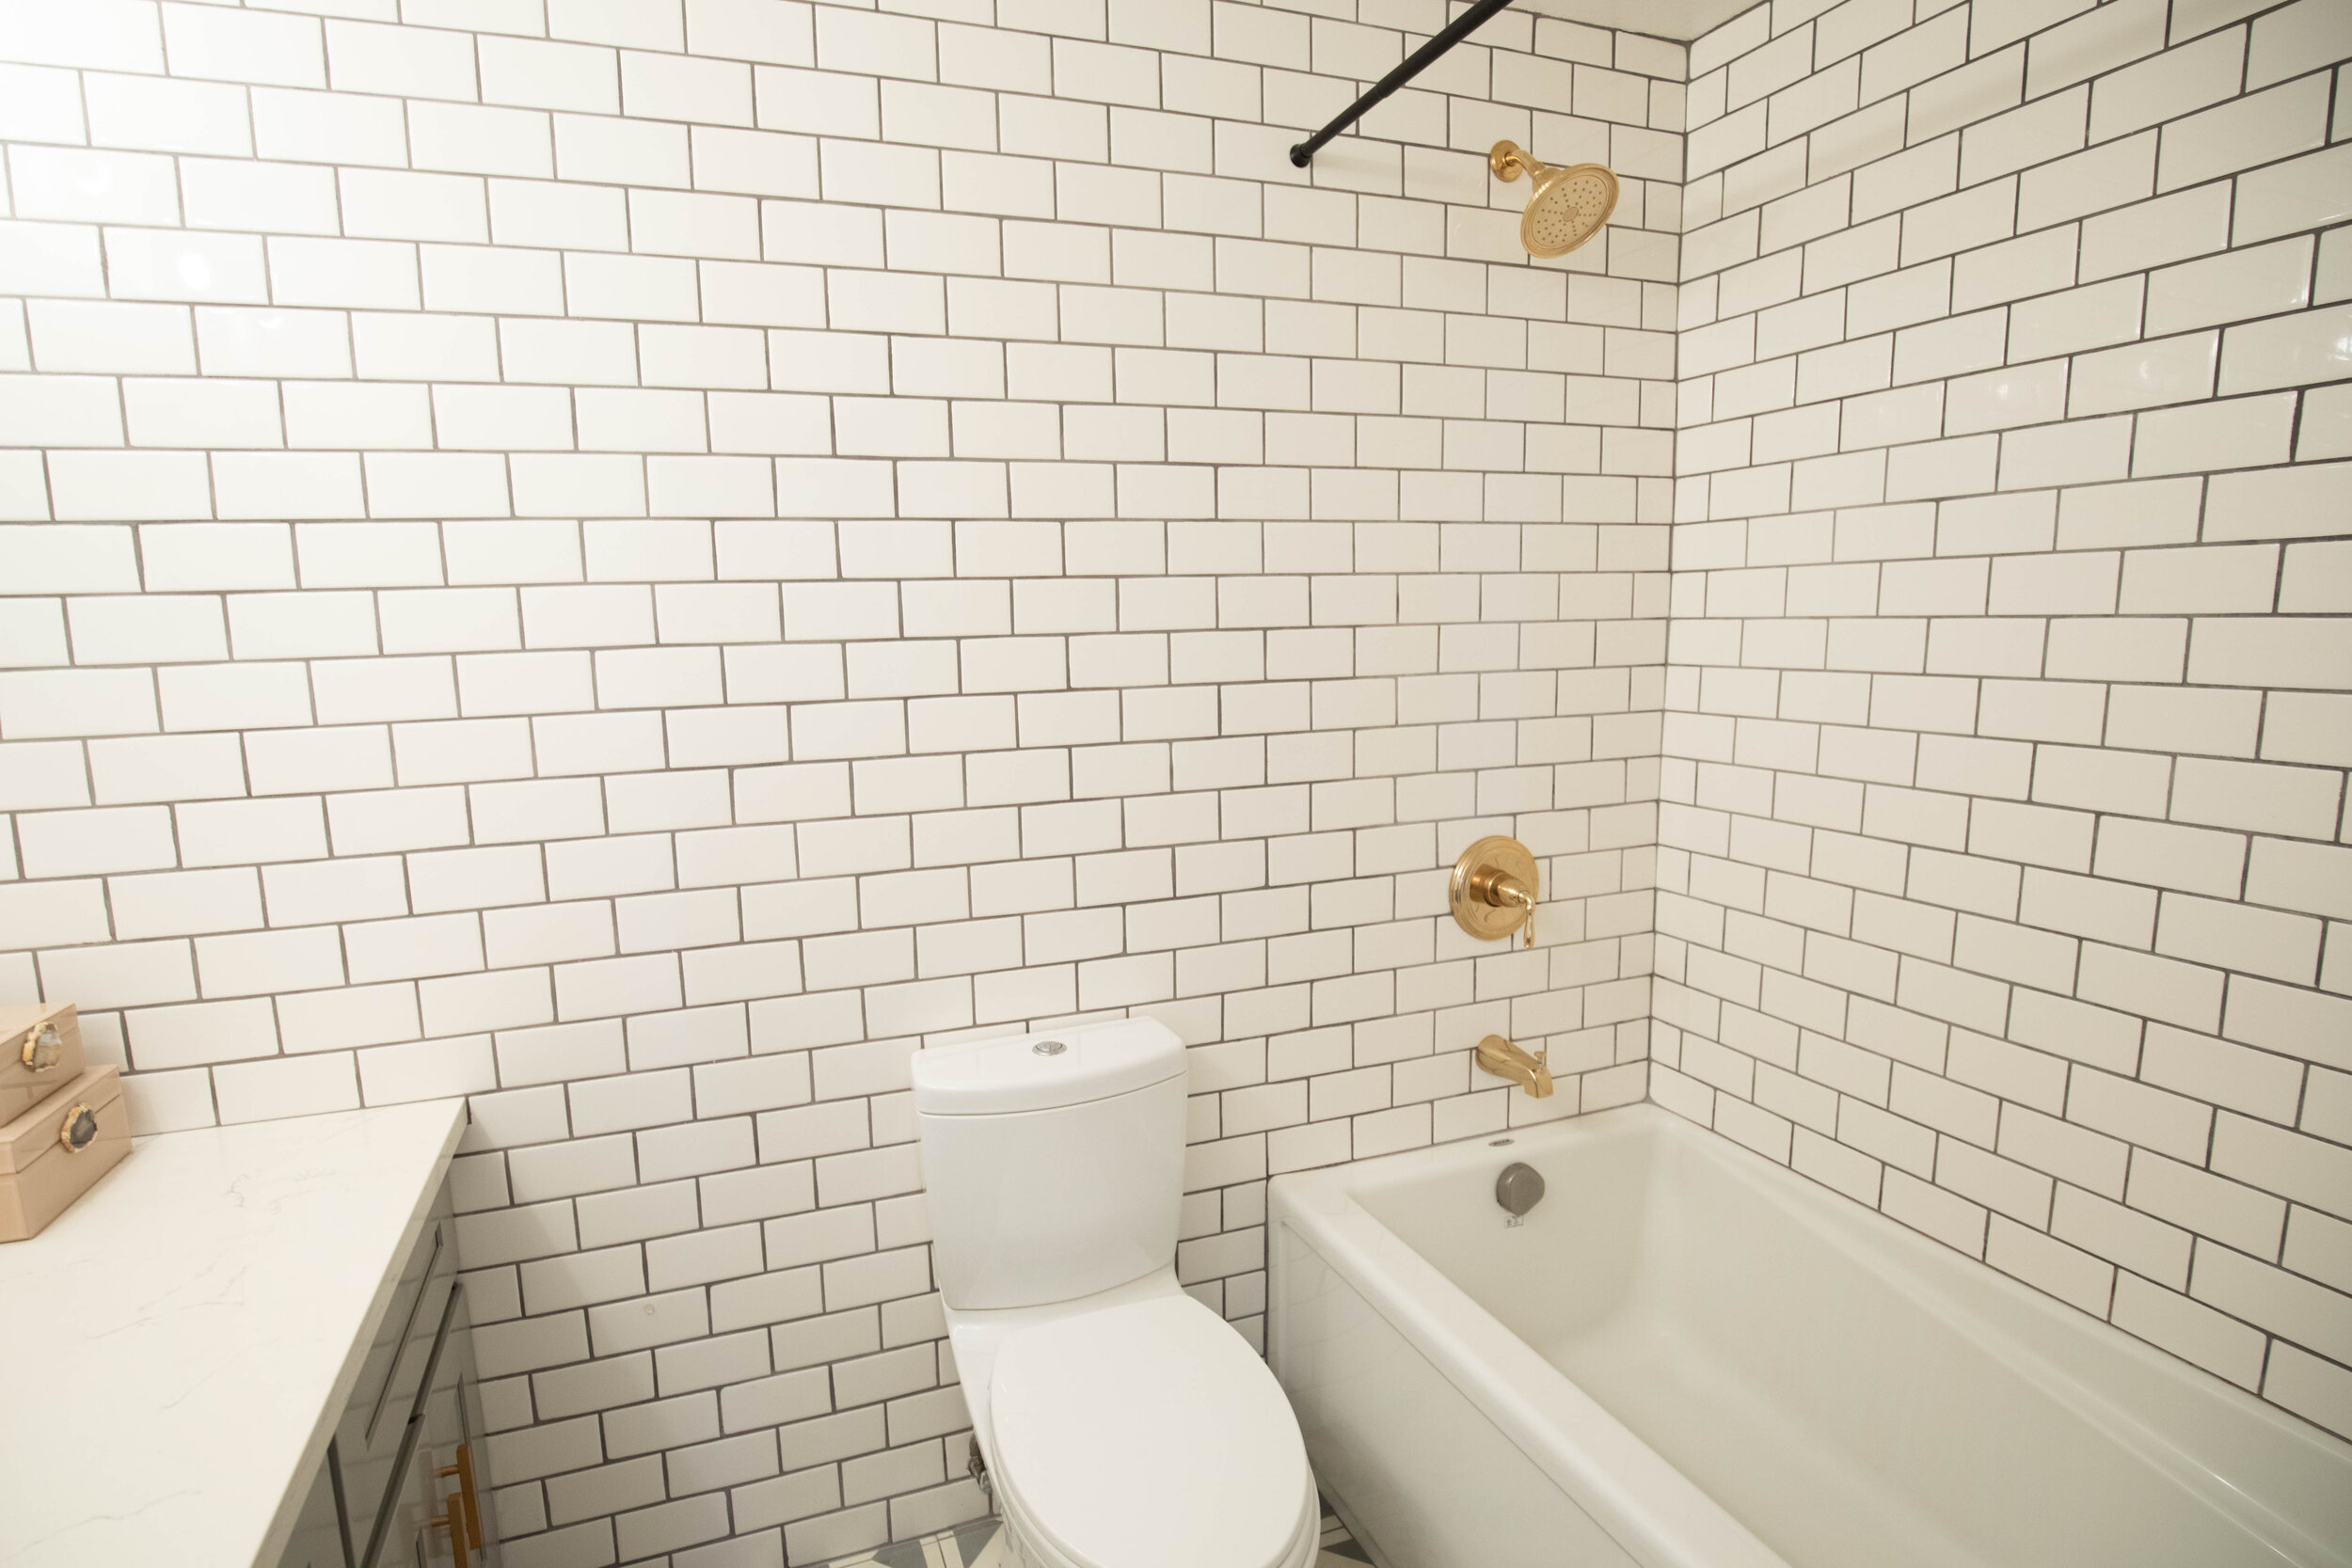
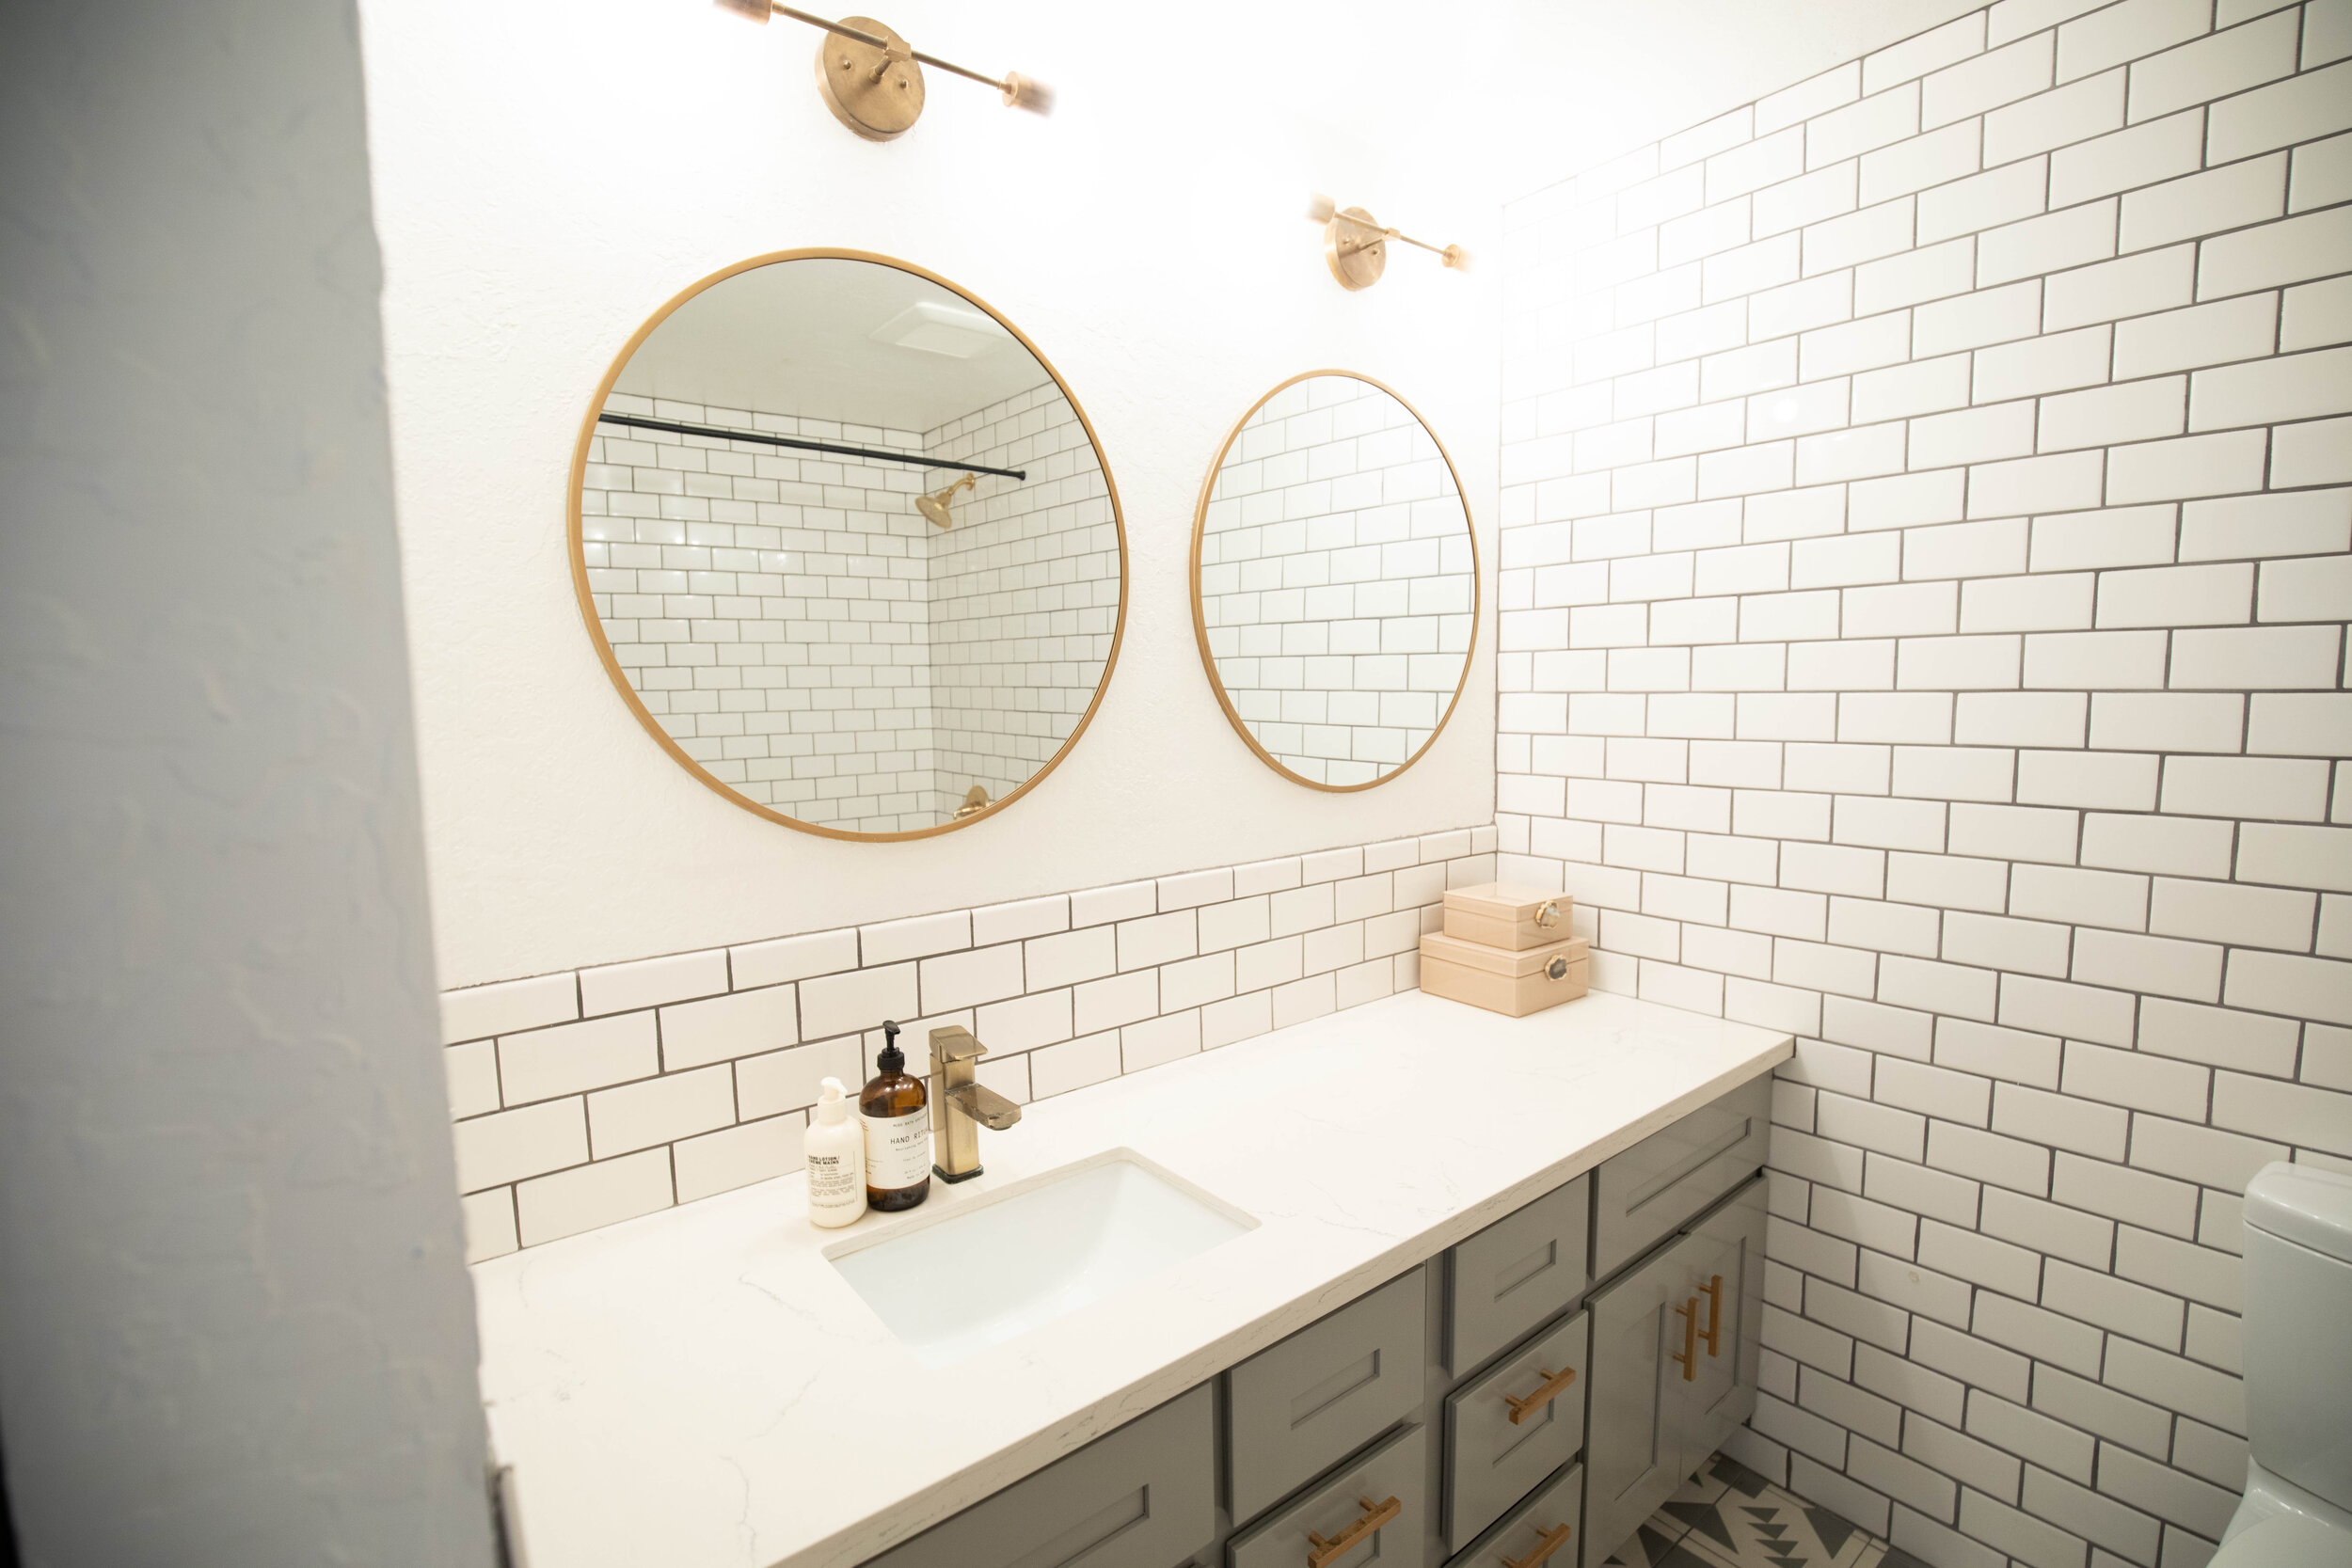
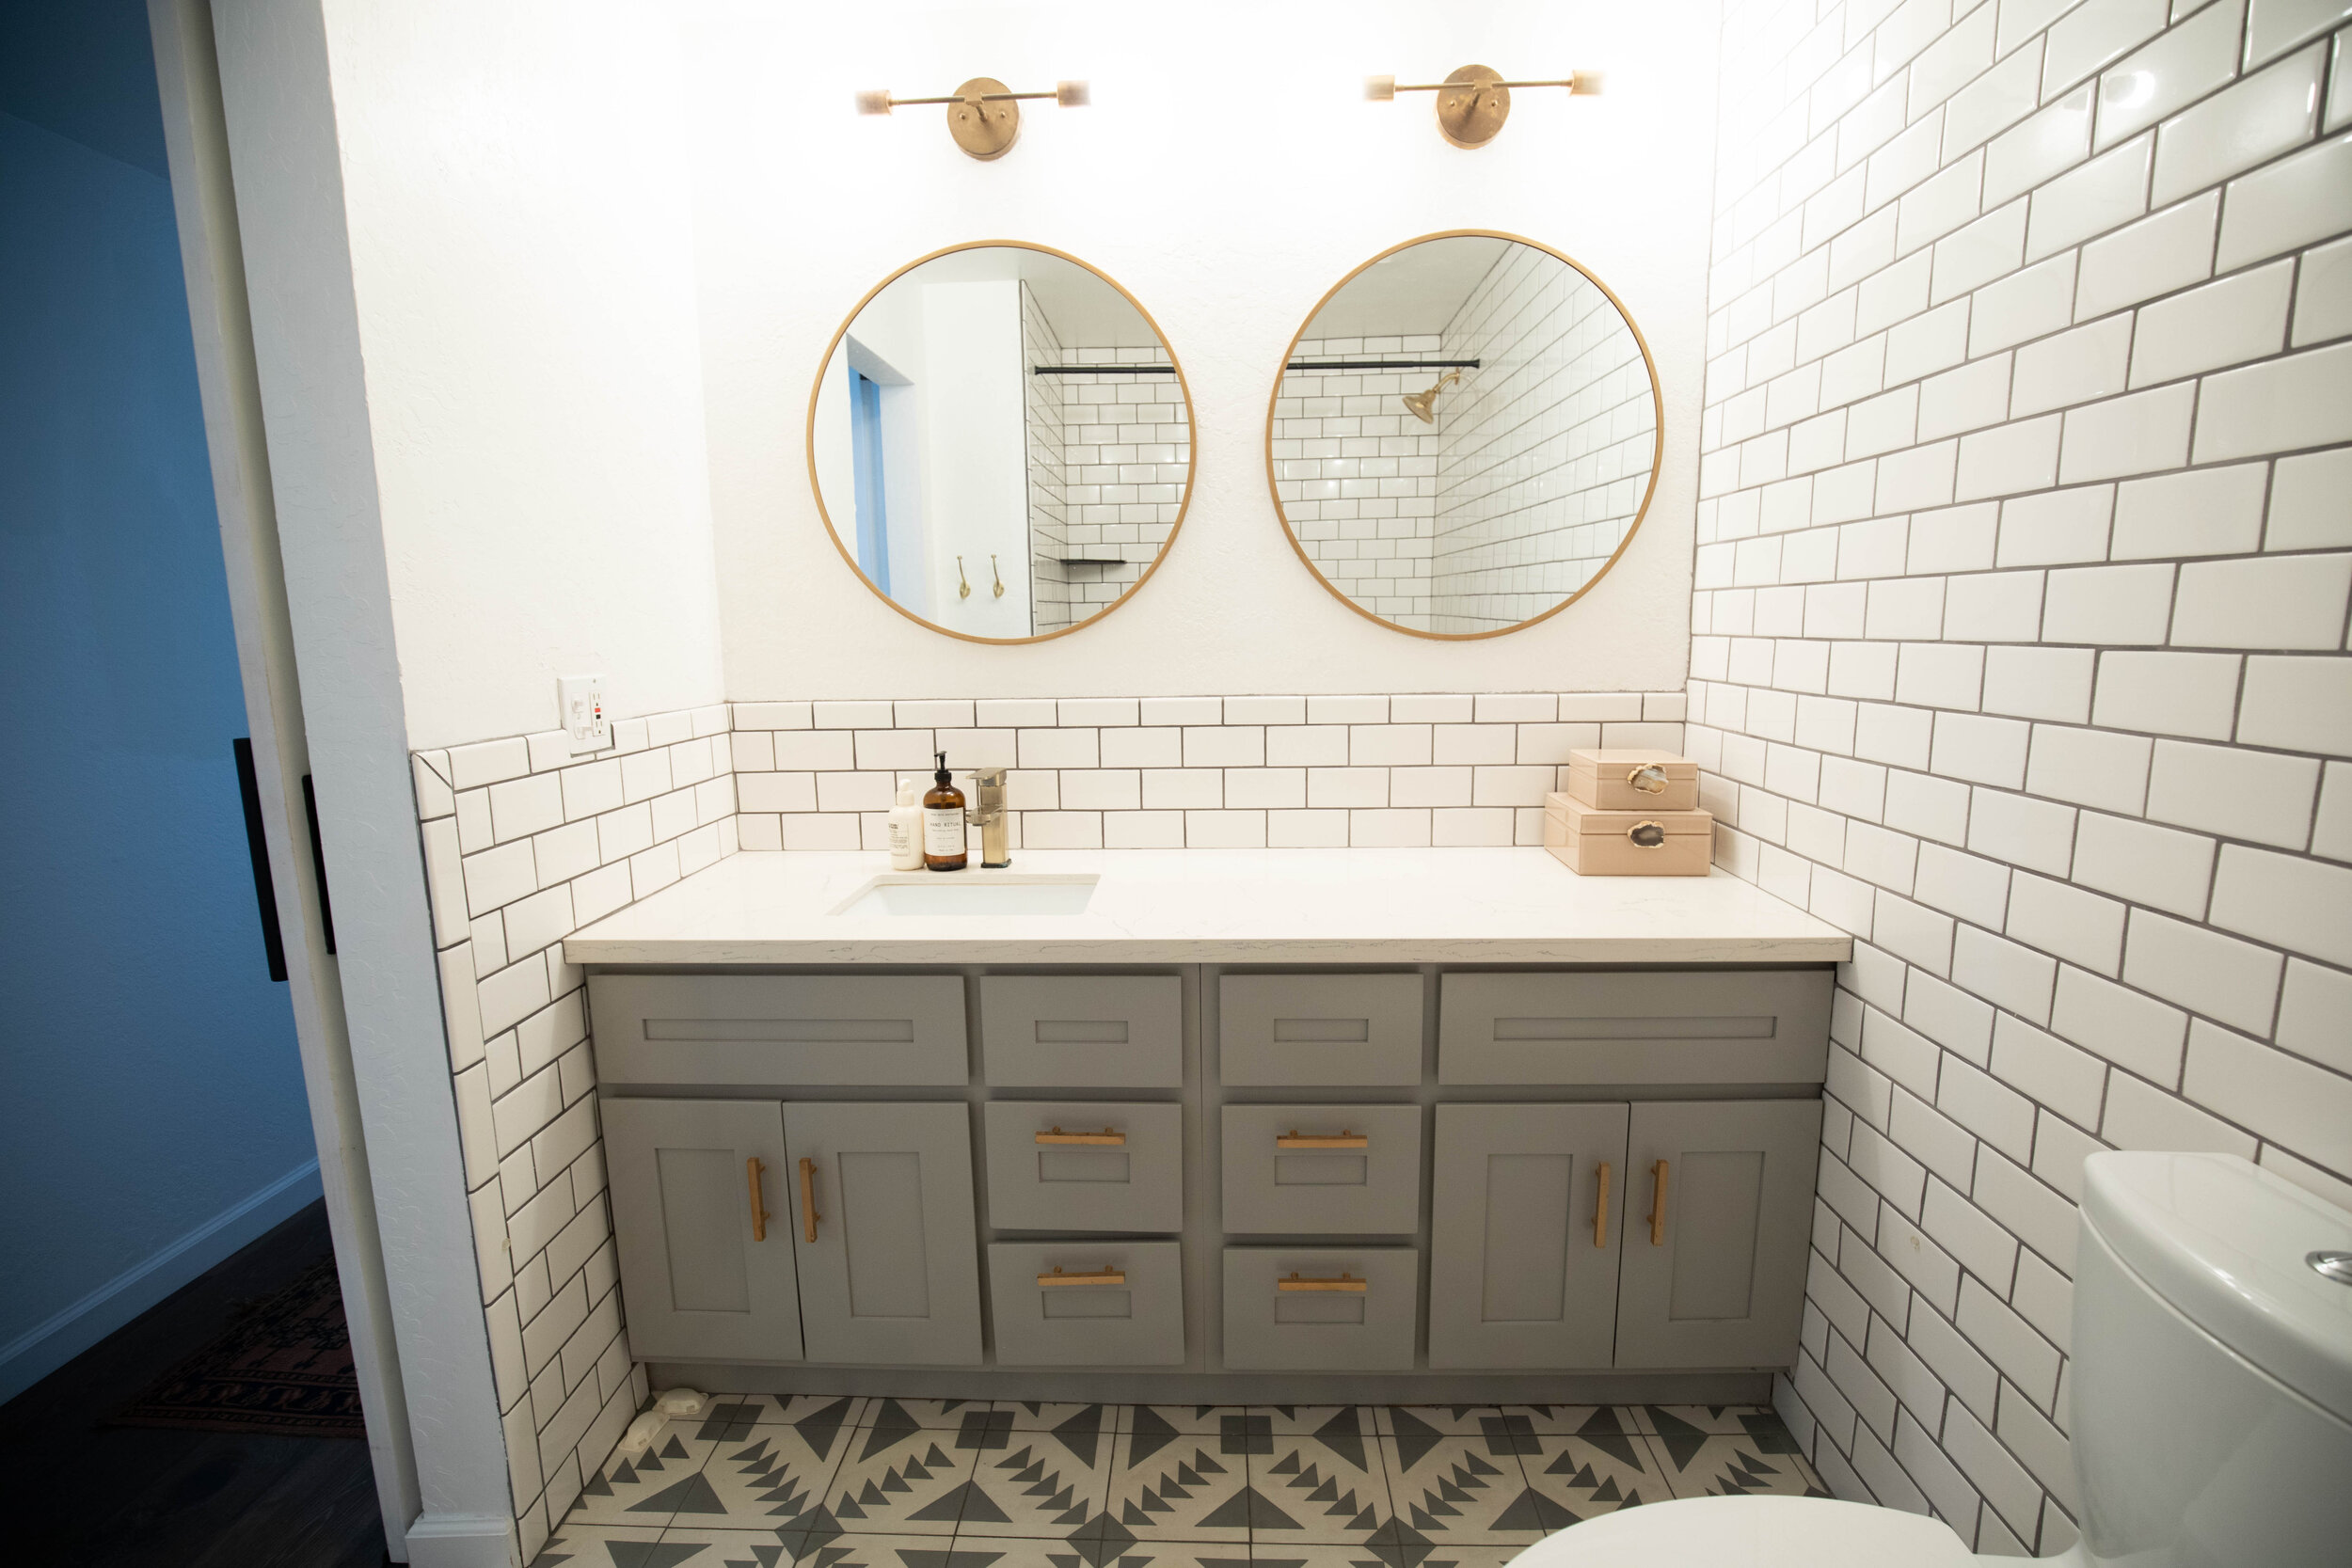
Bathroom Details: I had a very specific inspiration photo for the bathroom that I pretty much tried to replicate. We kept the tub and toilet that were there when we bought it. Both were fairly new and pretty nice. We did a cement tile floor and if you ever do this, it does need to be sealed before grouting and afterward.
Cement Tile Floors: Riad Tile
Shower and Wall Tile: Basic Subway Tile
Round Gold Mirrors: Target Project 62 Brass Mirror
Gold Light Fixtures: Etsy Listing
Hardware: CB2 Brass Pulls (do not recommend for a bathroom but great for a kitchen)
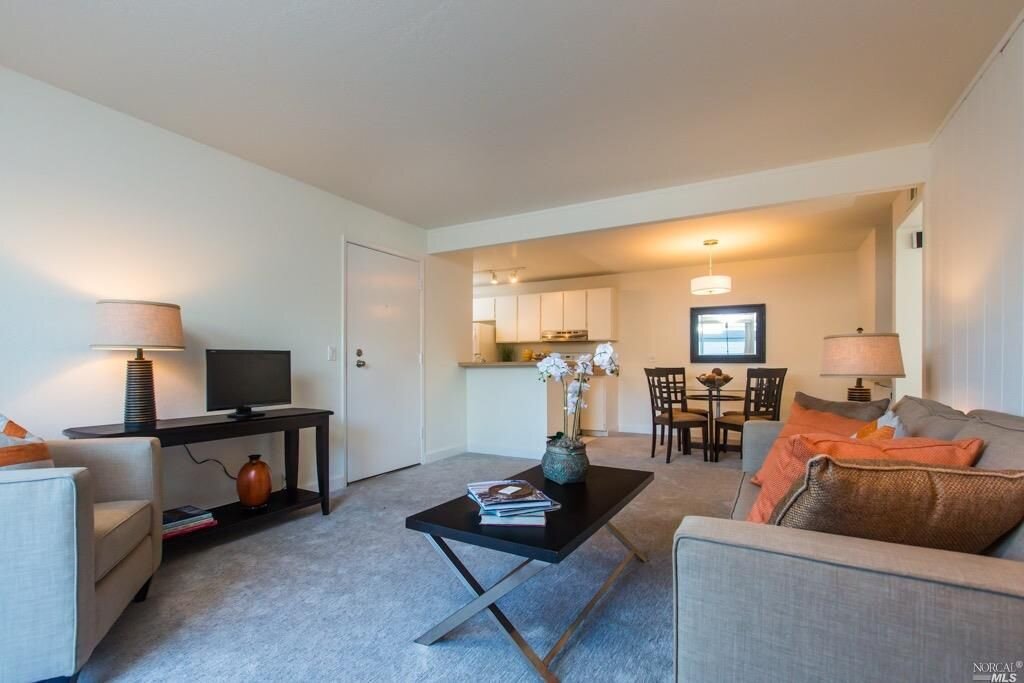
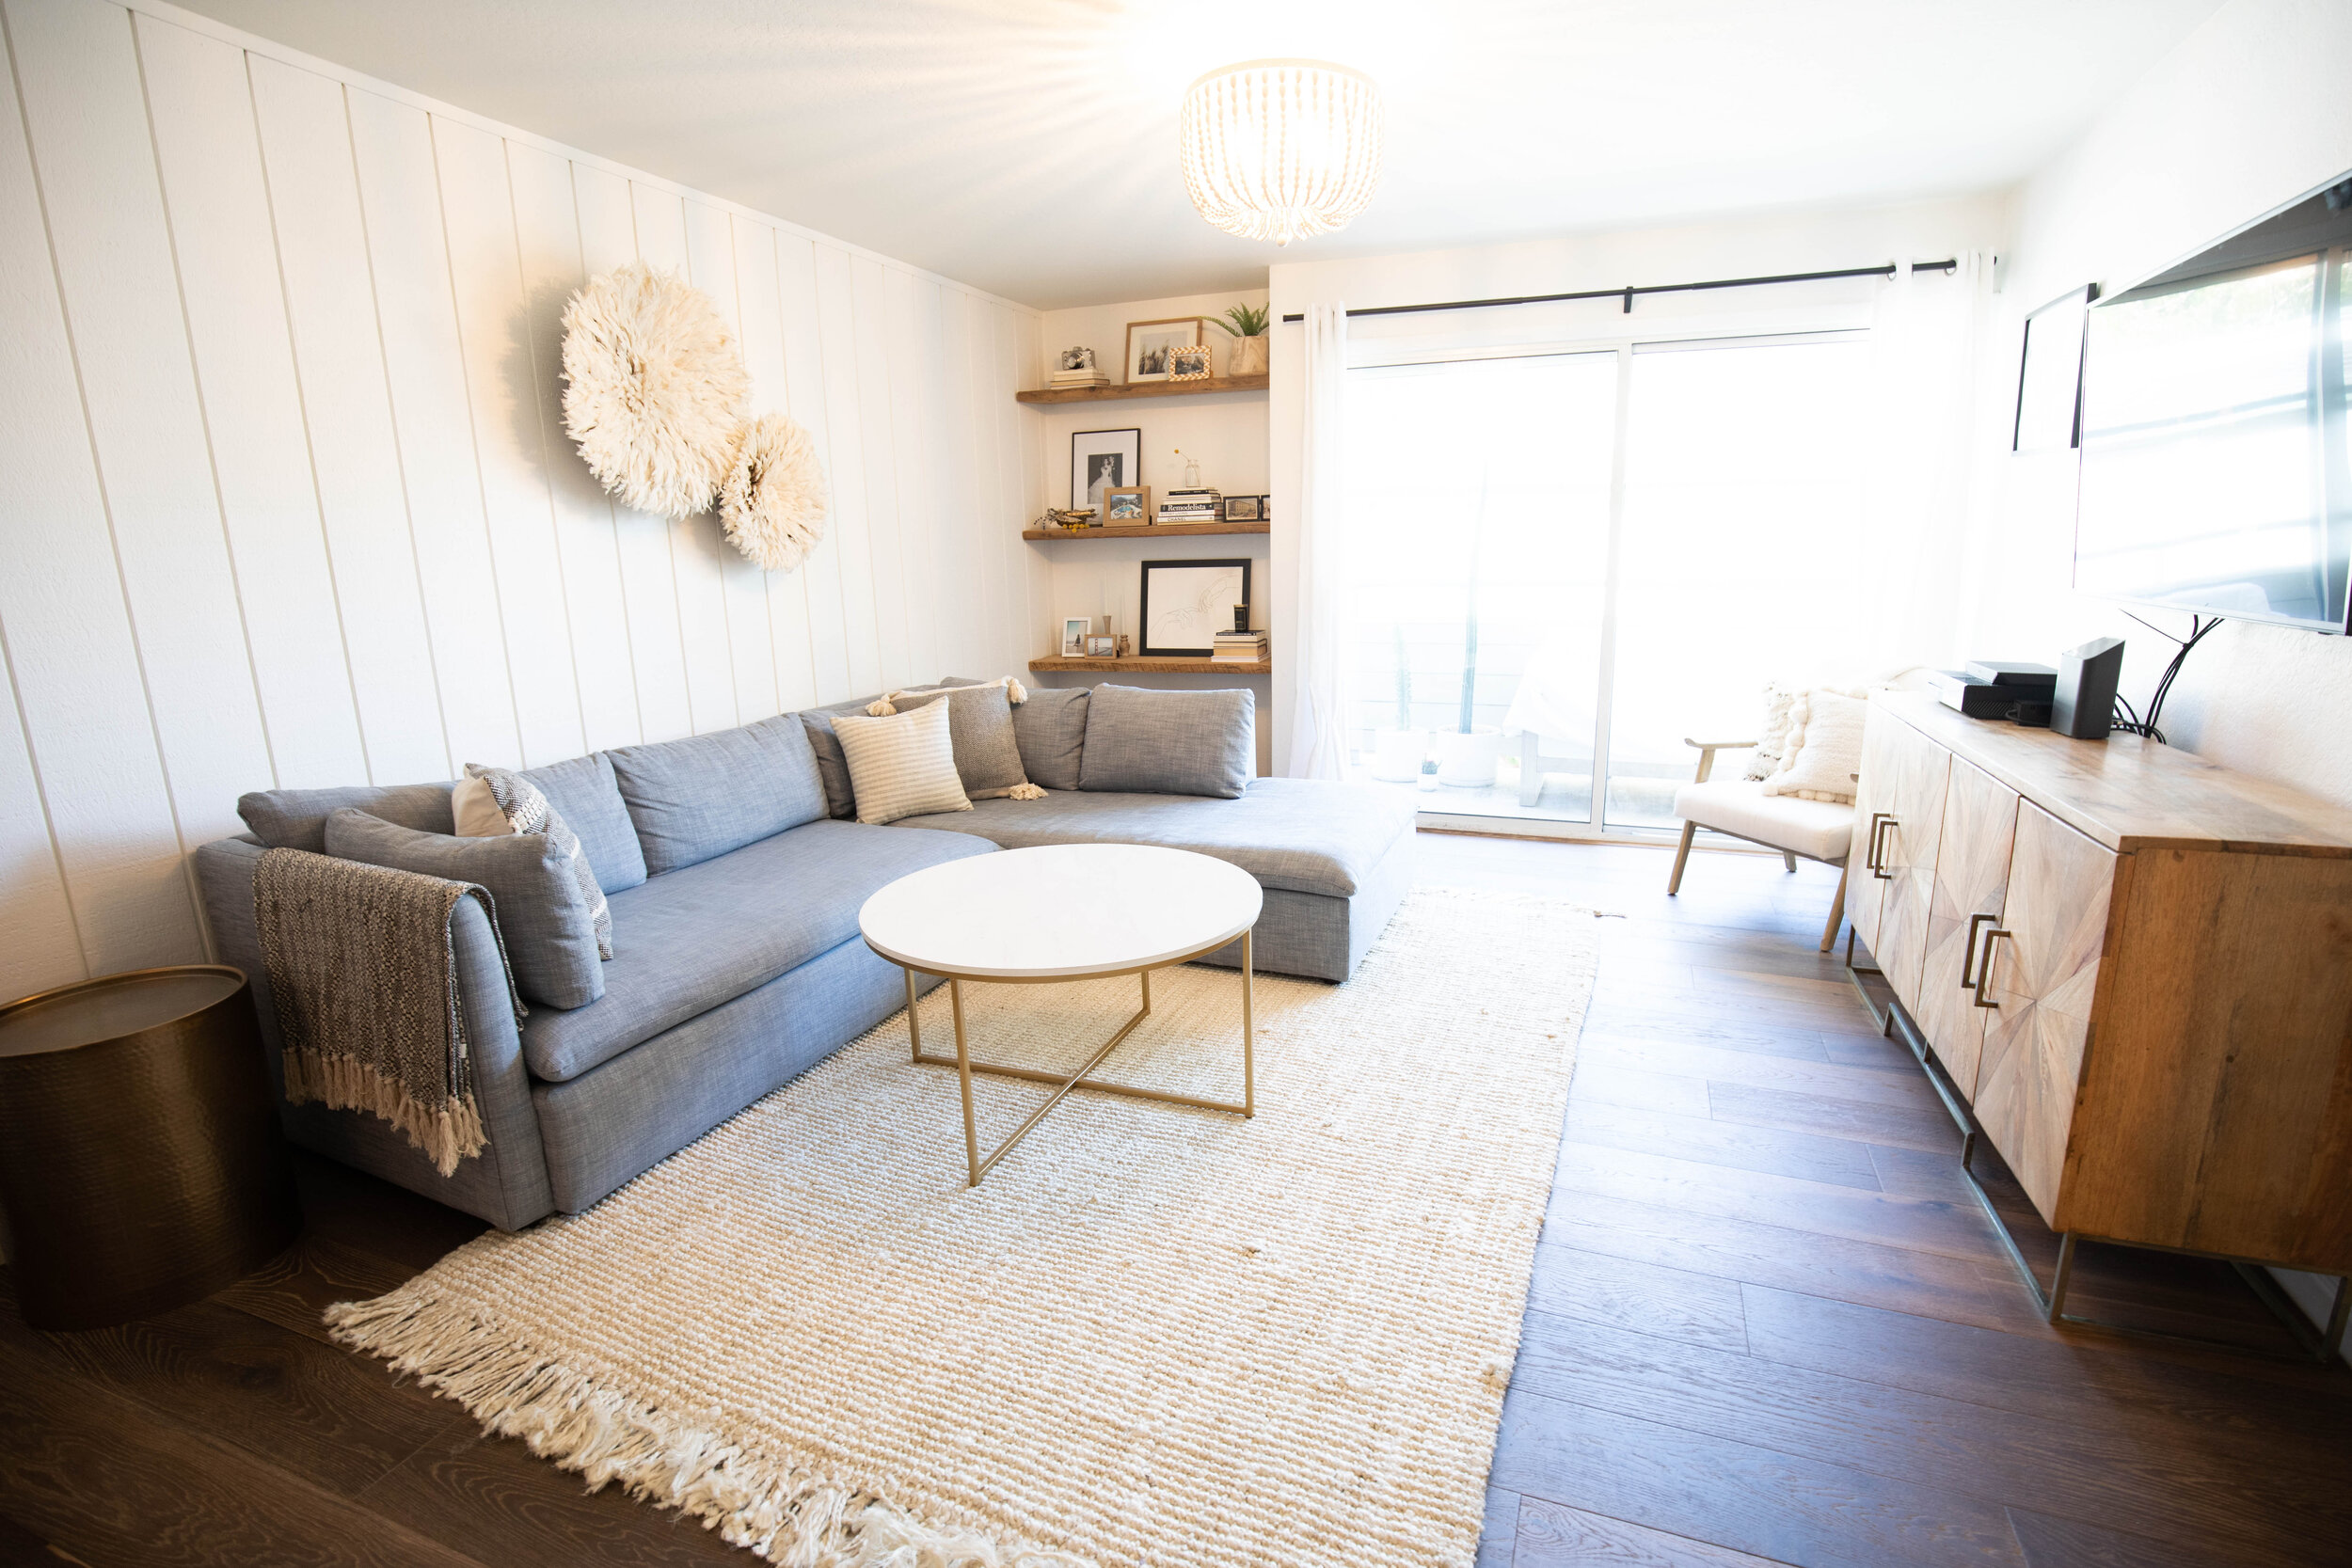
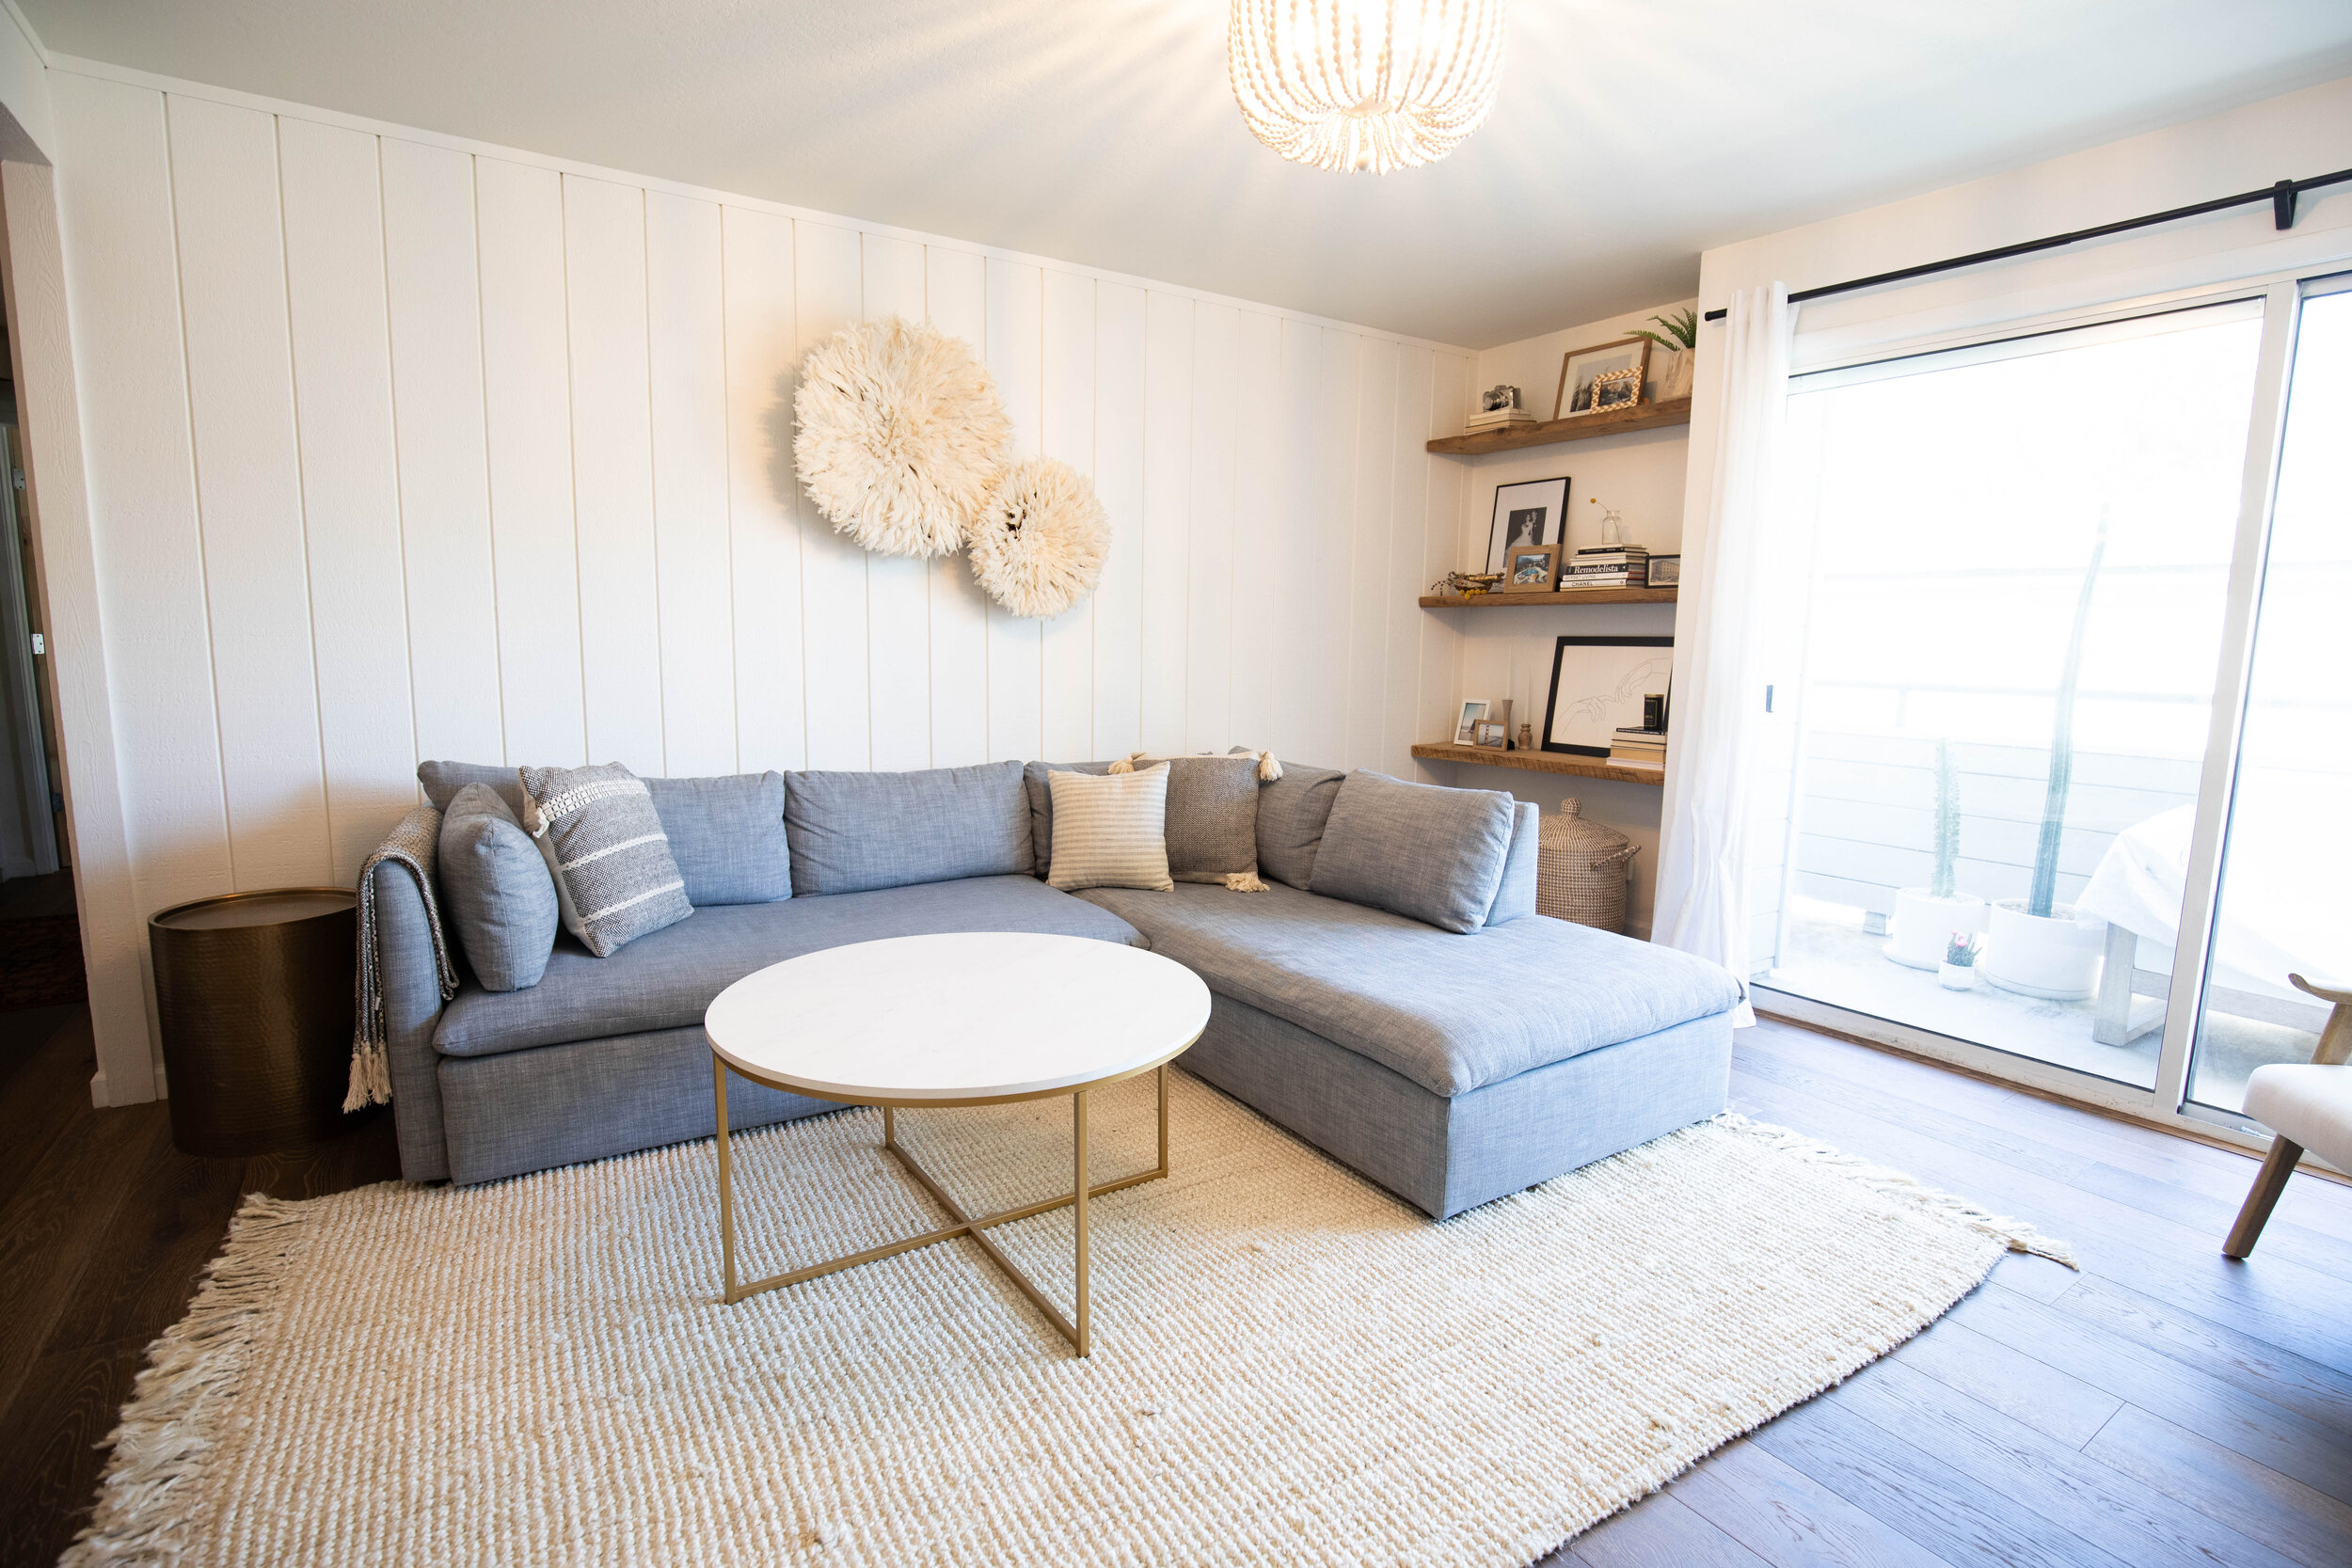
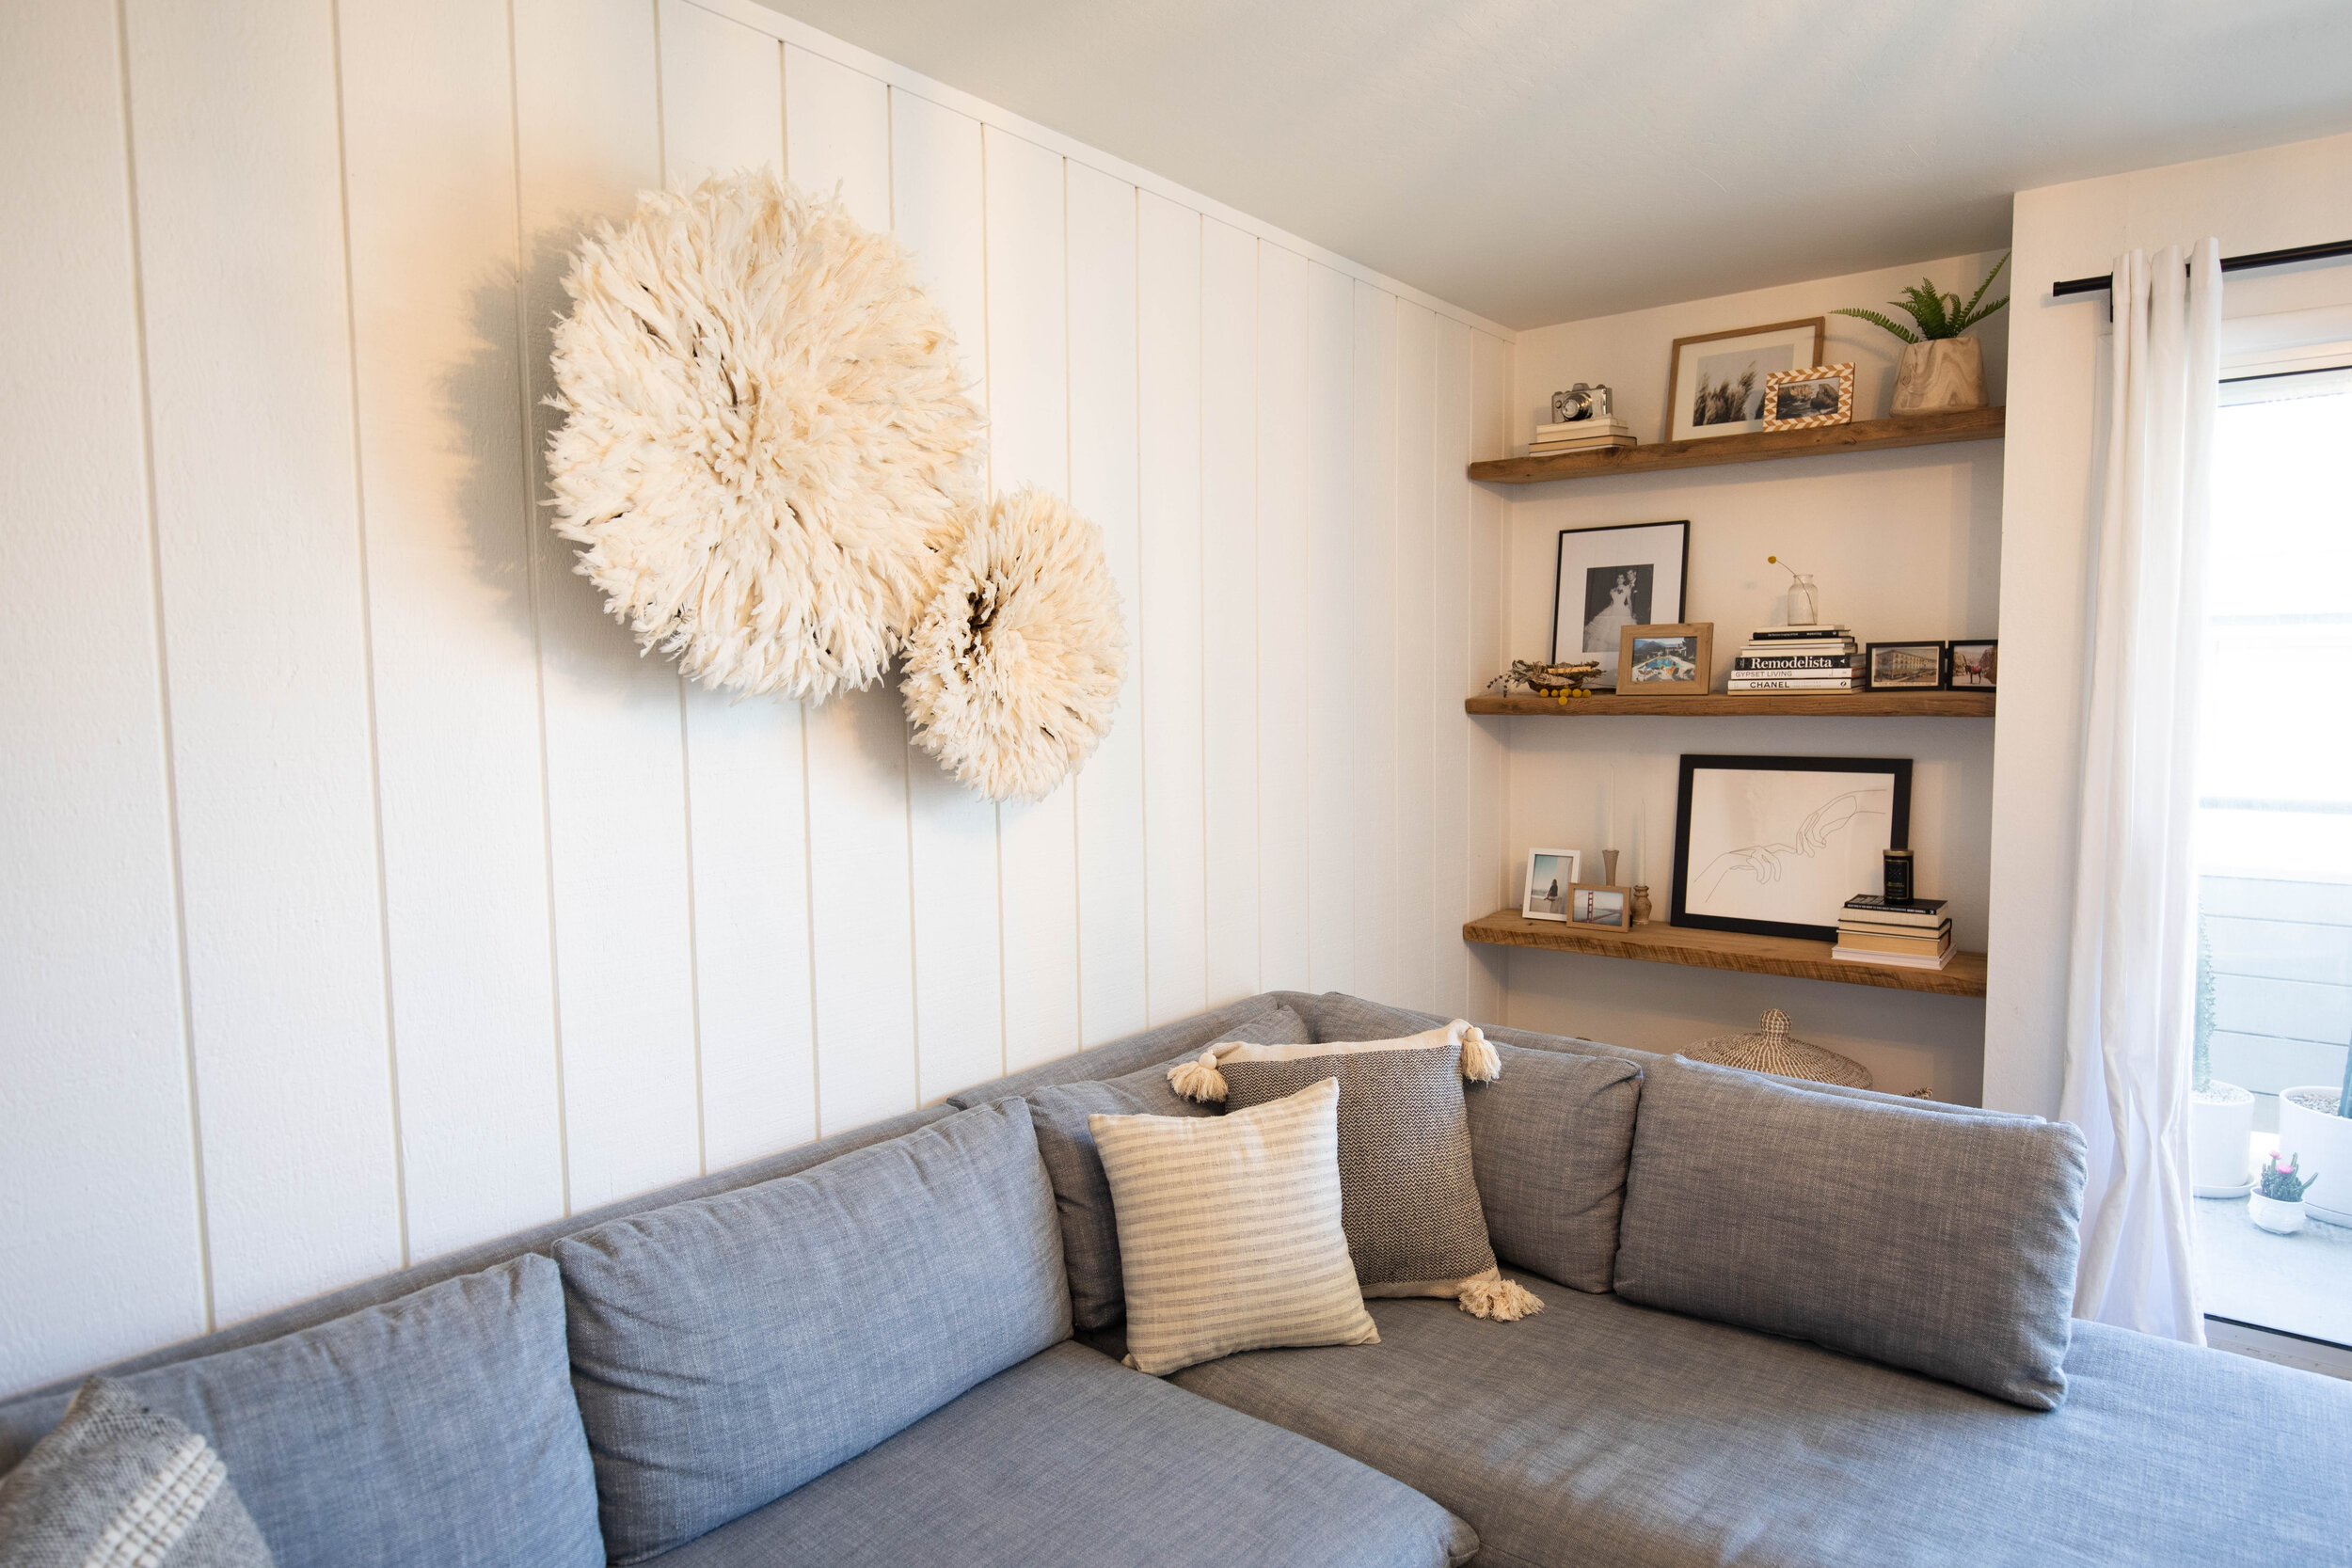
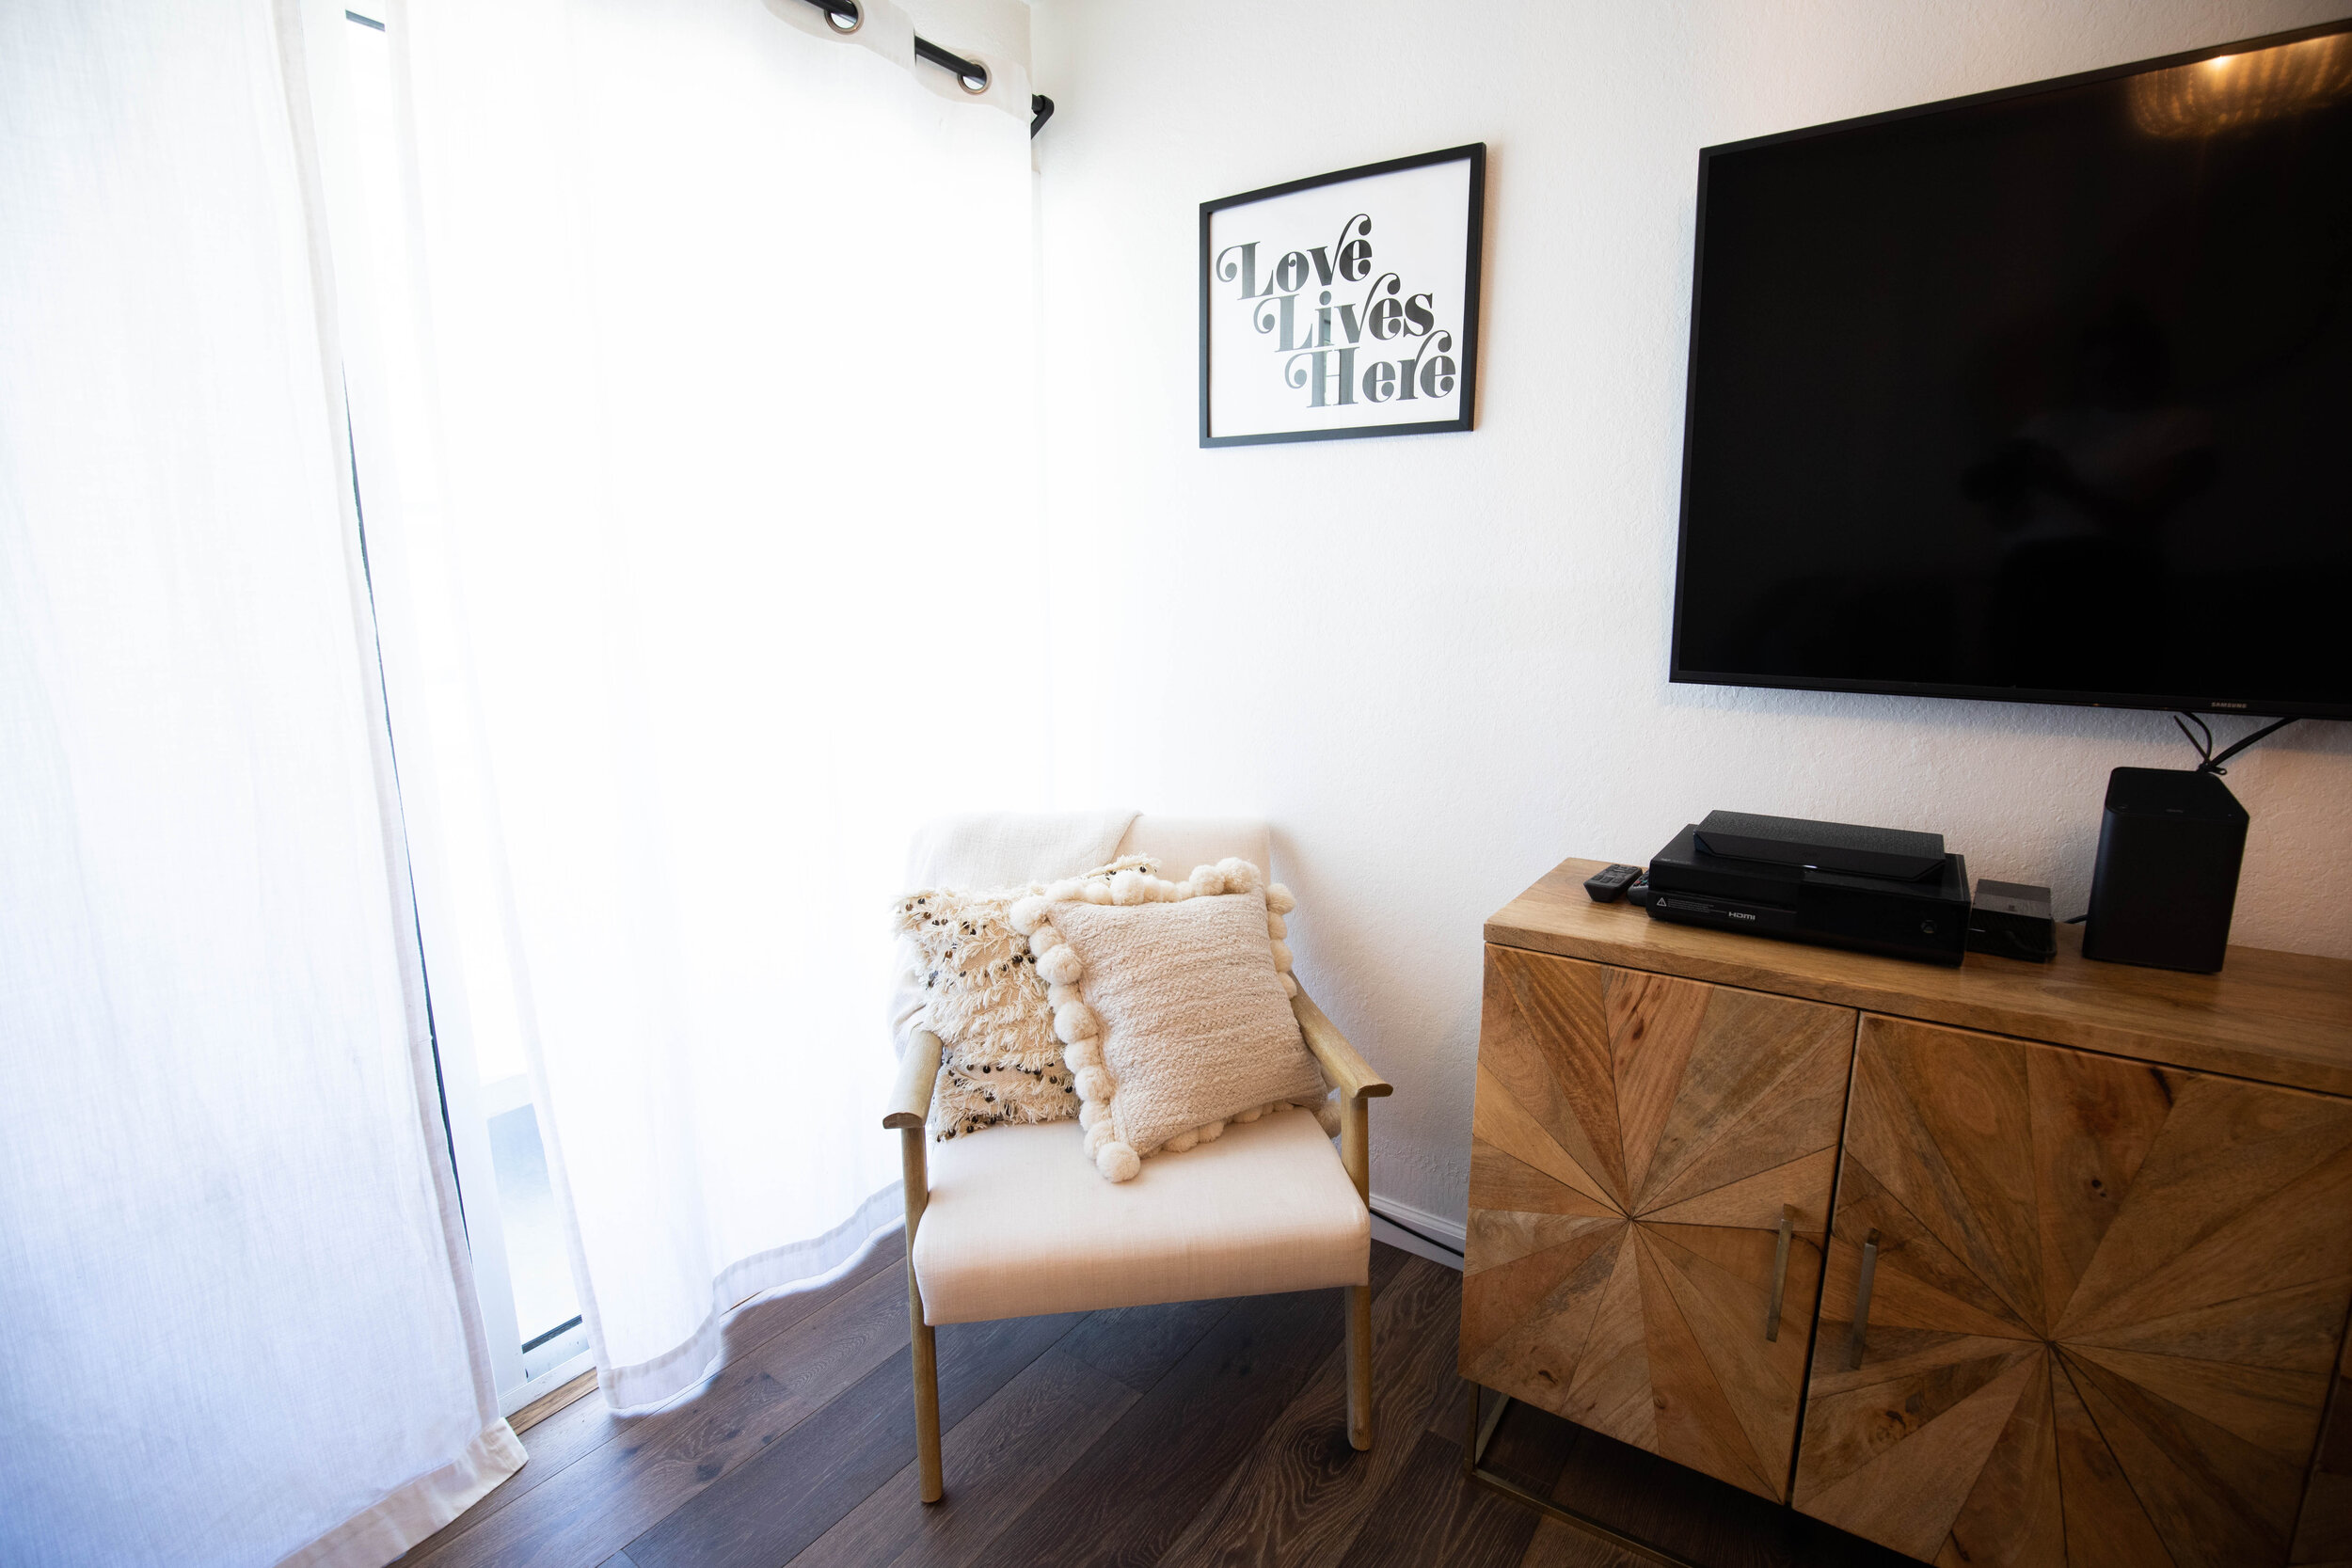
Living Room Details: We think they used outdoor siding for the paneling, which is odd, but it added character so we left it. We kept debating on replacing it with shiplap, but I’m glad we didn’t. I don’t think we would have gotten that back in resale. We tried to only do what we absolutely had to do.
Sectional: West Elm Shelter Sectional
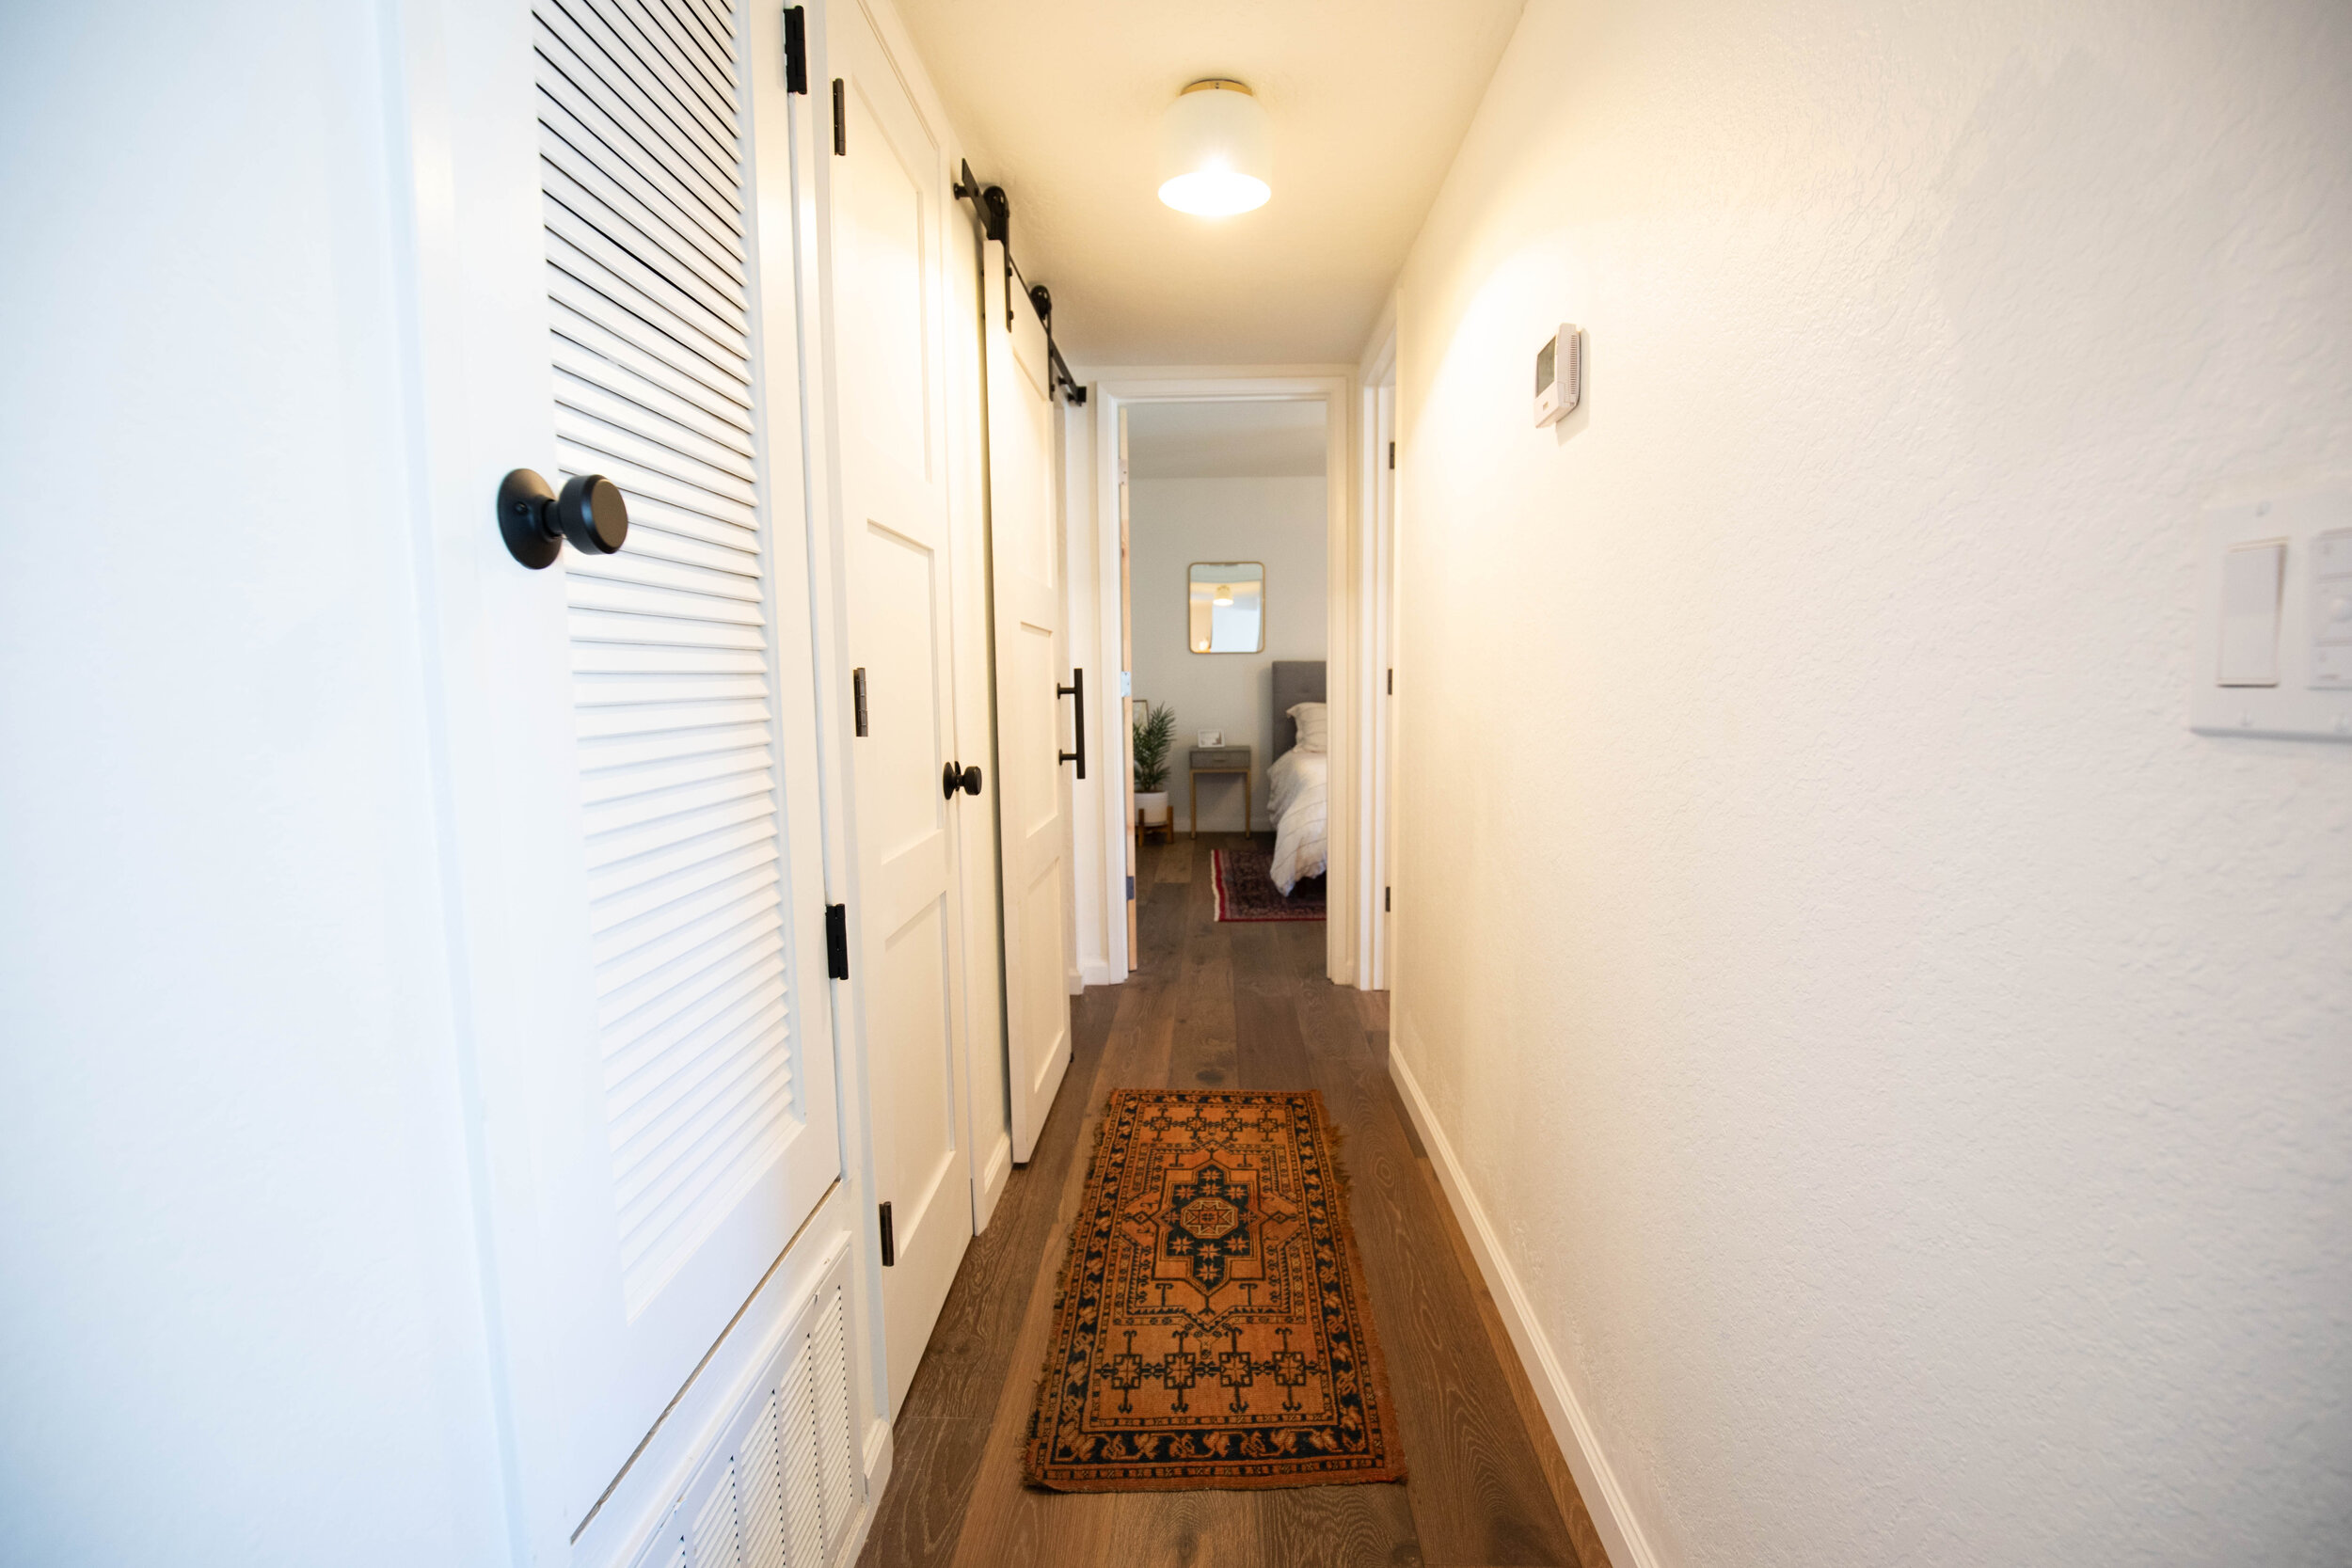
Doors: Lou’s Prehung Doors in San Jose
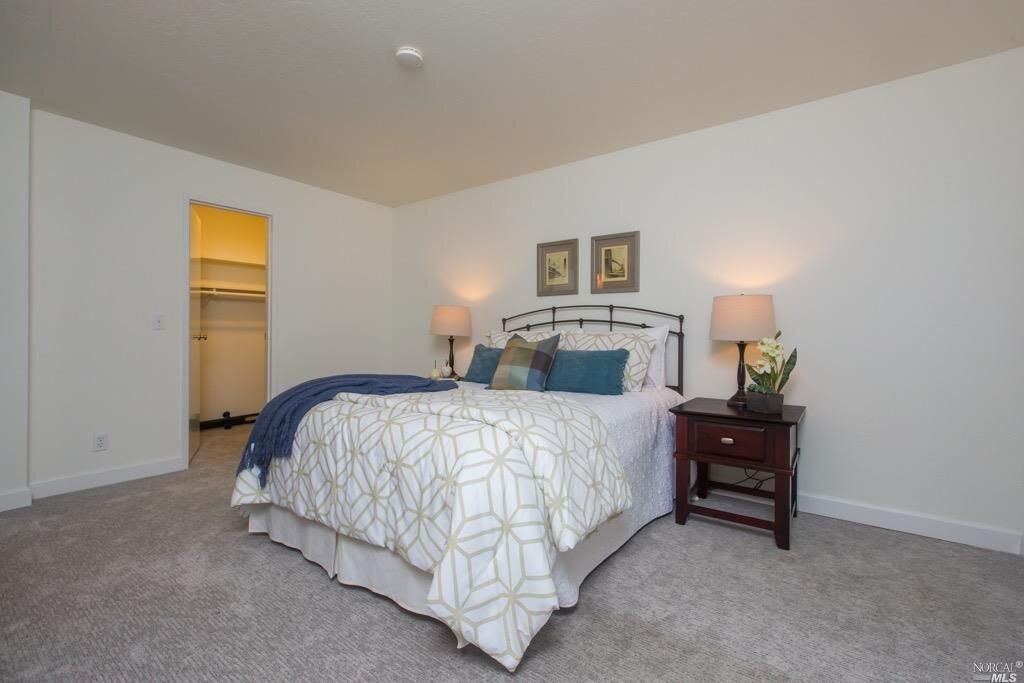
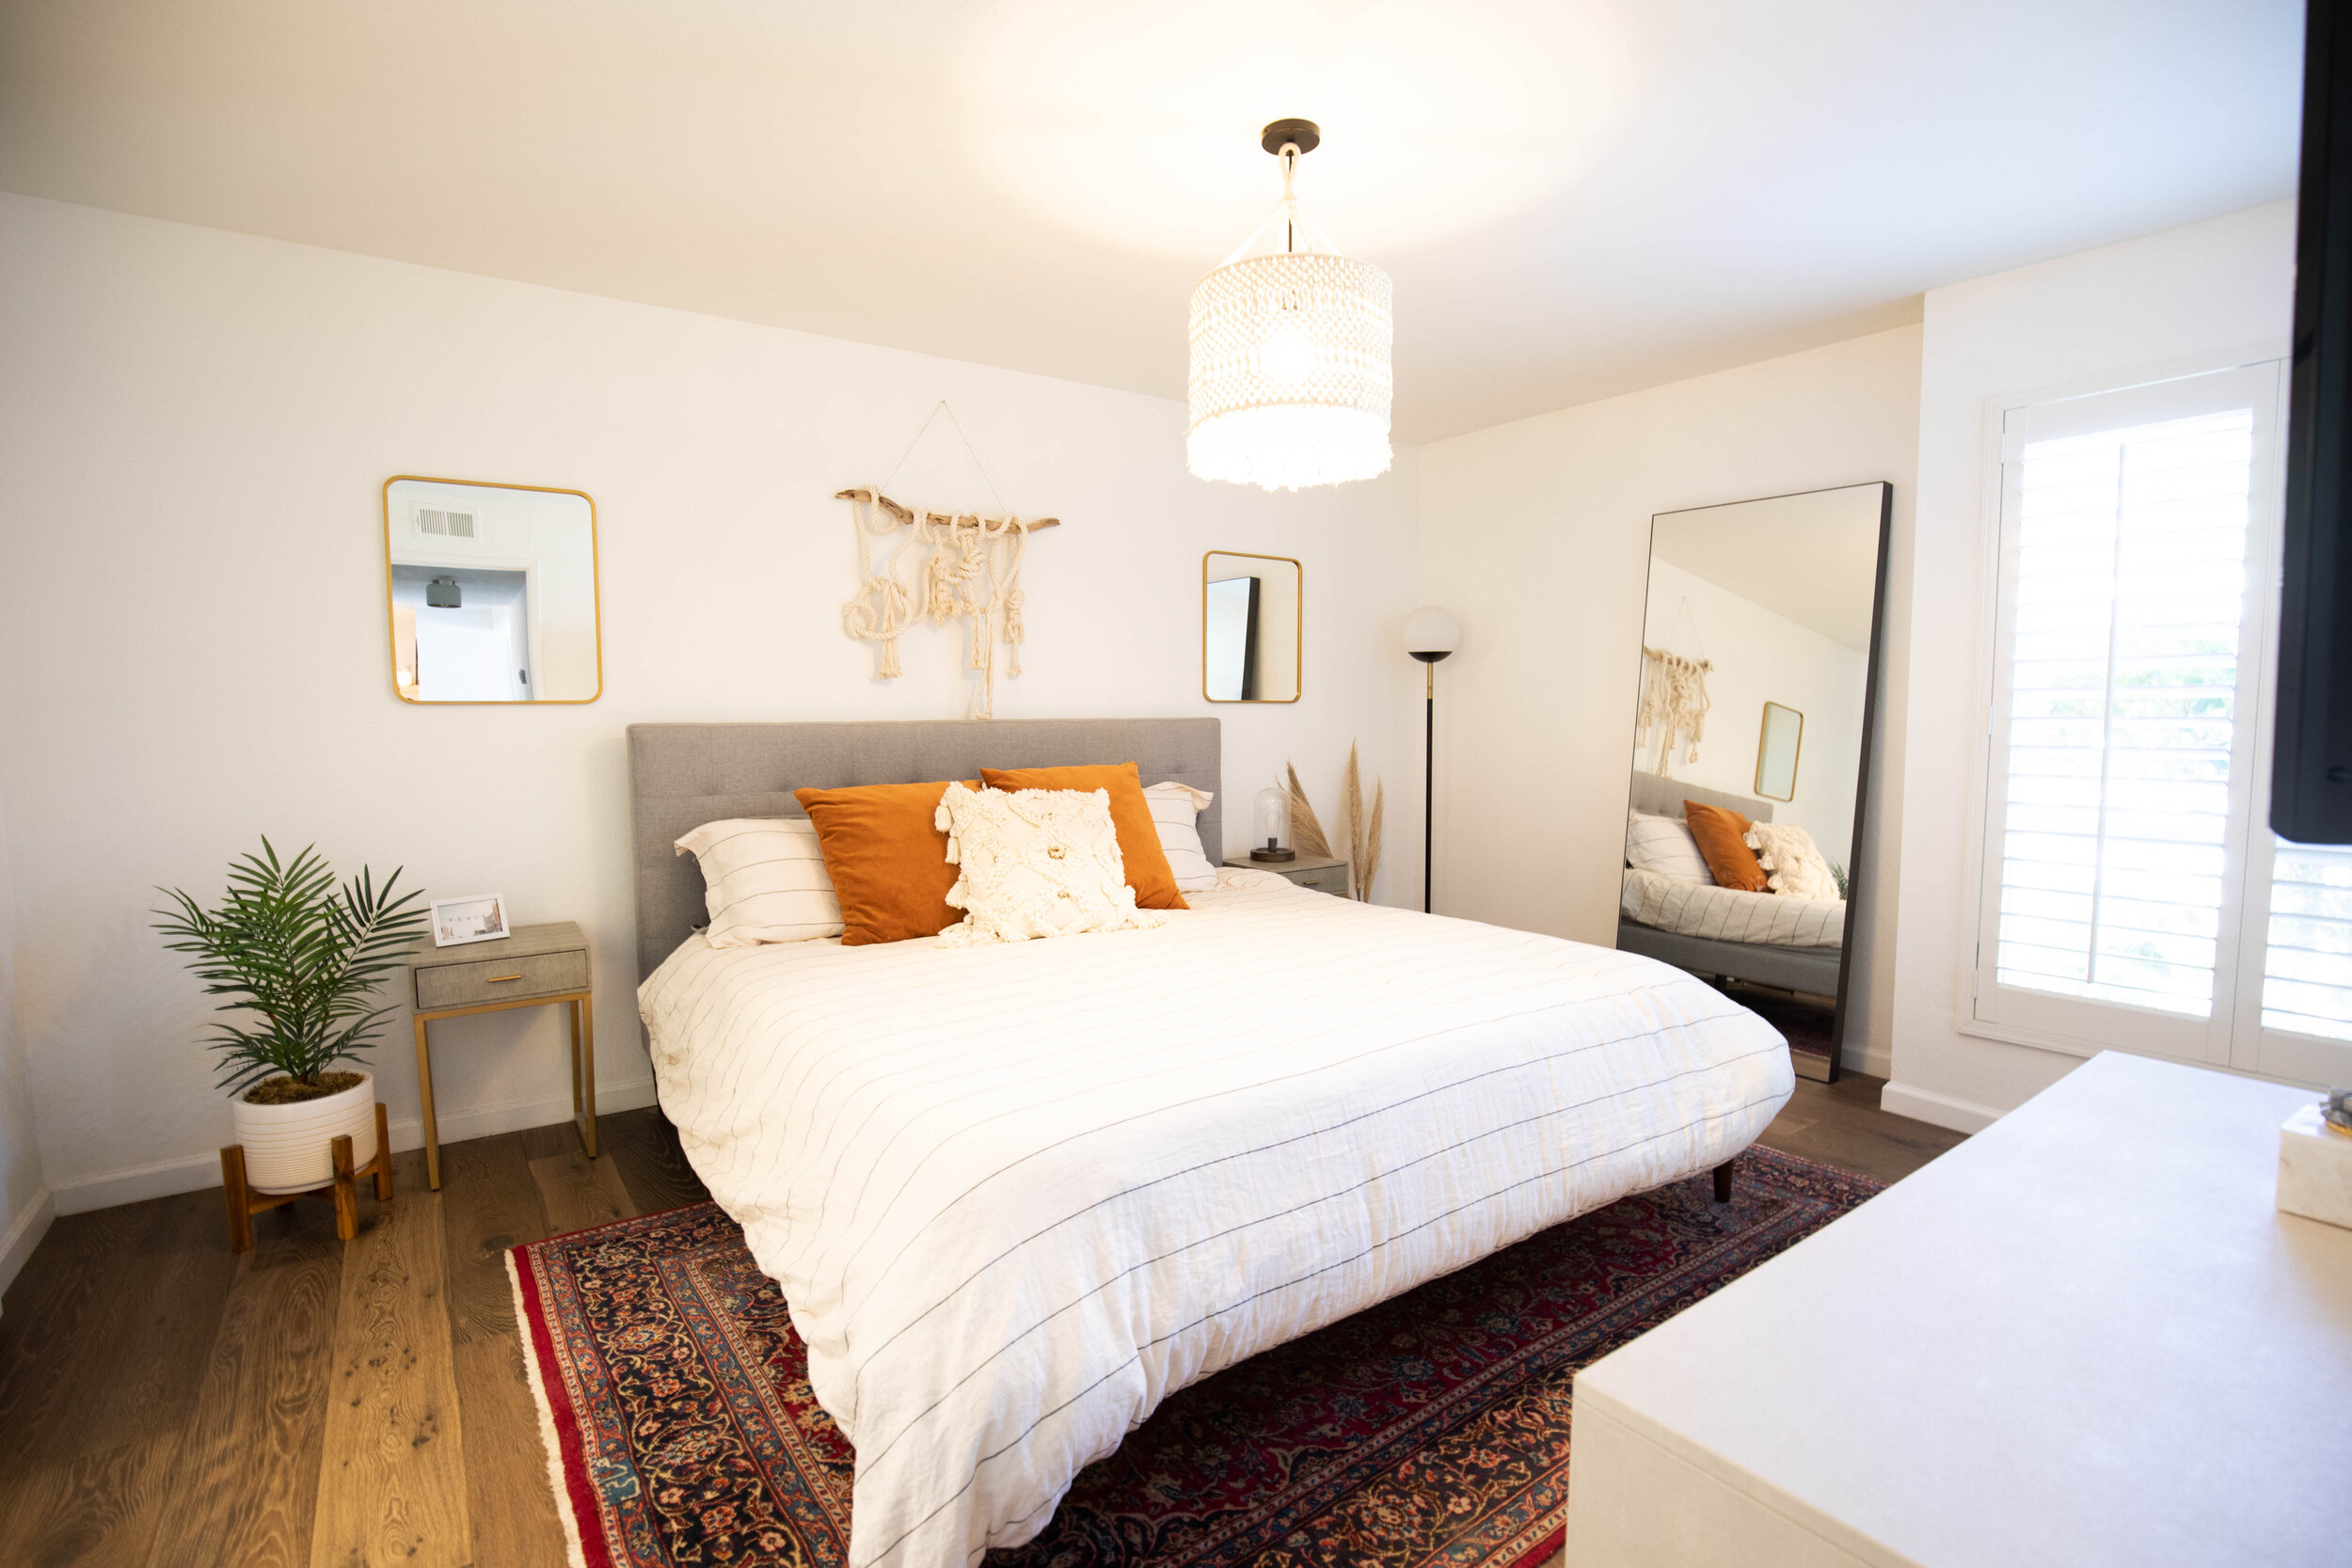
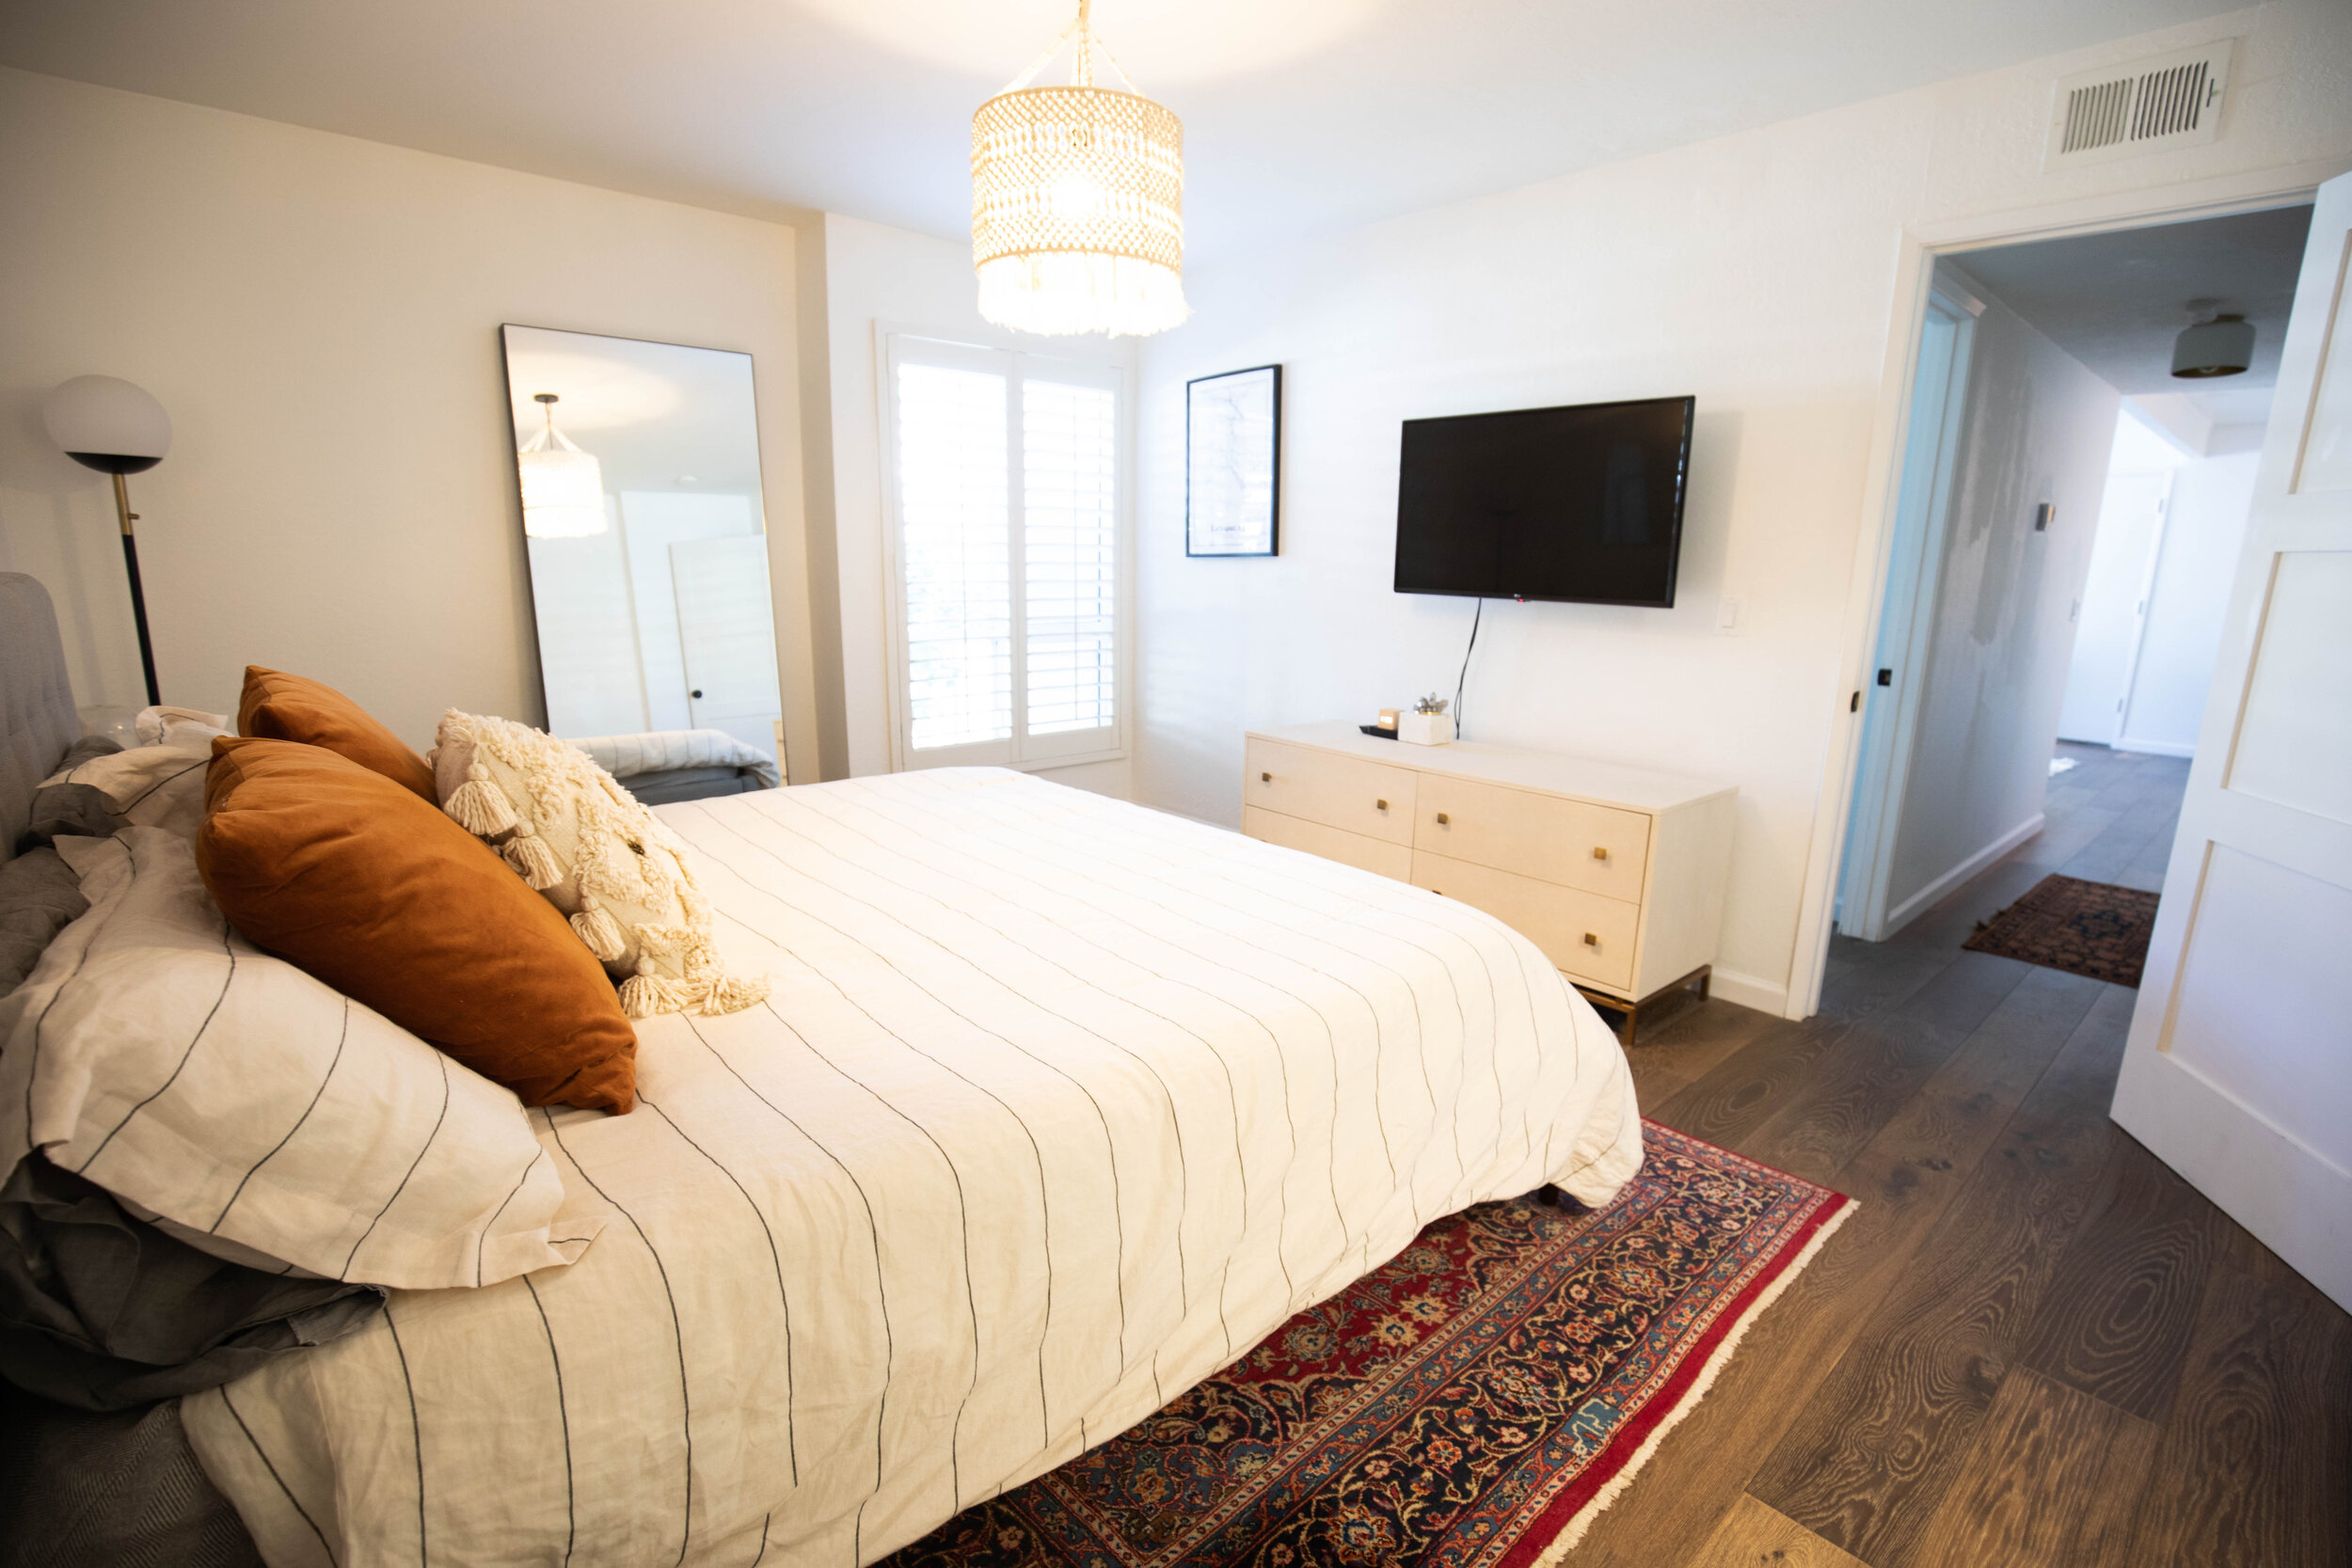
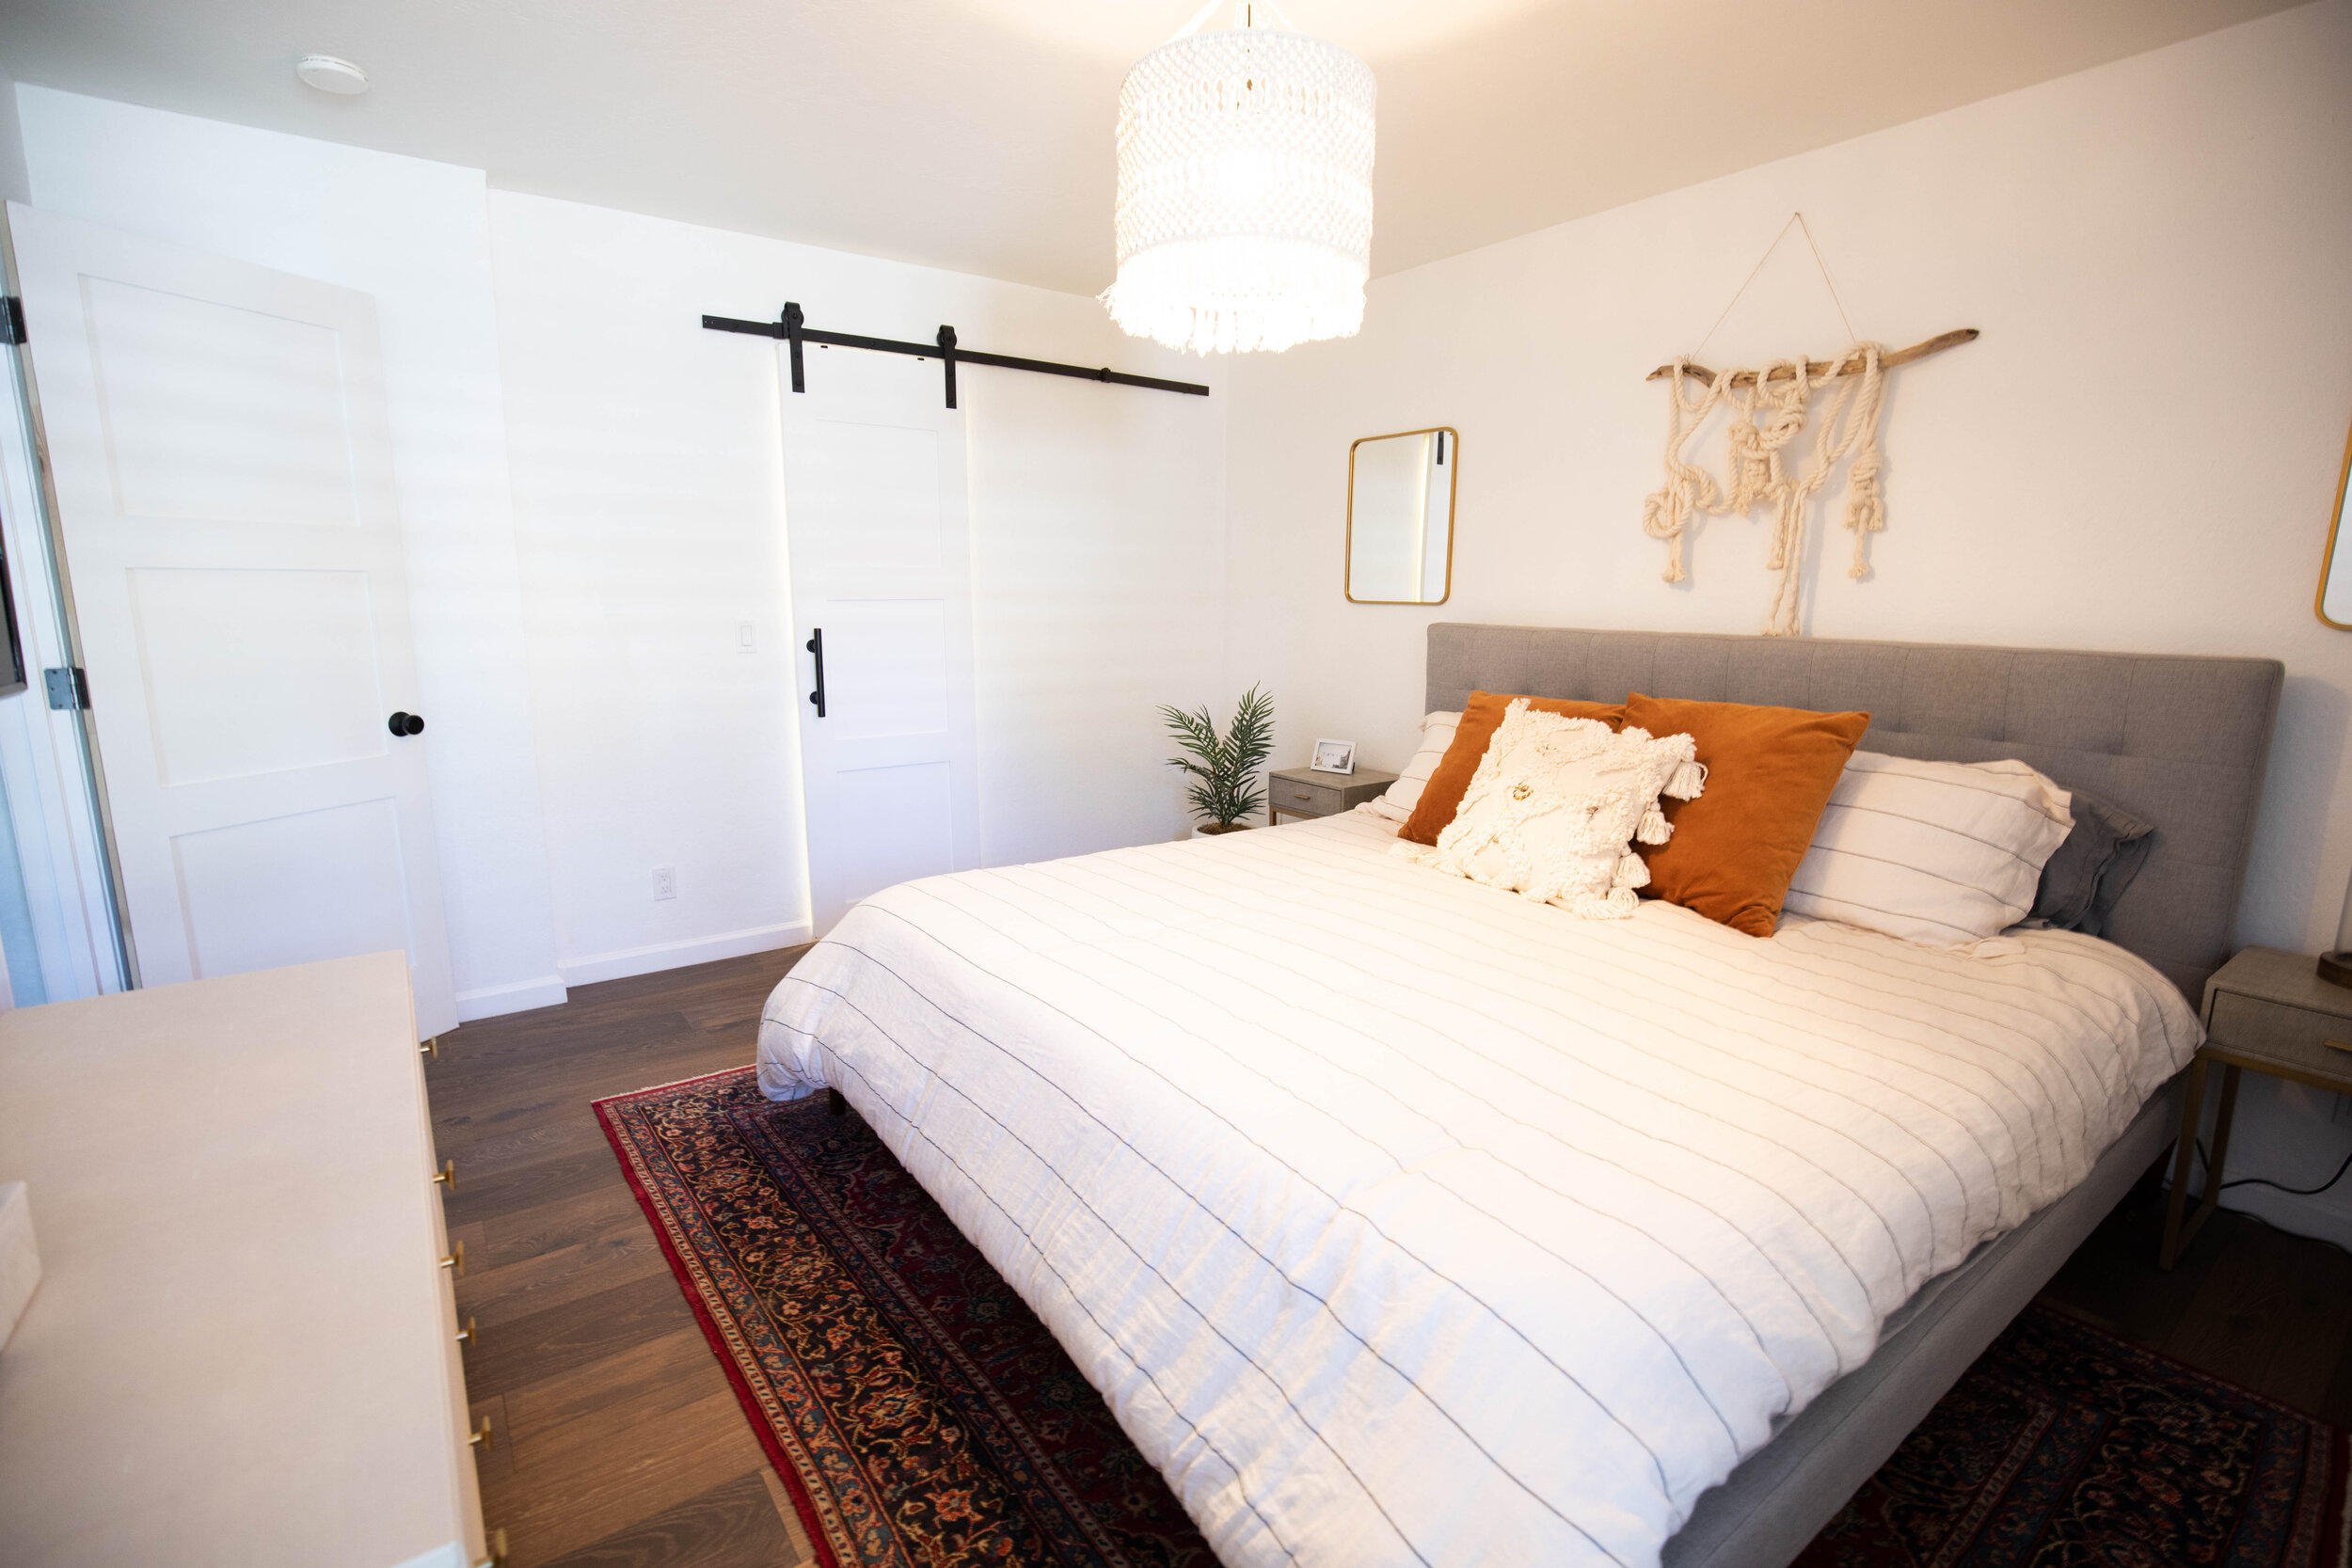
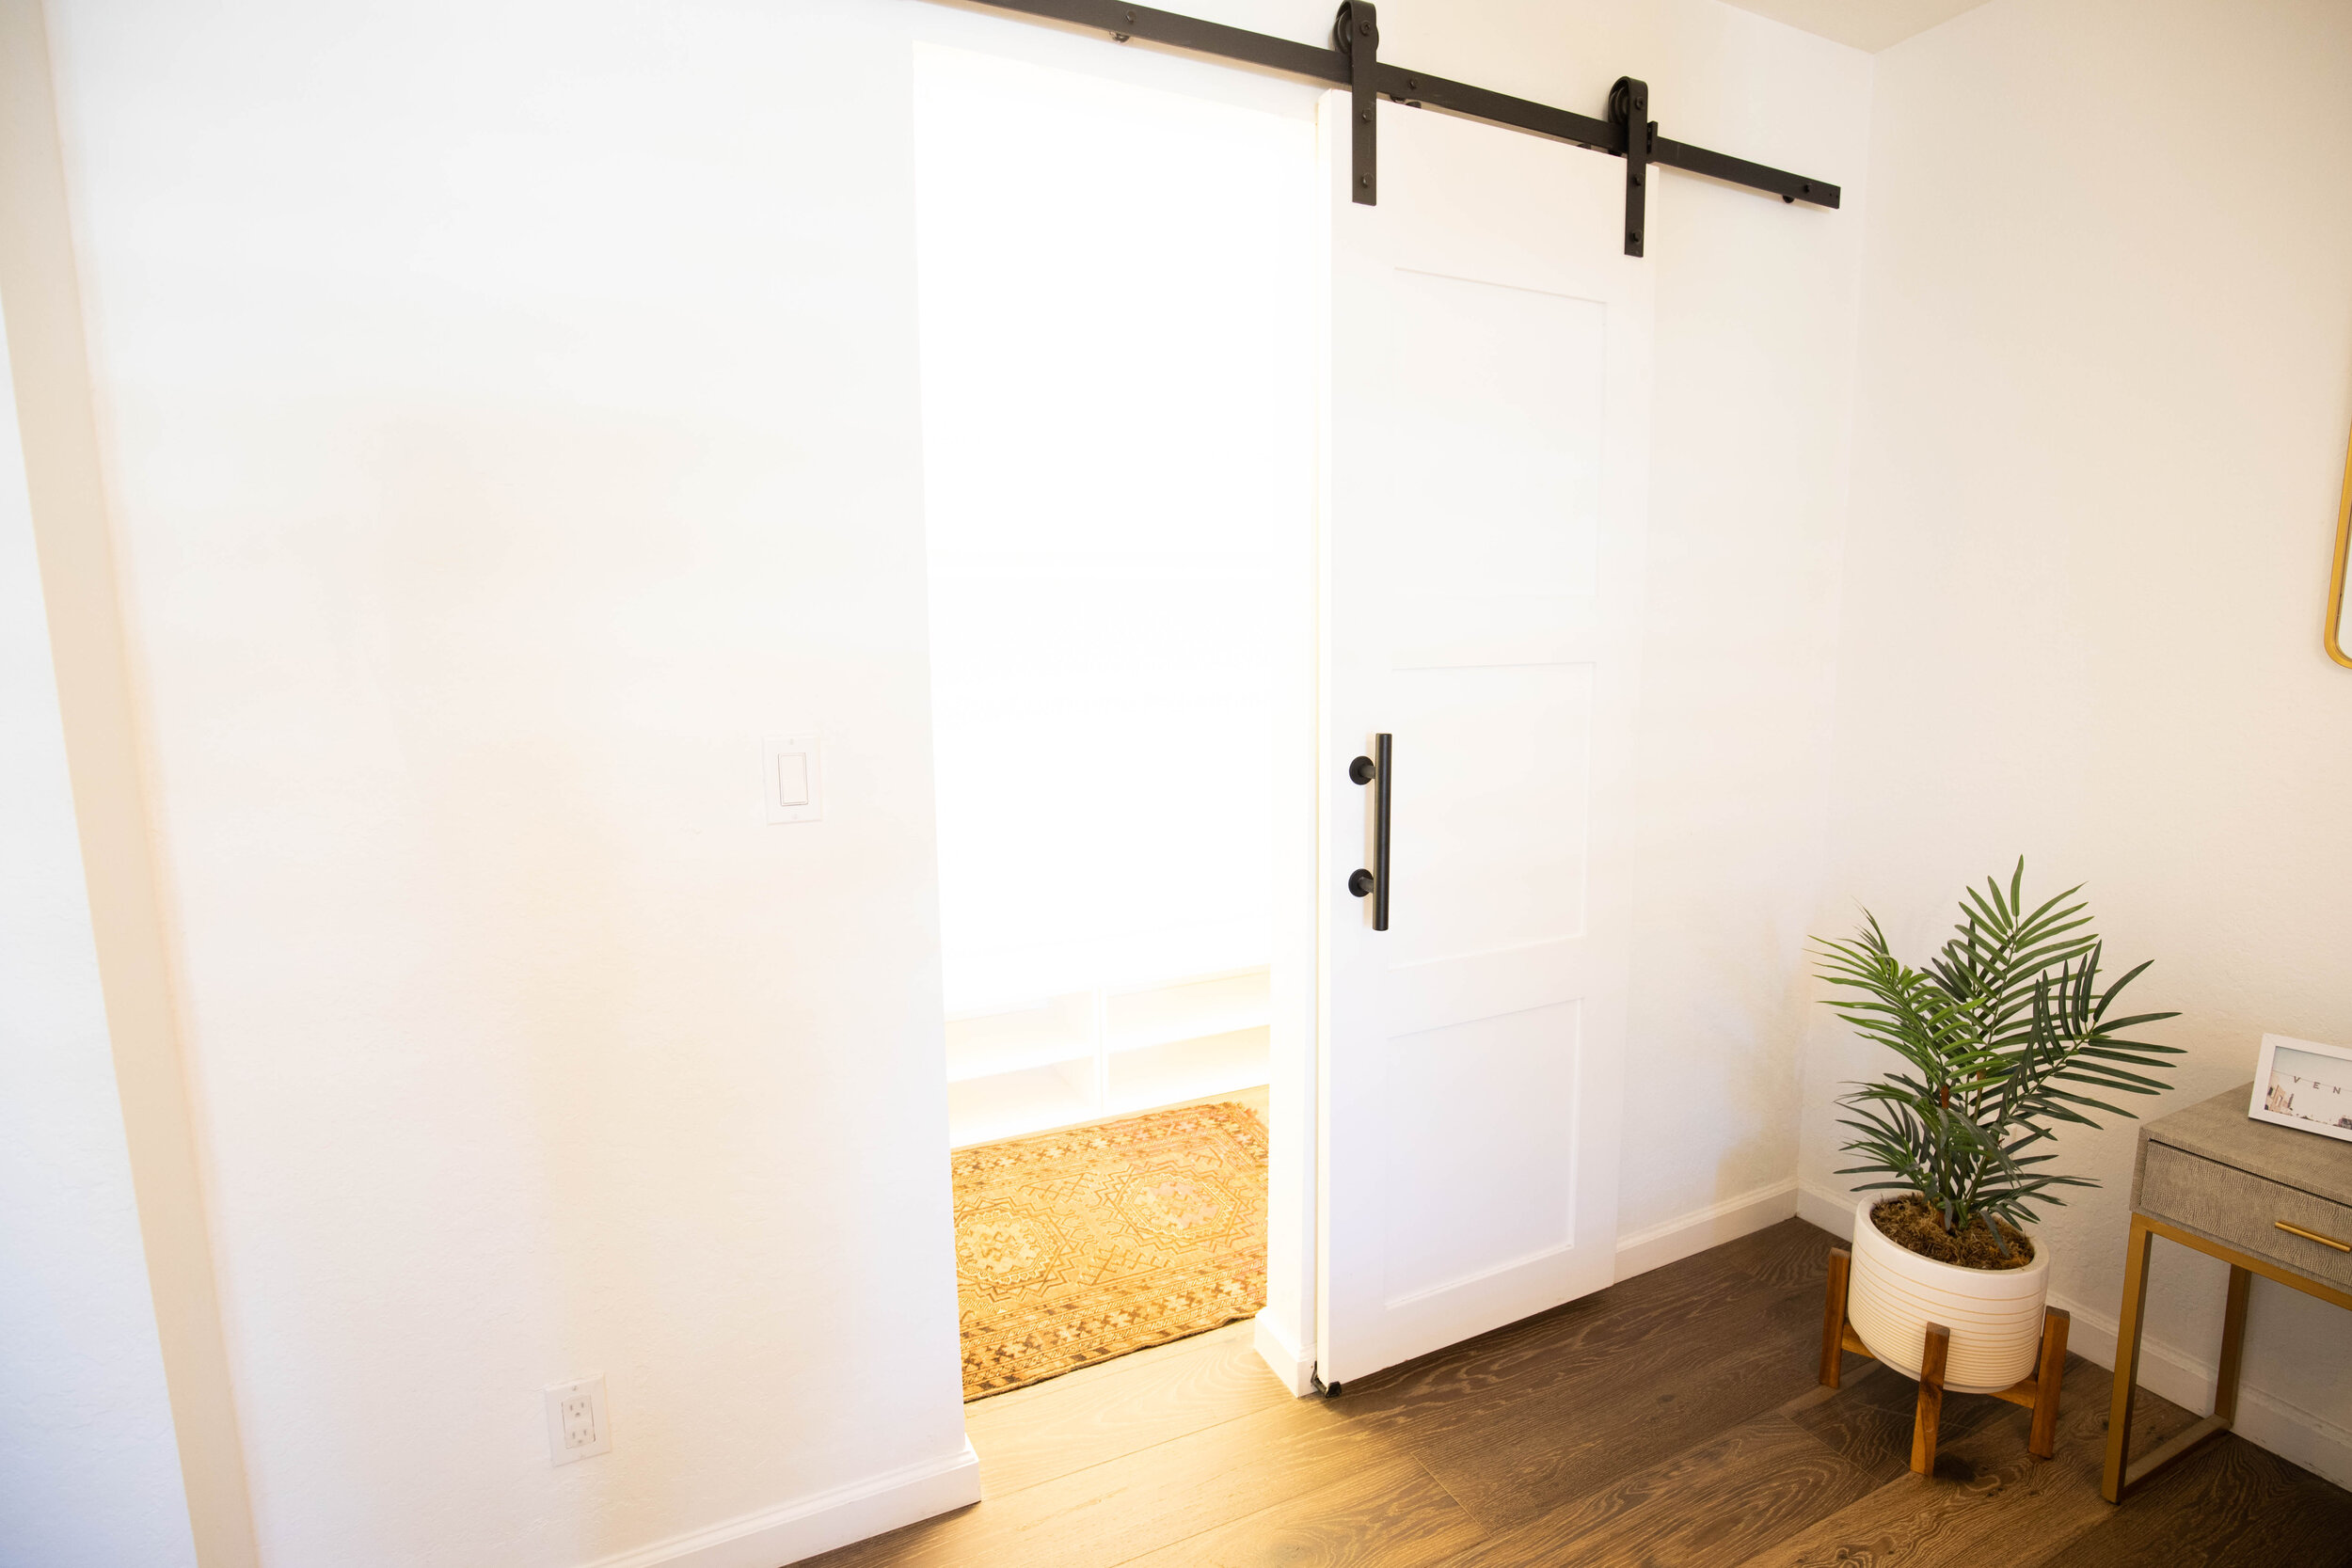
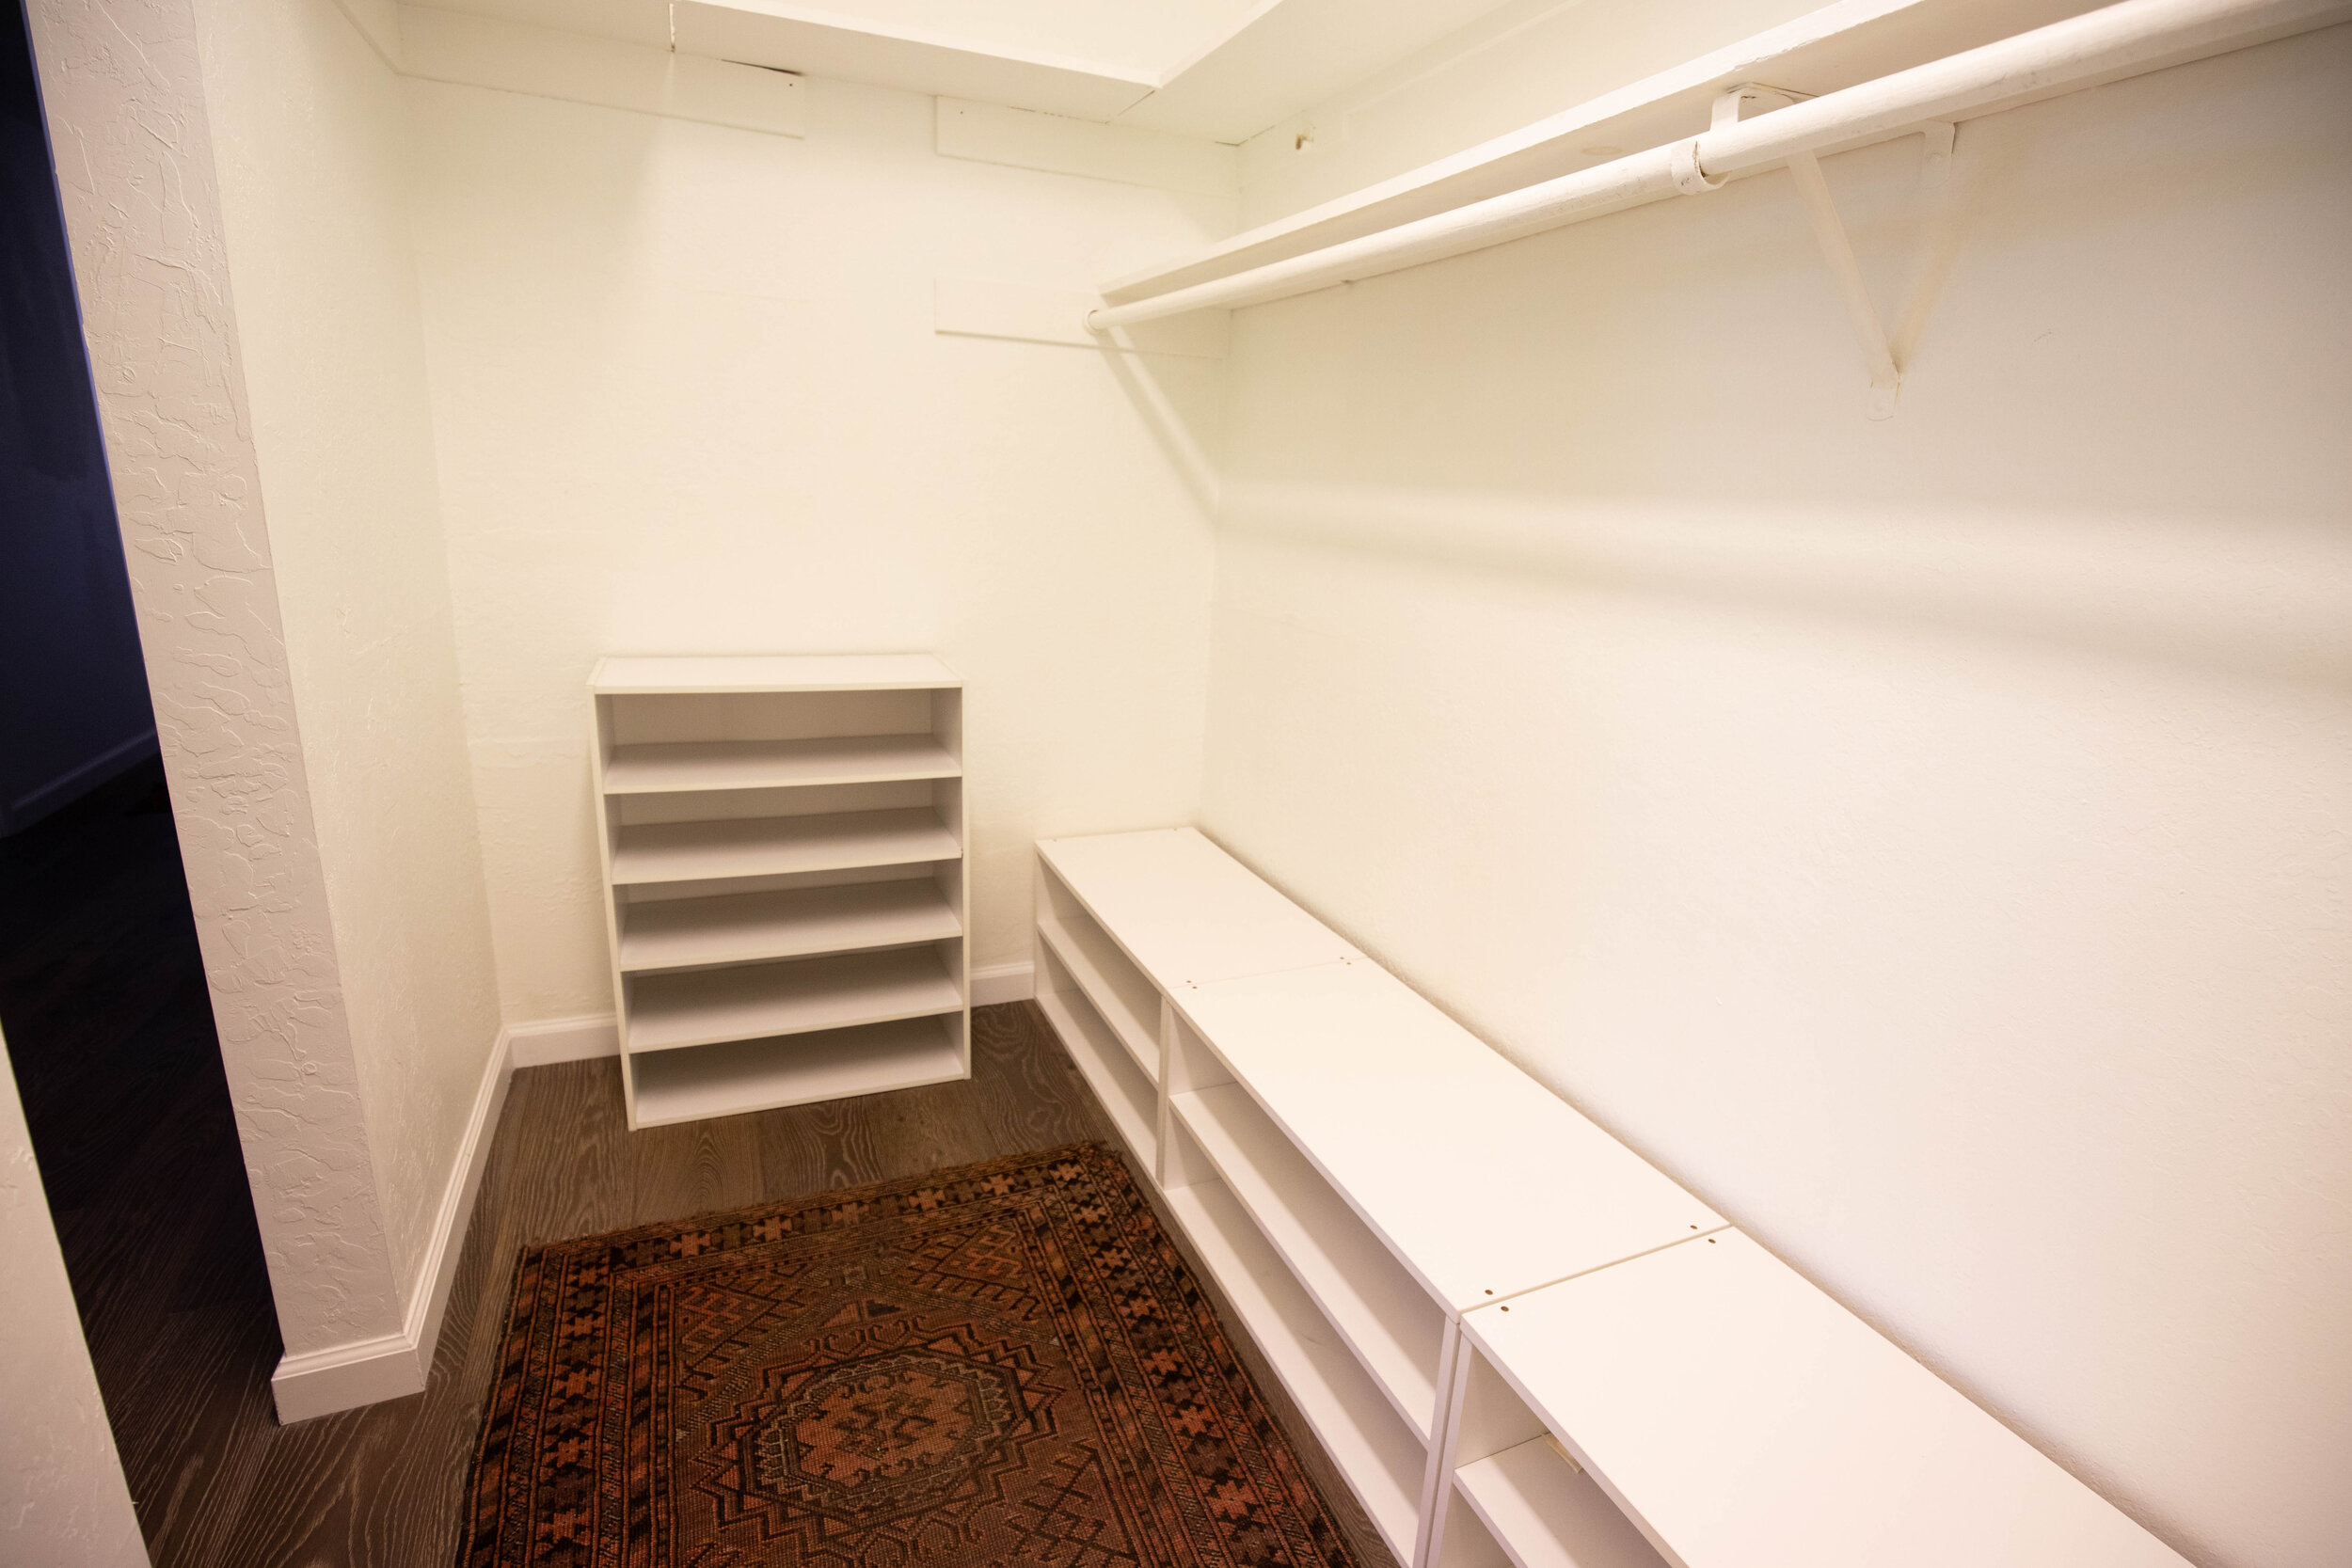
Main Bedroom Details: For the Primary bedroom, we kept it as minimal as possible- new hardwood floors, new baseboards, took out the popcorn ceiling in the closet, and repainted everything in Benjamin Moore Chantilly Lace.
Bed: West Elm Grid-Tufted Upholstered Tapered Leg Bed
Dresser: Ivory Shagreen Embossed Low Dresser
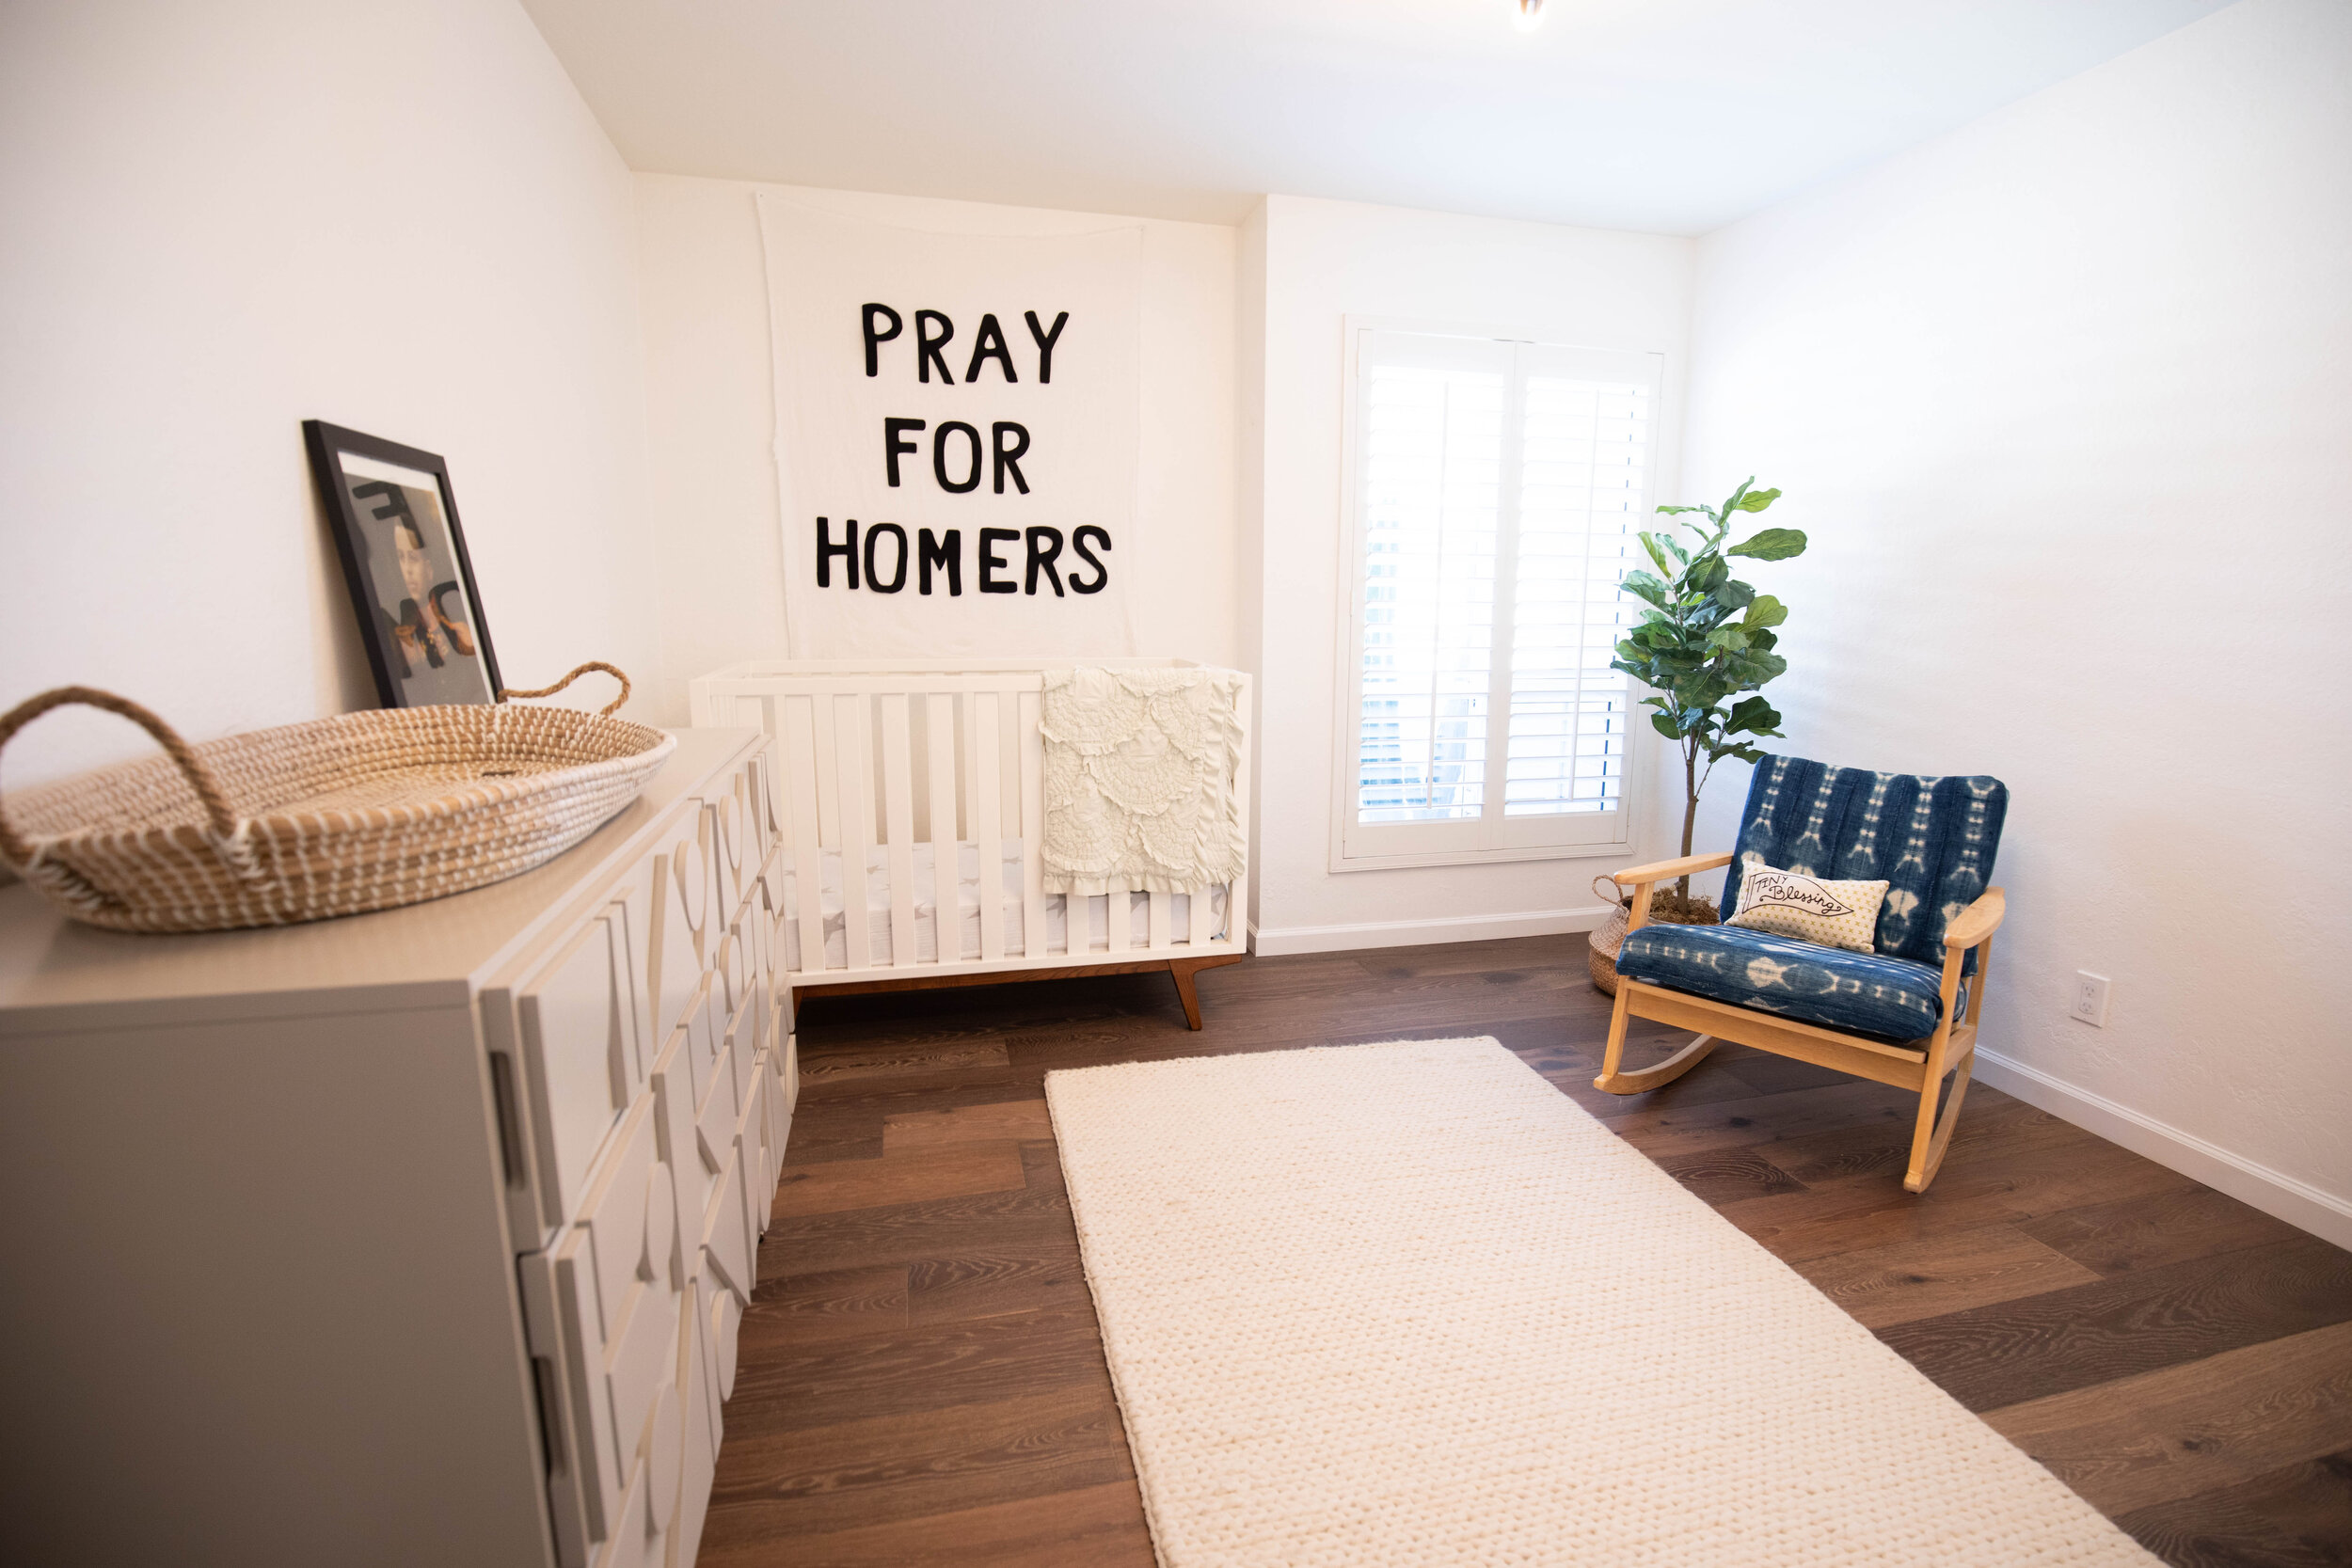
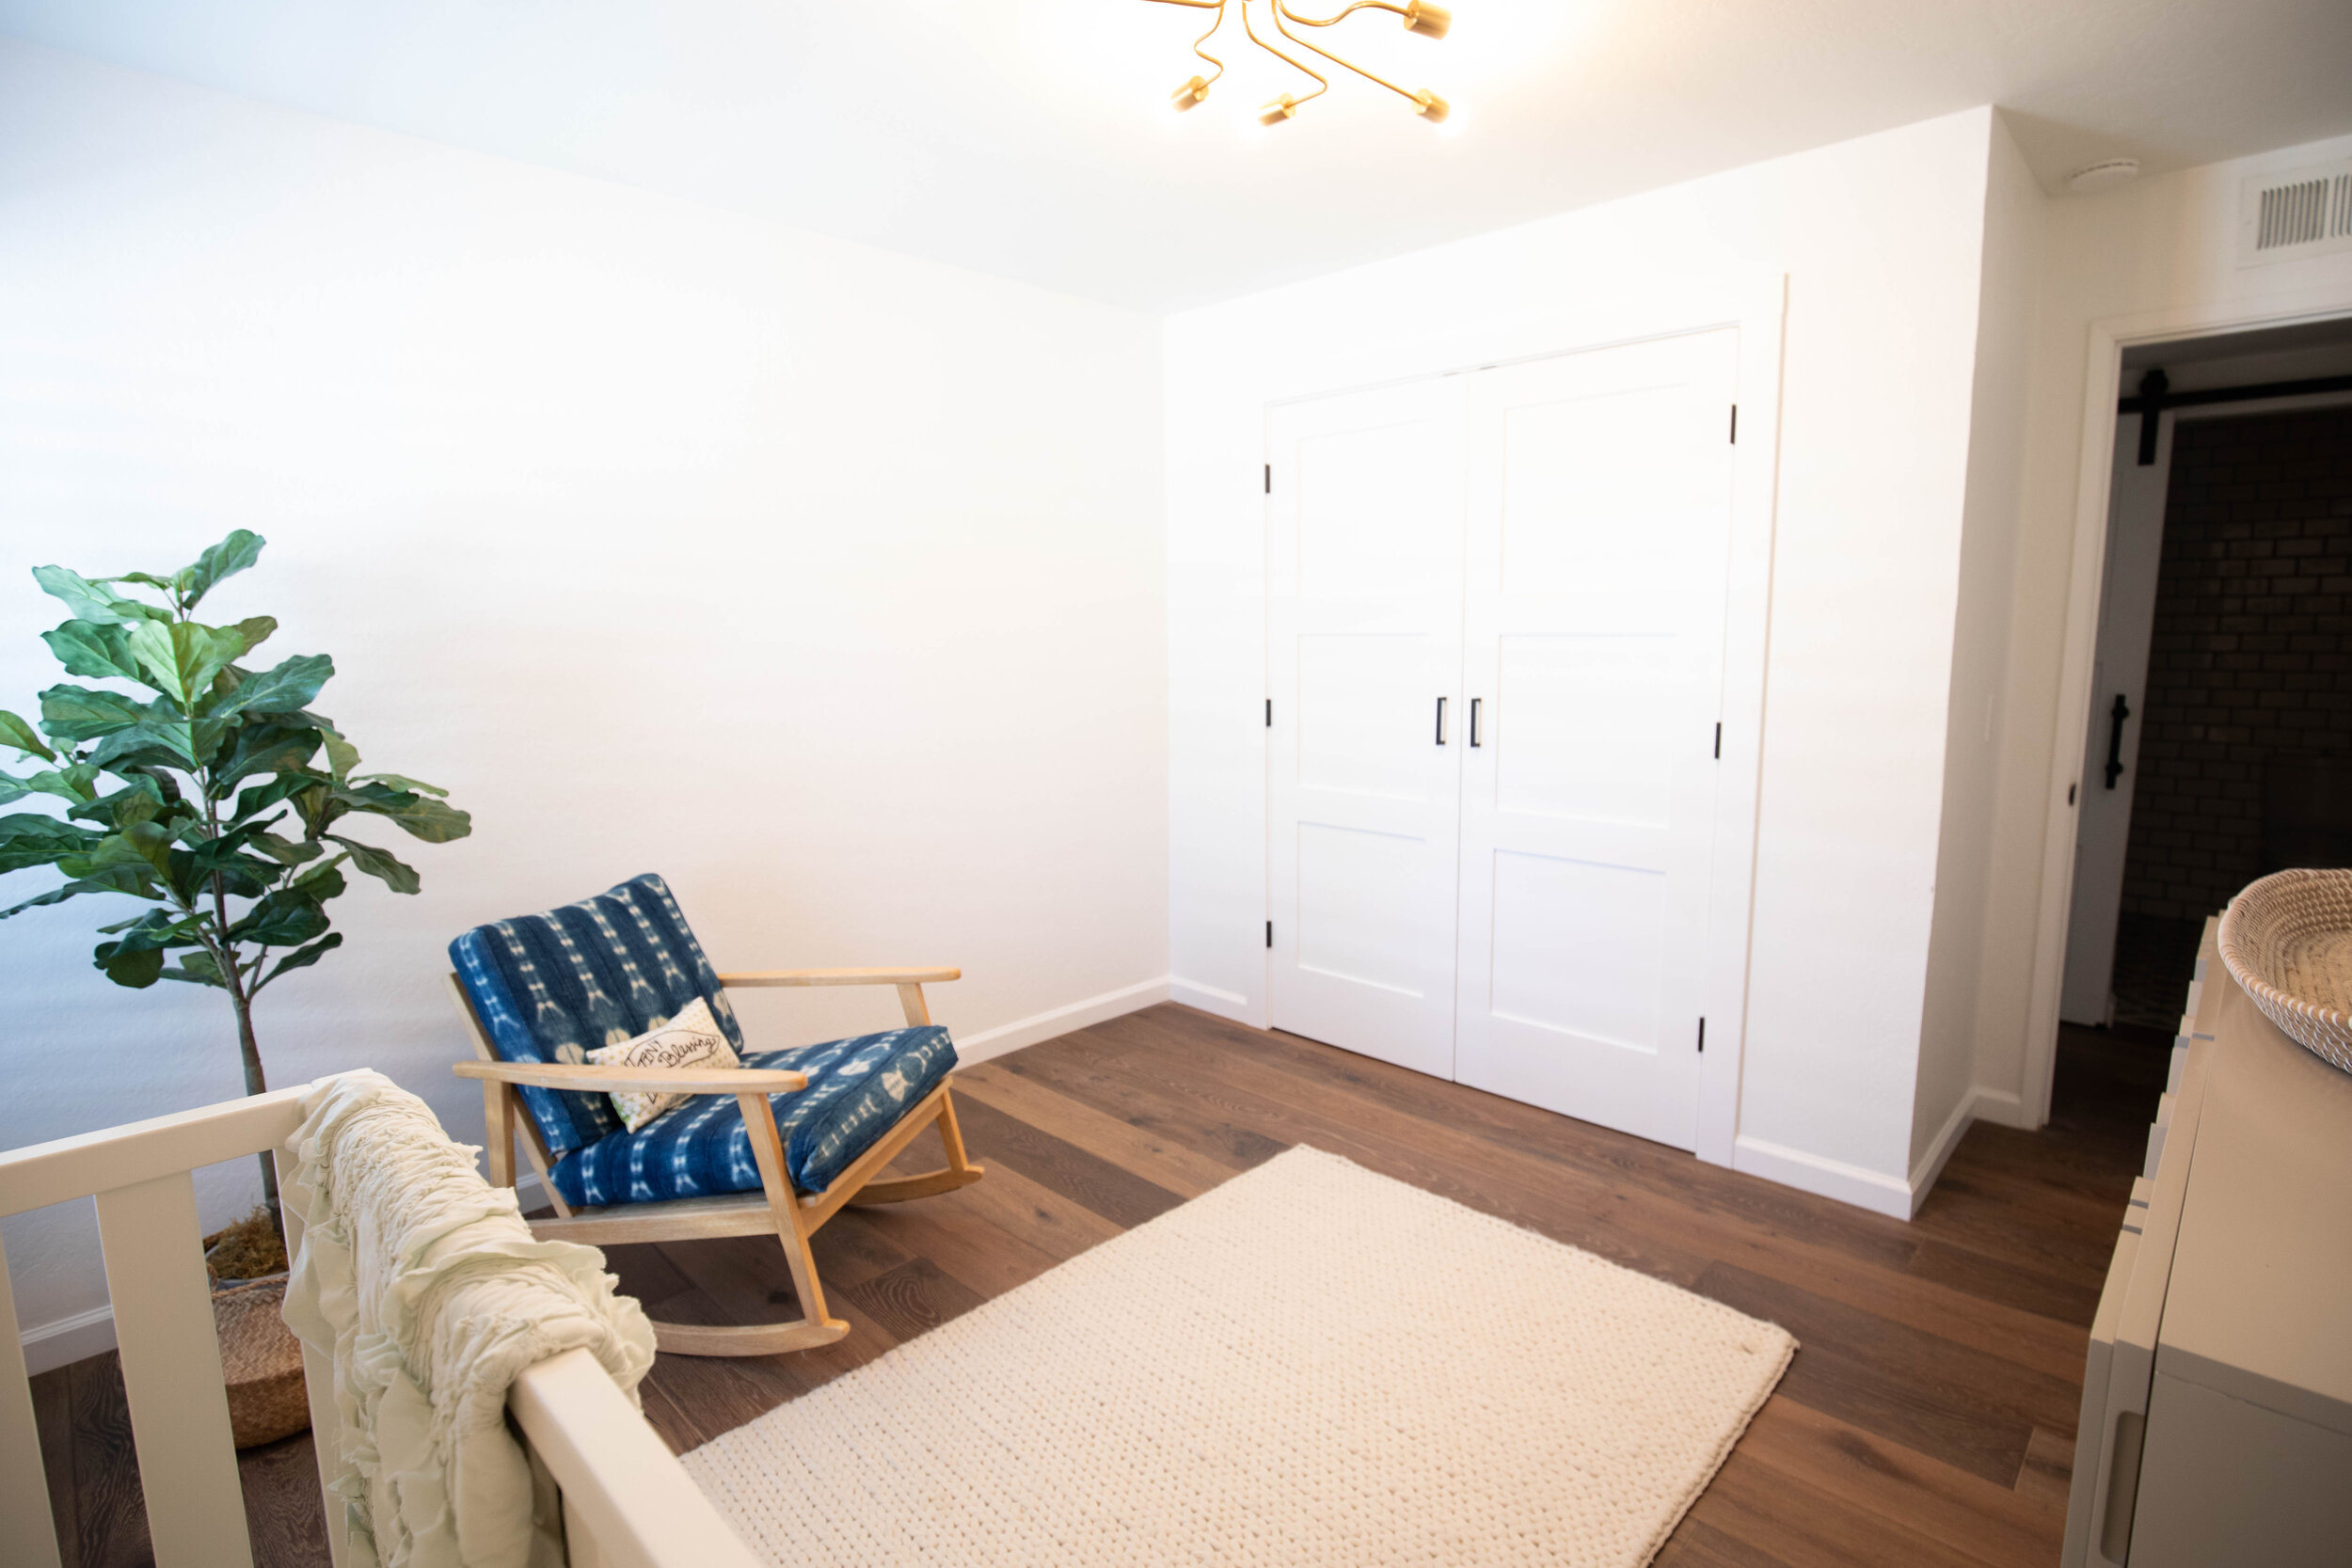
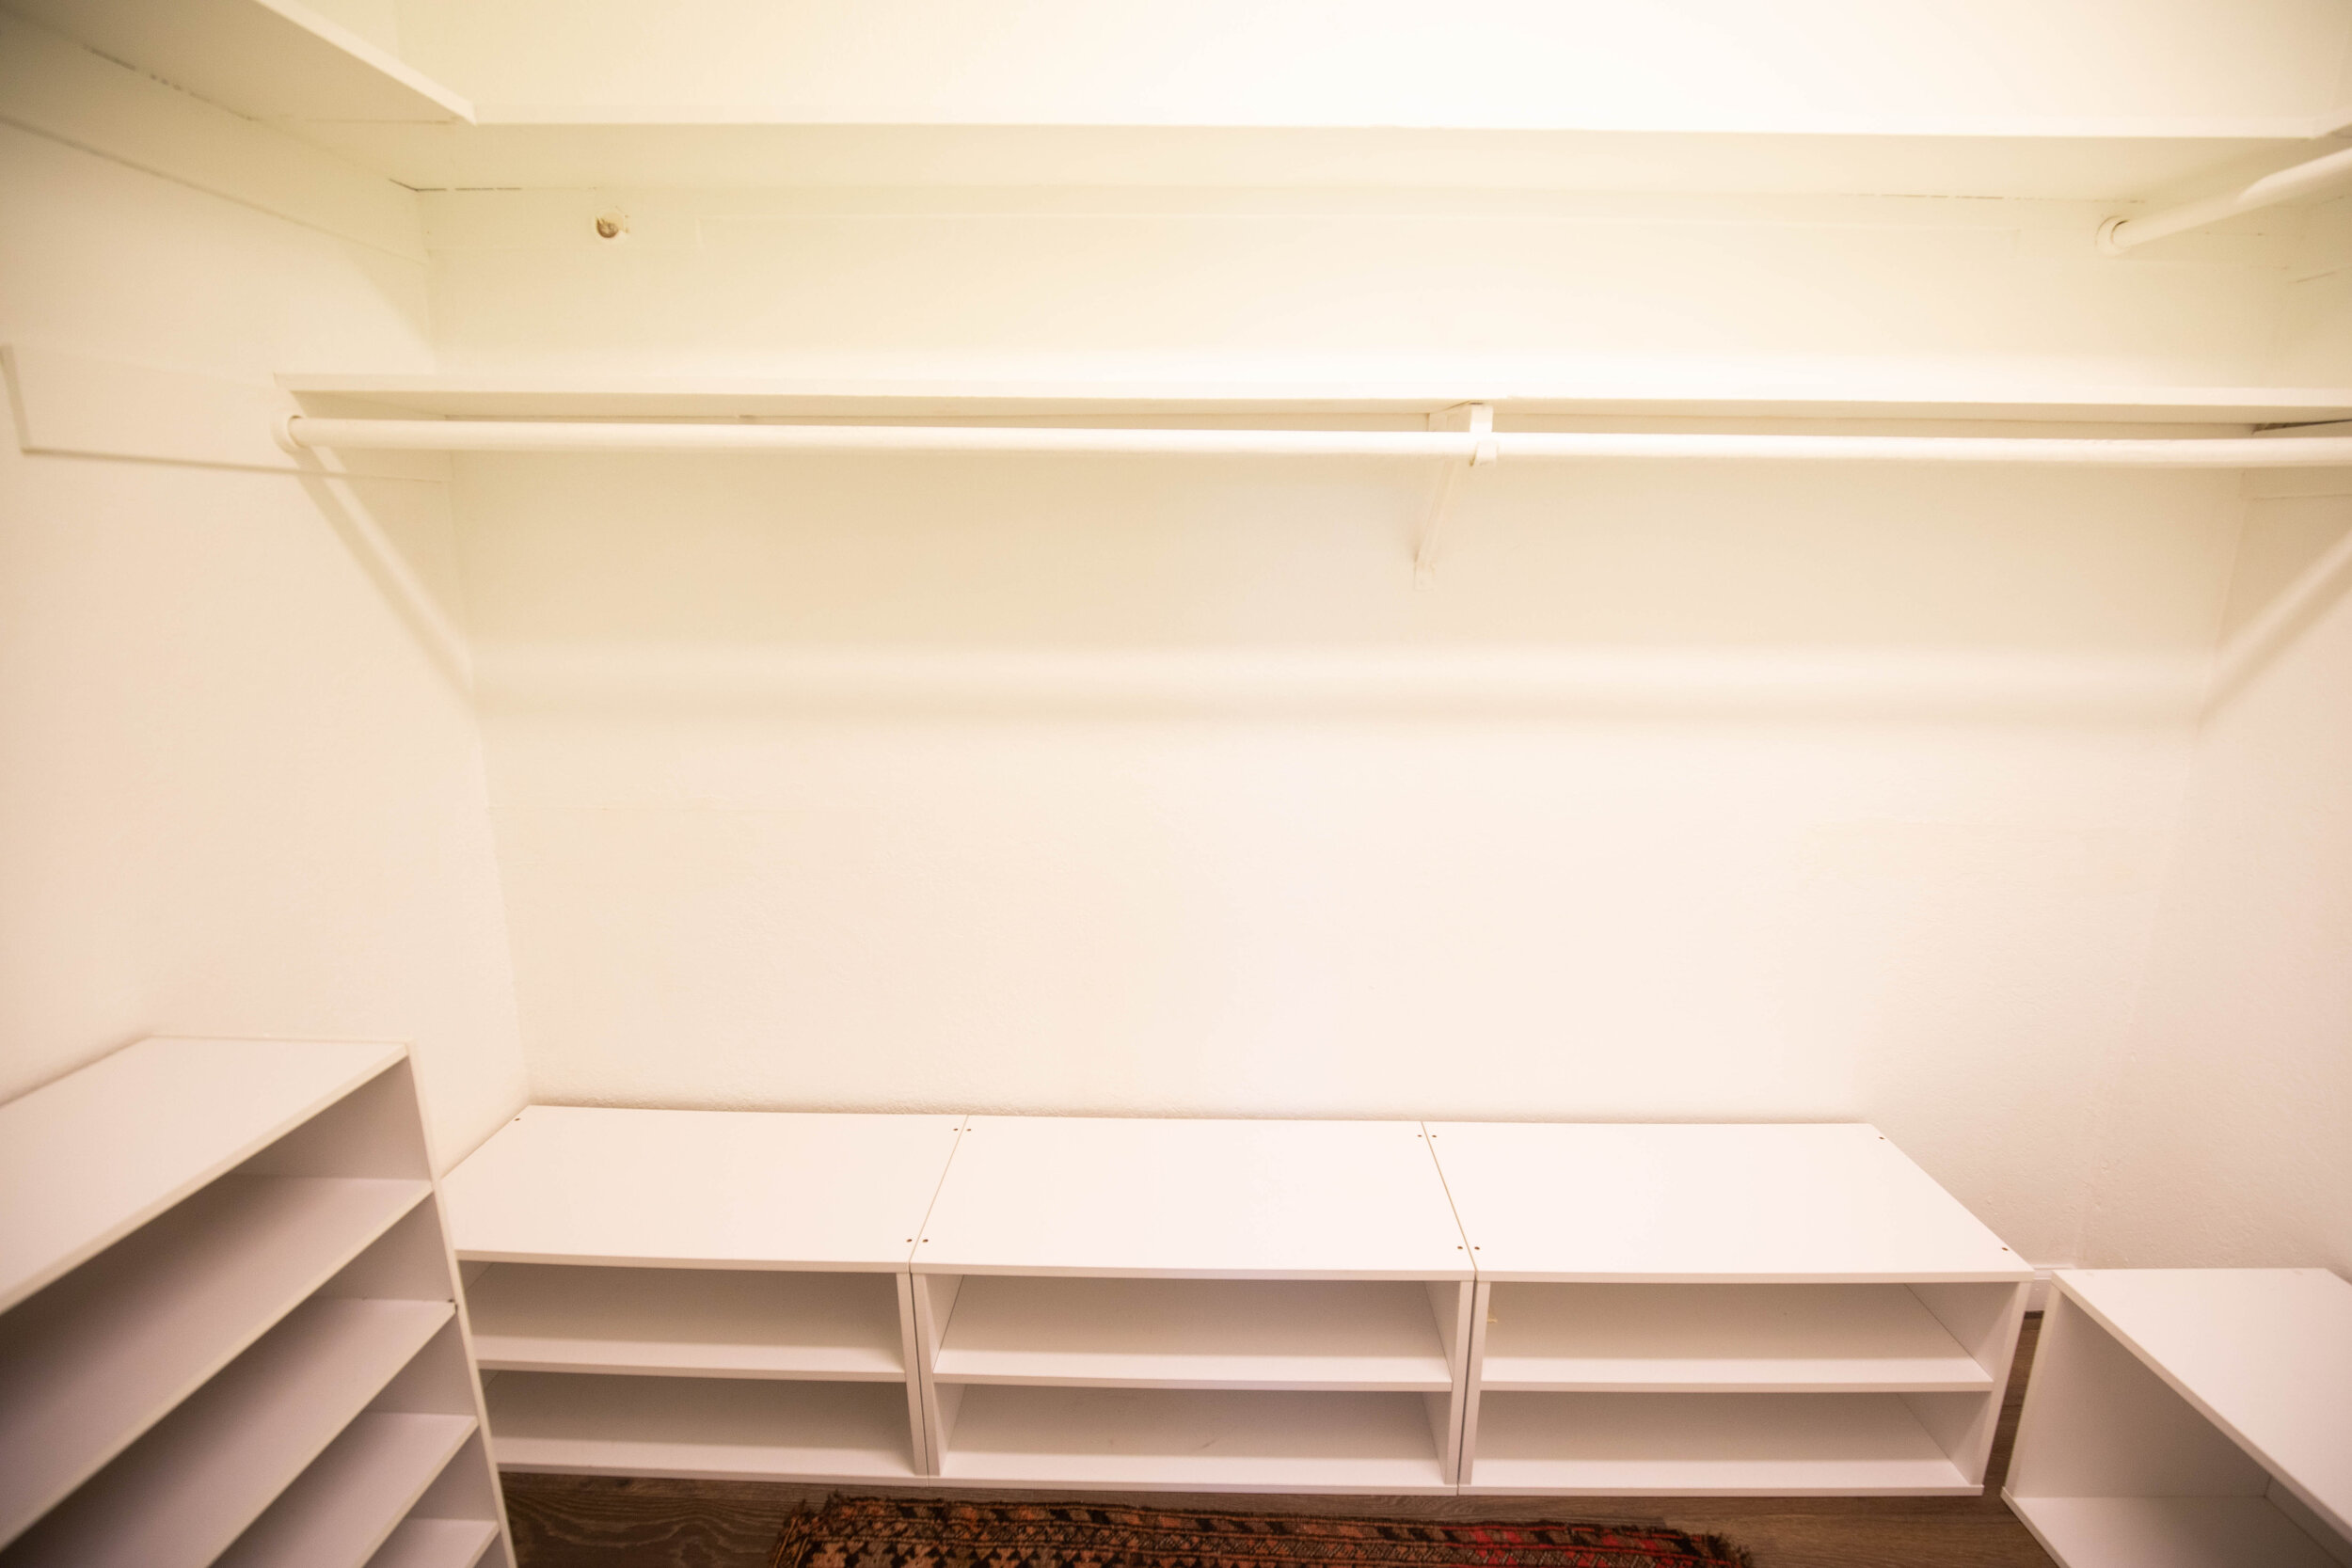
Espen’s Room Details: Espen’s bedroom was a little tricky. We had the hardwood put in this bedroom, too. As well as the baseboards, but his closet was completely open and didn’t have a door on it. It also wasn’t deep enough to put his baby hangers in, so we had to build out his closet completely to make it usable. This was one of the coolest transformations in the reno.
Dresser: His dresser is discontinued but here is a similar one


